We disassemble the block head for subsequent repair or replacement.
When disassembling, you need to lay out the spare parts of the head in order, taking into account their further use.
Removing the cylinder head was discussed in the article - How to disassemble the ZMZ-402 engine.
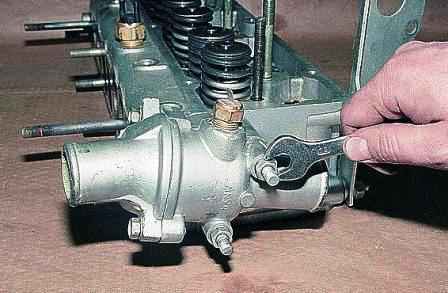
Using a 13 key, we unscrew the nuts securing the thermostat housing
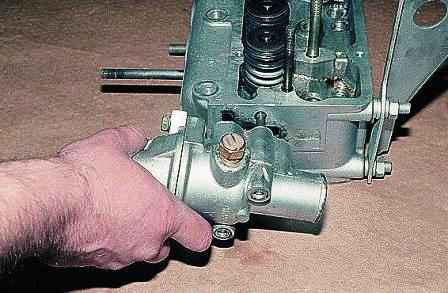
Remove the thermostat housing from the head
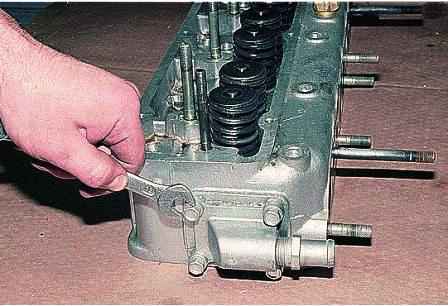
Using a 12 key, we unscrew the four bolts securing the rear head cover
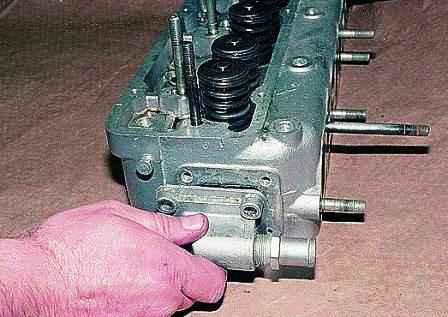
Remove the rear cover of the cylinder head.
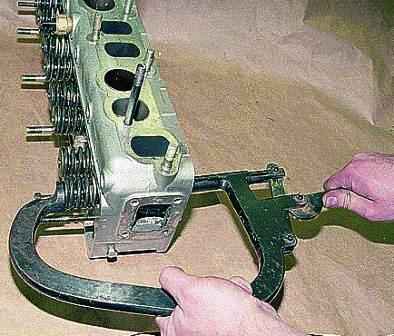
Remove the valves with a puller. This puller has a stop for the valve.
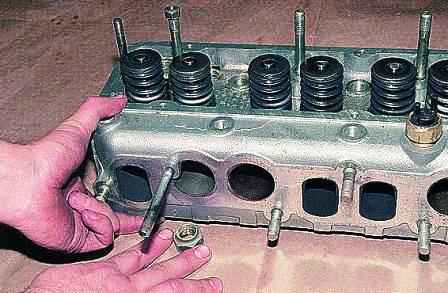
If there is no such puller, then we put a suitable stop under the valve, you can use a dense rubber washer or a wooden block
The valves must be marked or laid out in order so that they can be put in place during assembly.
We install a special device for compressing valve springs on the head.
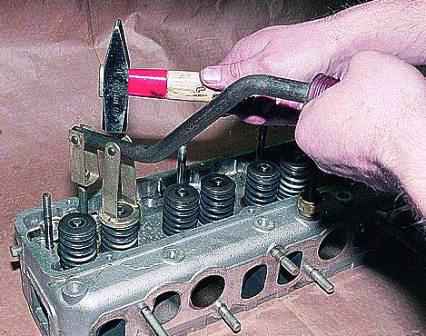
We compress the valve spring with a tool. If the valve disc is wedged, then tap on the stop of the device with a hammer.
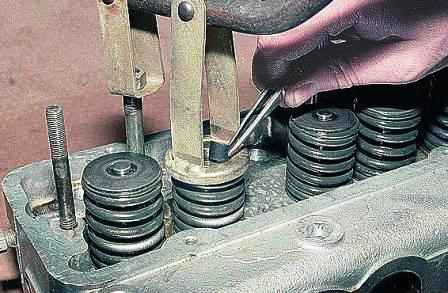
While holding the springs compressed, use tweezers or a thin screwdriver to remove two crackers.
Then, gradually loosening the pressure on the handle of the device, we completely open the valve springs.
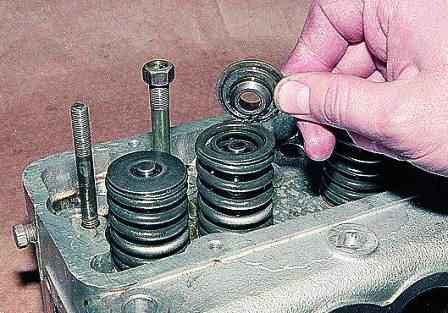
Remove the fixture and remove the valve plate
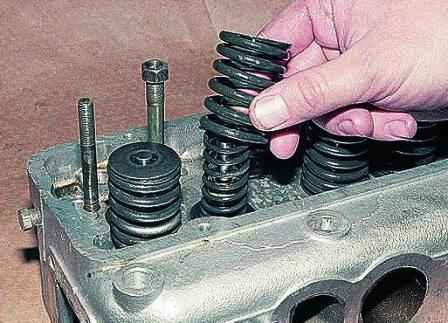
Retrieve the two springs
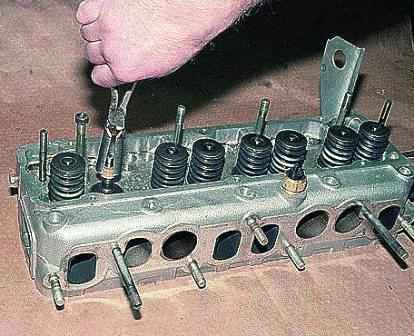
Using pliers, carefully remove the oil slinger cap from the guide sleeve.
When removing, twist the cap a little to make it easier to remove. Caution, the sleeve is very fragile!
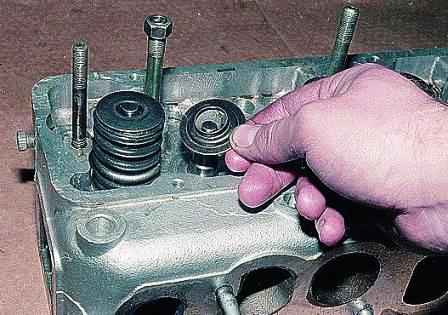
Remove the support washer.
Turn over the cylinder head.
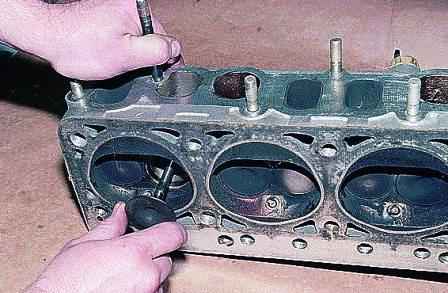
Remove the valve from the block head.
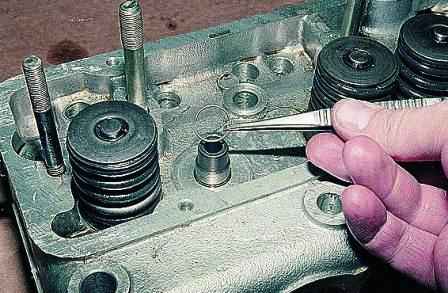
If the wear of the sleeve is large and exceeds 0.25 mm, then pry it off with a screwdriver and remove the retaining ring.
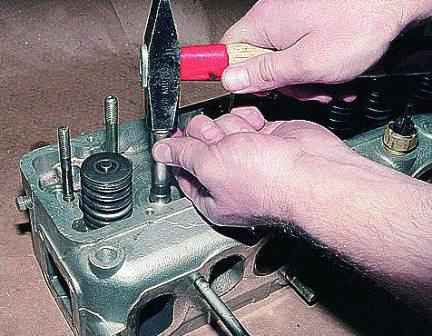
Blow the hammer through the mandrel to knock out the bushing.
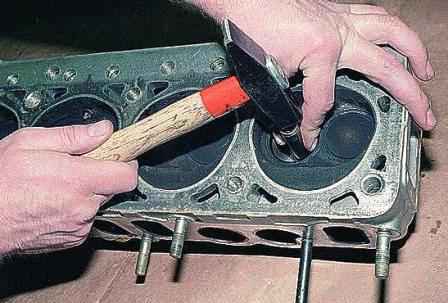
We cool the new bushing in dry ice or in a freezer, and heat the cylinder head to a temperature of 150-190˚ C, and press the bushing in.
Protrusion of the sleeve above the head should be 20 mm
After pressing the bushings, they need to be unrolled with a special reamer to the required size.
After that, you need to grind the valves to the seats for this:
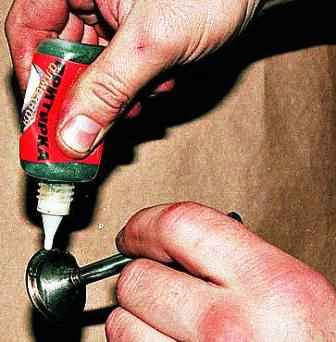
Apply lapping paste to the bevel of the valve and install it in the appropriate head sleeve.
We fix a special tool for grinding on the valve stem.
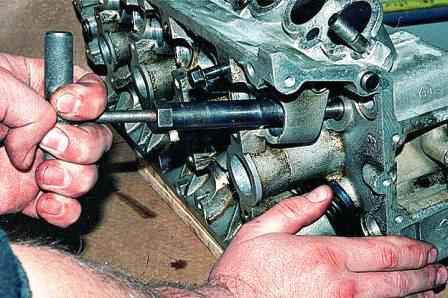
We press the valve to the seat, and turn the valve in both directions.
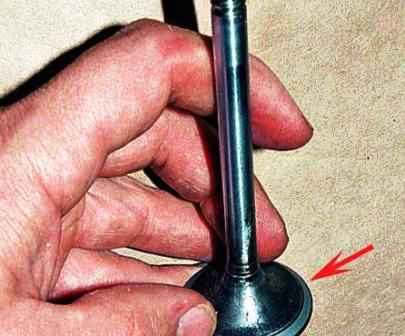
We continue grinding until the valve chamfer along the entire length and width becomes dull and clean.
Wipe the valve from the rest of the paste
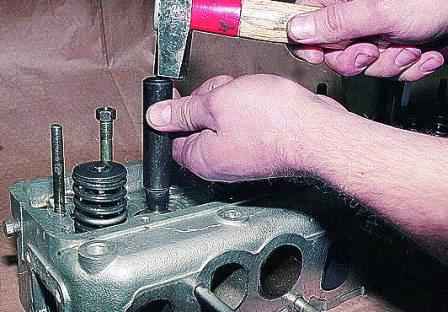
We install new valve seals using a mandrel
We assemble the cylinder head in reverse order.
The head of the block is assembled in the reverse order of disassembly.
Before installing, lubricate the valve stem seals, valve stems and valve rocker shaft with engine oil.
Install the valves according to the marks made during disassembly.
Install the gasket of the thermostat housing and the gasket of the rear cover of the block head on the Hermesil type sealant.
We will consider a more detailed troubleshooting in the article - Inspection and troubleshooting of the block head.


