We remove the bumpers when repairing or replacing bumpers, as well as during various works that require the removal of bumpers
It is advisable to do the work together with an assistant.
Tools required: TORX T20, T30 wrenches, socket 7, flathead screwdriver.
Preparing the car for work. We install the car on a viewing ditch or lift.
Removing the front bumper
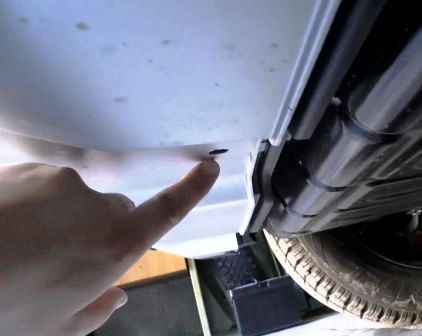
We unscrew the screw securing the bumper to the engine crankcase protection.
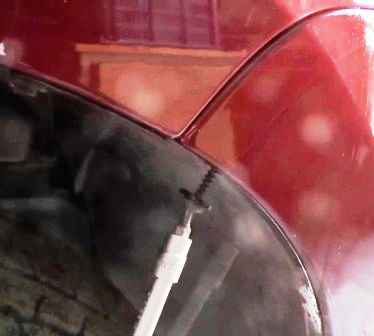
On both sides of the car, unscrew the upper screws securing the fender liner to the bumper
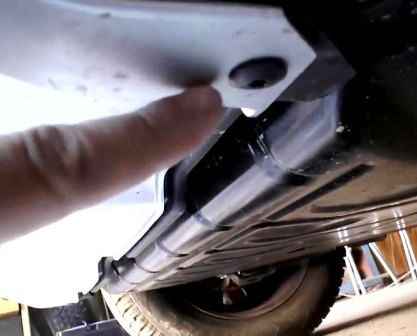
We unscrew the lower screws securing the fender liner to the front bumper
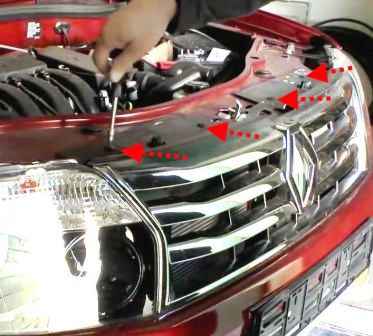
Using the TORX T30 wrench, unscrew the four screws securing the bumper to the upper cross member of the radiator frame
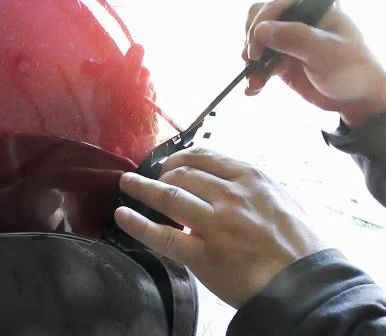
On the right side, we pull and disengage the sidewall of the bumper from the latches on the front fender, using a flat screwdriver or a plastic pry bar.
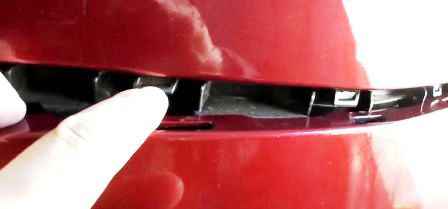
This is what the bumper fasteners to the front fender look like.
We also disengage the bumper from the left wing.
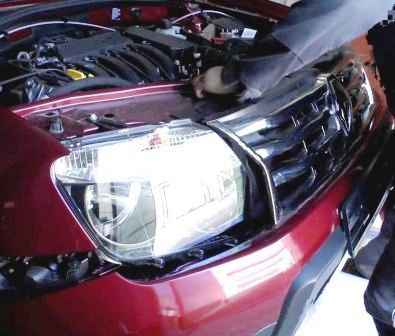
Raising the bumper from below, remove it from the car, and take it to the length of the fog lamp wires.
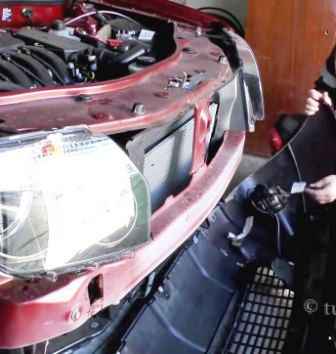
Disconnect the fog lamp wiring harness.
Remove the front bumper.
Install the bumper in reverse order.
Removing the rear bumper
Remove taillights
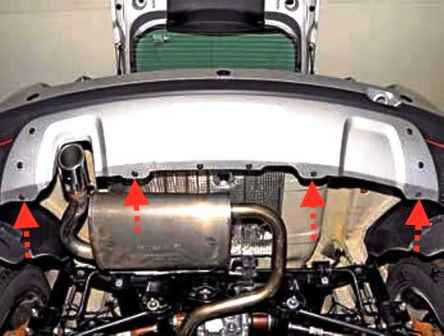
From the bottom of the car, unscrew the four self-tapping screws of the lower bumper mount with a TORX T20 key
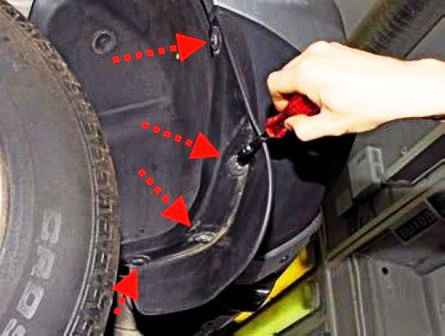
We unscrew the four screws securing the mudguard to the bumper, using the head on 7.
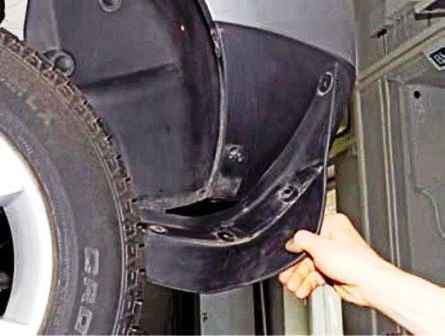
Remove the mudguard of the left rear wheel.
Also remove the mudguard of the right rear wheel
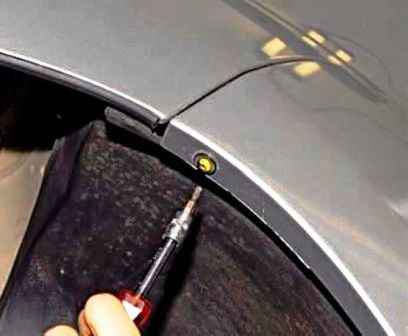
Use the TORX T20 key to unscrew the self-tapping screw securing the bumper to the body.
In the same way, unscrew the screw on the other side.
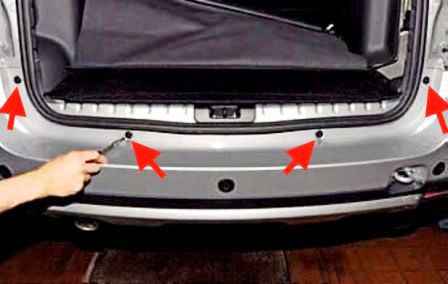
In the lower part of the luggage compartment opening, use the TORX T30 key to unscrew the four screws securing the bumper to the body.
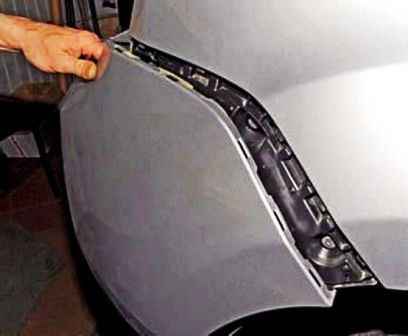
We disengage the right side of the bumper from the plastic retainer attached to the body.
Also disengage the left side of the bumper.
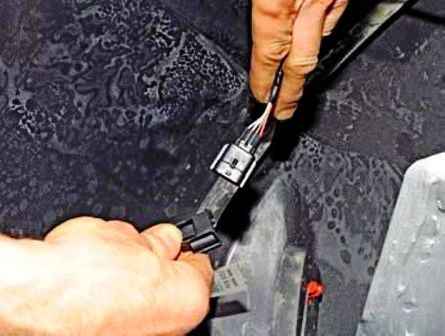
Remove the rear bumper from the body and, on the left side of the car, disconnect the wiring harness connector for the rear parking sensors.
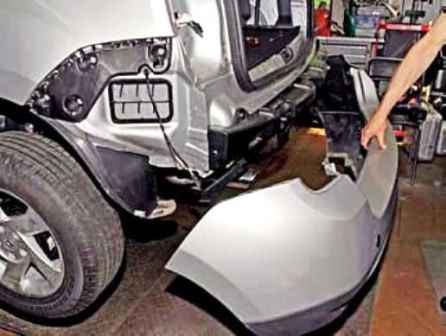
Remove the rear bumper.
Install the bumper in reverse order.


