


We remove the bumpers when repairing or replacing bumpers, as well as during various jobs that require the bumpers to be removed.
It is advisable to carry out the work with two people, with an assistant.
Tools required: TORX T20 and T30 keys, 7 mm socket, flat-blade screwdriver.
We prepare the vehicle for the work. We place the vehicle on an inspection pit or a lift.
Removing the front bumper
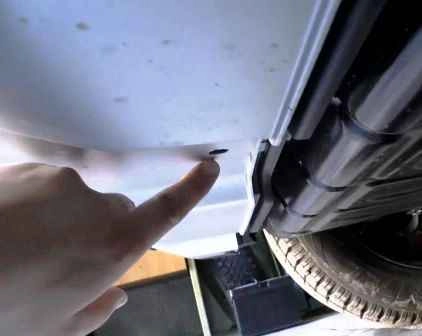
We unscrew the screw securing the bumper to the engine sump guard.
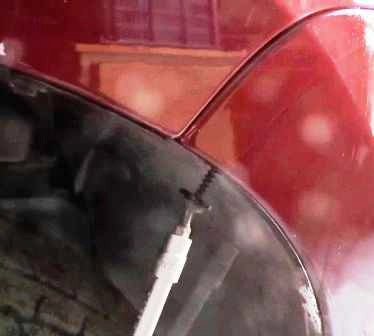
On both sides of the vehicle, we unscrew the upper screws securing the wheel arch liners to the bumper.
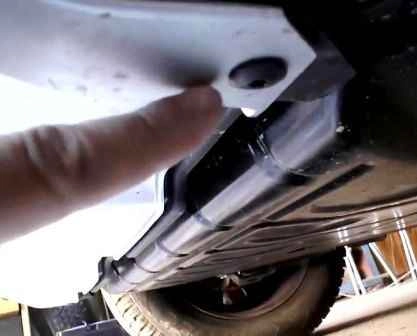
We unscrew the lower screws securing the wheel arch liners to the front bumper.
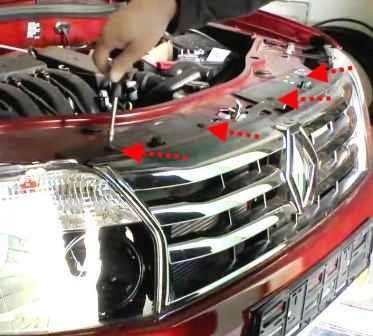
Using the TORX T30 key, we unscrew the four screws securing the bumper to the upper crossmember of the radiator frame.
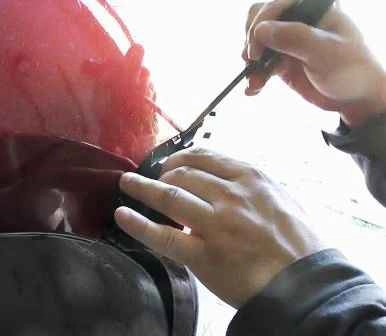
On the right-hand side, we pull and release the side of the bumper from the fasteners on the front wing, using a flat-blade screwdriver or a plastic trim tool to help.
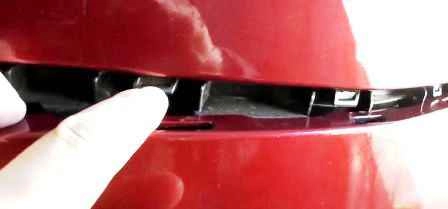
This is what the fasteners securing the bumper to the front wing look like.
We also release the bumper from the left-hand wing.
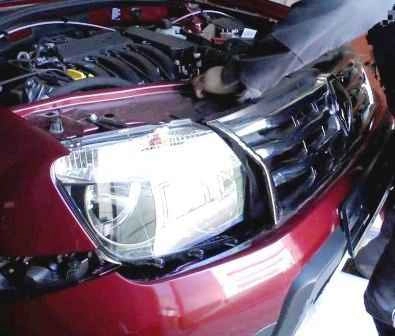
Lifting the bumper from below, we remove it from the vehicle and move it aside by the length of the fog lamp wiring.
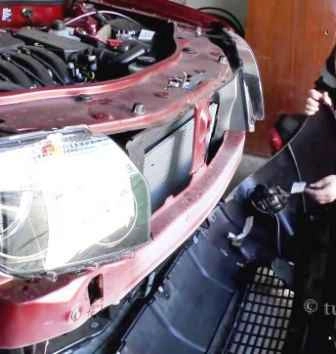
We disconnect the fog lamp wiring connector.
We remove the front bumper.
We install the bumper in the reverse order.
Removing the rear bumper
We remove the rear lights.
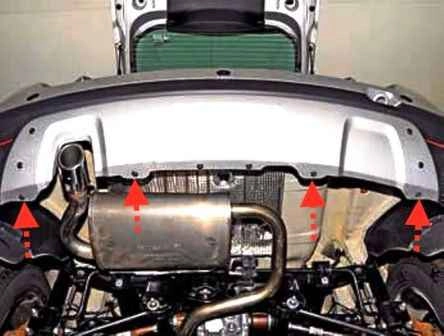
From underneath the vehicle, using the TORX T20 key, we unscrew the four screws of the lower bumper fastening.
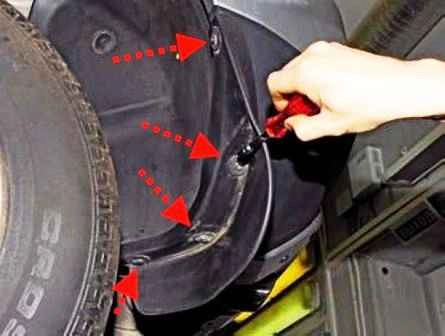
We unscrew the four screws securing the mudflap to the bumper, using a 7 mm socket.
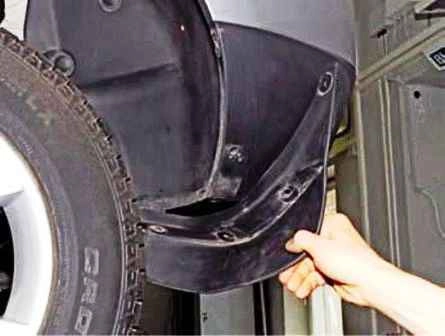
We remove the left-hand rear wheel mudflap.
We also remove the right-hand rear wheel mudflap.
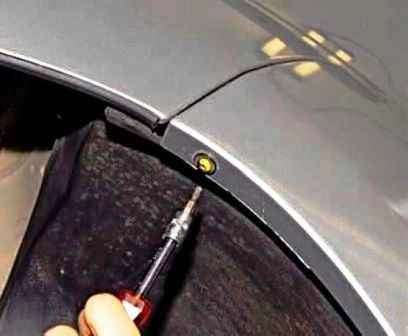
Using the TORX T20 key, we unscrew the screw securing the bumper to the body.
In the same way, we unscrew the screw on the other side.
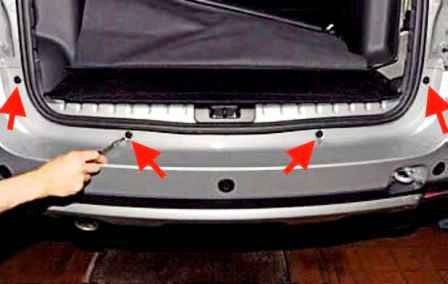
In the lower part of the luggage compartment opening, using the TORX T30 key, we unscrew the four screws securing the bumper to the body.
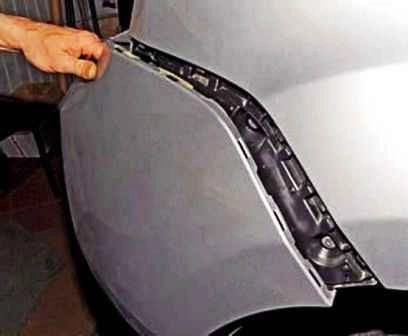
We release the right-hand side of the bumper from the plastic fastener attached to the body.
We also release the left-hand side of the bumper.
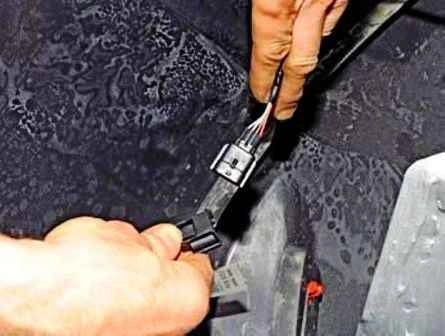
We move the rear bumper away from the body and, on the left-hand side of the vehicle, disconnect the wiring harness connector for the rear parking sensors.
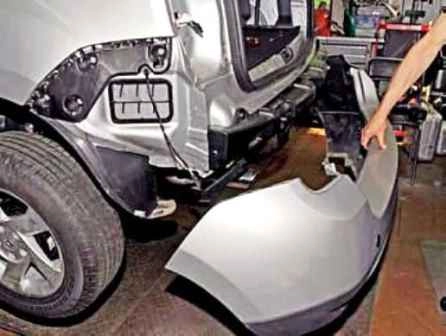
We remove the rear bumper.
We install the bumper in the reverse order.


