Prepare the vehicle for the work. Place the vehicle over an inspection pit or on a lift.

Disconnect the negative battery terminal.

For this job you will need the following tools: 8 mm and 13 mm spanners, TORX T20, flat-blade screwdriver.

Removing the three bolts of the lower bumper section
Remove the three bolts securing the lower bumper section
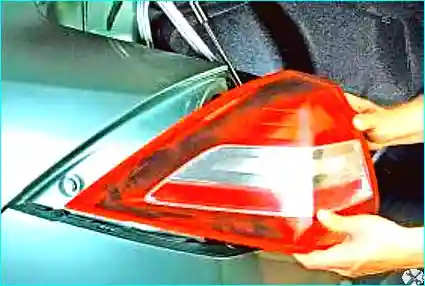
Removing the rear lamps
Remove the rear lamps
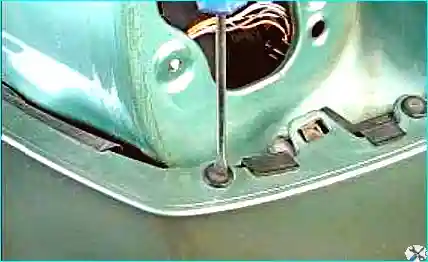
Unscrewing the clip cores
Unscrew the clip cores
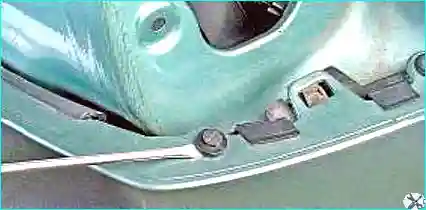
Prising the clips with a screwdriver
Prise the clips with a screwdriver
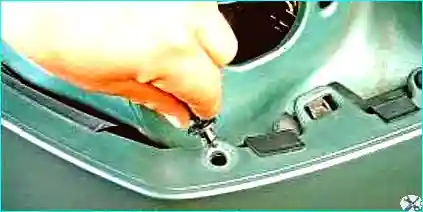
Removing the bumper retaining clips
Remove the bumper retaining clips

The image above shows the location of the rear bumper side retaining clips. Also remove the side retaining clips on the right side of the vehicle.

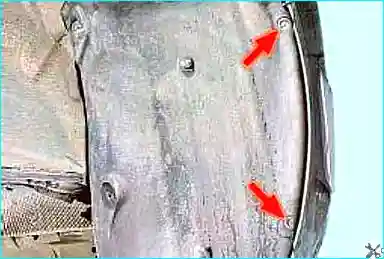
Removing the rear wheel arch liner screws
Remove the two screws securing the rear wheel arch liner of the rear wheel to the rear bumper from underneath

Remove the two rear screws securing the rear wheel arch liner of the left rear wheel.
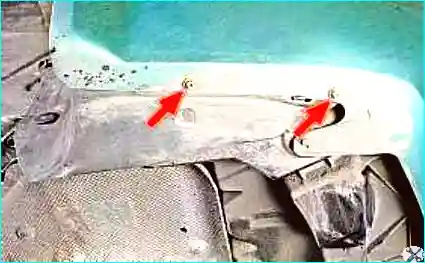
Removing the right wheel arch liner screws
Also remove the screws securing the rear wheel arch liner to the rear bumper on the right side of the vehicle.
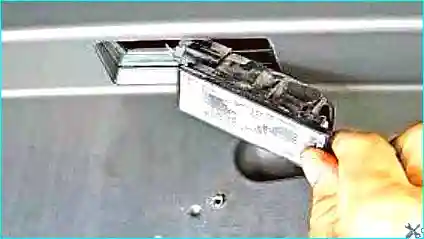
Removing the number plate lights
Remove the number plate lights.

On hatchback and estate models, the number plate lights are located on the tailgate, so they do not need to be removed.
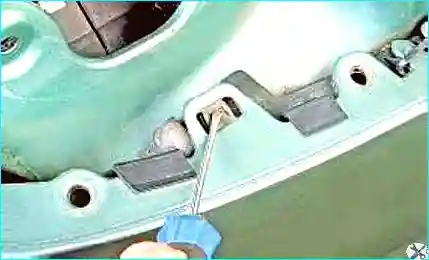
Releasing the bumper mounting brackets on the right and left
Release the bumper mounting brackets on the right and left
Releasing the mounting bracket in the centre of the bumper
Release the mounting bracket in the centre of the bumper

With the help of an assistant on both sides of the vehicle, lift the bumper upwards and guide the plastic brackets of the upper section out of the holes in the body brackets to remove the bumper.
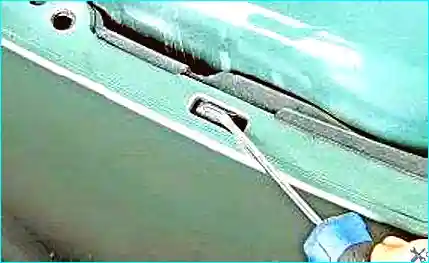
Removing the rear bumper reinforcement nuts
Remove the three mounting nuts on each side of the rear bumper reinforcement
Removing the bumper reinforcement
Remove the reinforcement

Installation: carry out the operations in the reverse order.