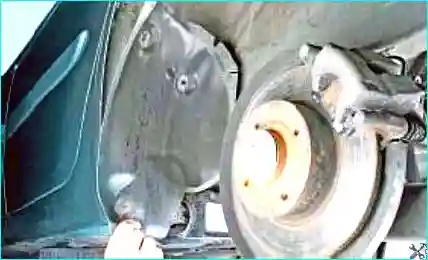
Removing the wheel arch liners on a Renault Megane II
The wheel arch liners of the vehicle protect the wheel arches and parts of the bodywork from corrosion and impact from road debris.
Many vehicle repair operations require the removal and installation of the wheel arch liners.
Tip: before removing the wheel arch liners, it is advisable to have spare clips ready in case they break. The wheel arch liners should also be washed using an automatic car wash.
For this job you will need the following tools: pliers, flat-blade screwdriver, TORX T40 key.
Removing the front wheel arch liner
Remove the front wheel.
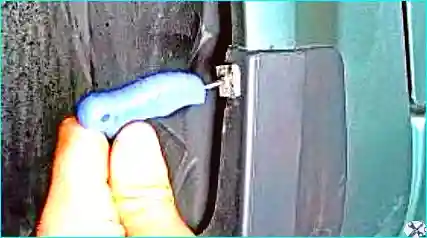
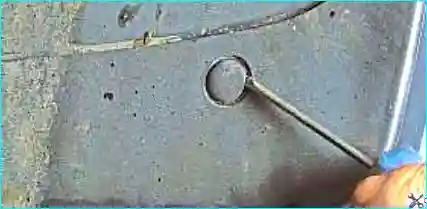
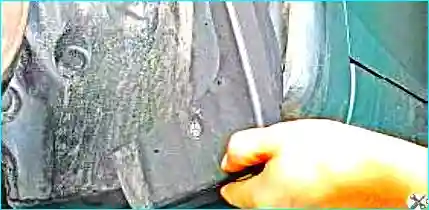
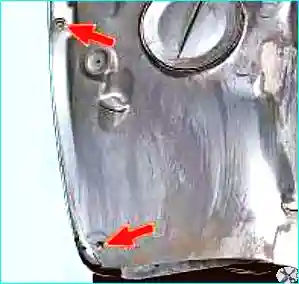
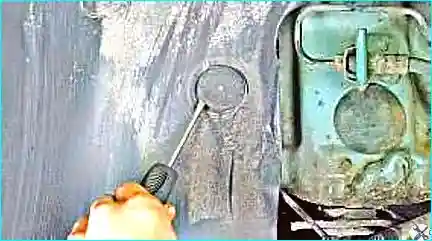
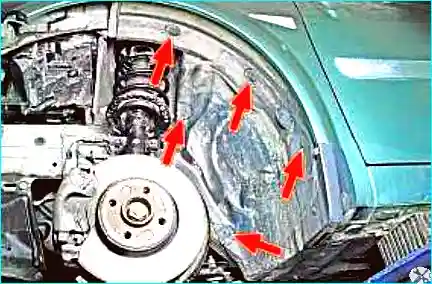
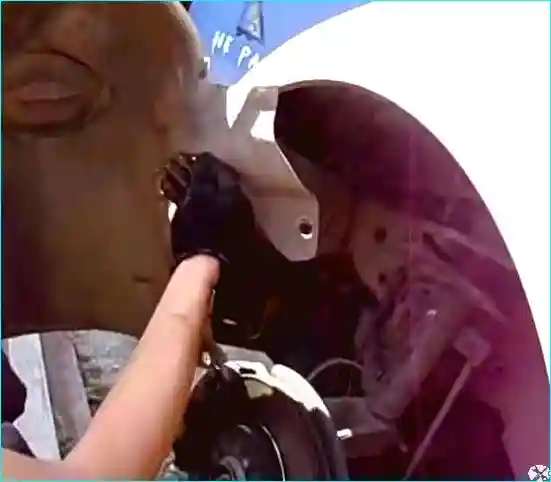
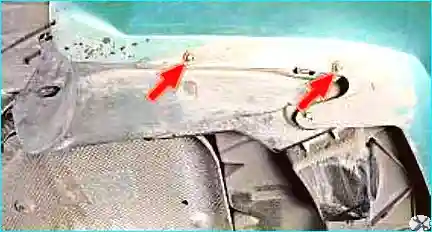
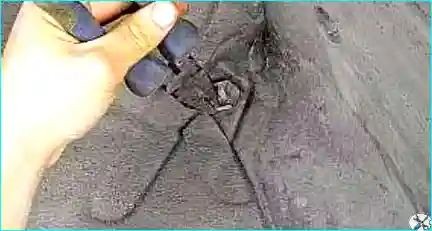
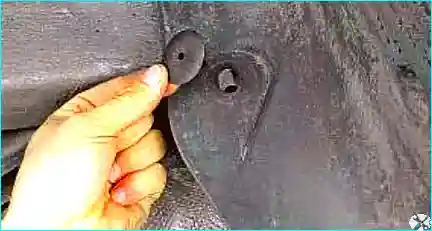
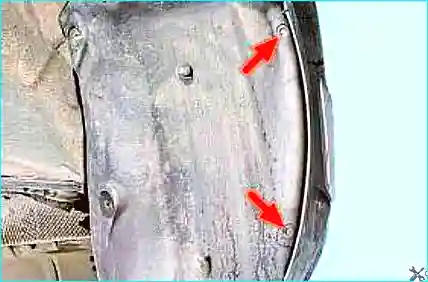
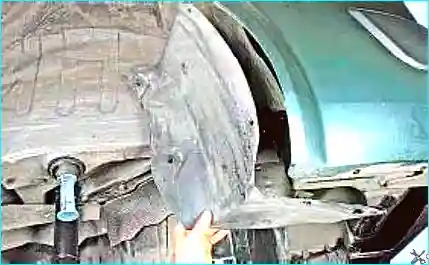
Remove the front wheelRemove the mudflap retaining screw from the front wheelPrise out the mudflap retaining clip from the front wheel with a screwdriverRemove the front wheel mudflapRemove the two screws securing the front section of the front wheel arch liner. Remove the front screw securing the wheel arch liner to the front bumper.Remove the four clips. Note: some clips have an inner fastener that must be unscrewed before removing the clip; only then can the clip be removed.Remove the front section of the front wheel arch linerRemove the retaining clips and remove the rear section of the front wheel arch liner
Removing the rear mudflaps and wheel arch liners
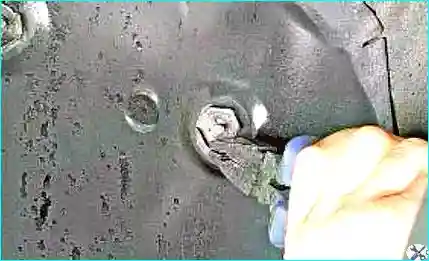
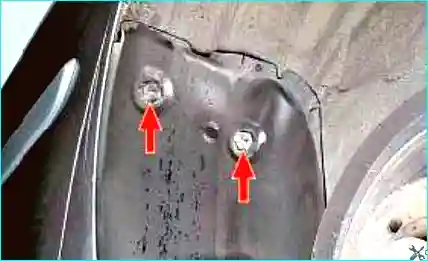
Remove the two screws securing the rear mudflap of the rear wheel to the rear bumper from underneathRemove the retaining nutRemove the retaining clipRemove the two rear screws securing the rear wheel mudflapRemove the rear mudflap from the left rear wheelRemove and take off the retaining nuts of the front mudflap of the left rear wheel
The photo above shows the location of the retaining nuts of the front mudflap of the left rear wheel.
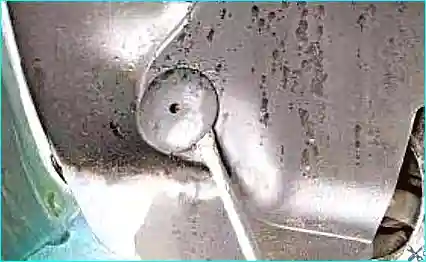
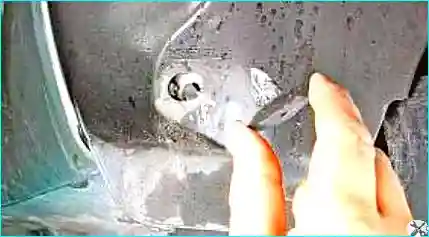
Prise the clip with a screwdriverRemove the retaining clip of the front mudflap of the left rear wheelRemove the front mudflap from the left rear wheel
Installation: install the mudflaps and wheel arch liners in the reverse order.