In the article, we will consider the removal of linings, covers, locks and filler caps
We remove the trunk parts for repair, as well as for replacement
Removing the lining of the luggage compartment
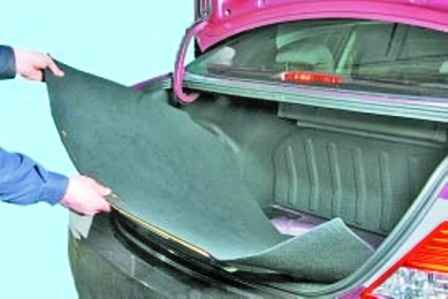
Remove the cover of the spare wheel niche
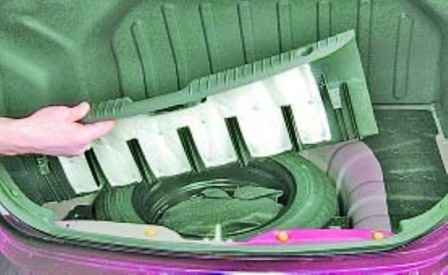
Remove the rear lining of the trunk, overcoming the resistance of plastic caps
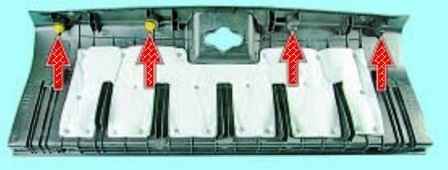
The location of the caps of the trunk. Damaged pistons must be replaced.
To remove the side trims of the trunk, you need to remove the rear trim of the trunk
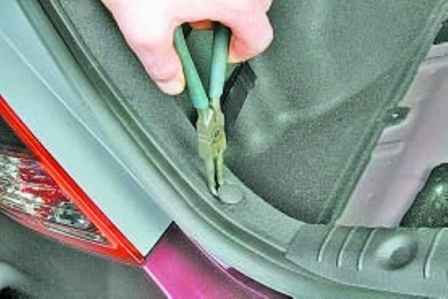
We pry off the holders of the side trim with pliers
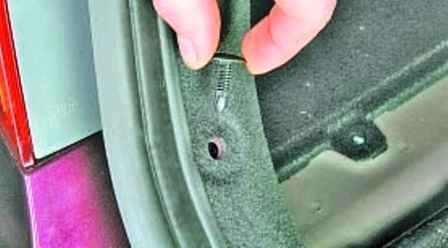
And remove the five plastic holders for fastening the side lining of the trunk
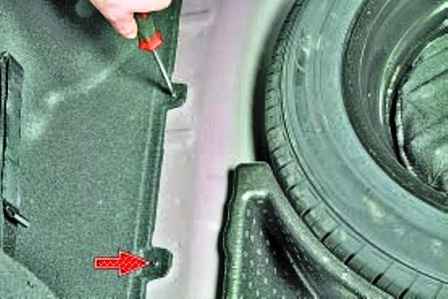
We unscrew the screws of the lower fastening of the side trim of the trunk
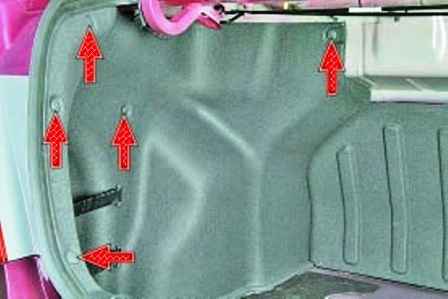
In the photo, the location of the five holders for fastening the side trim of the trunk
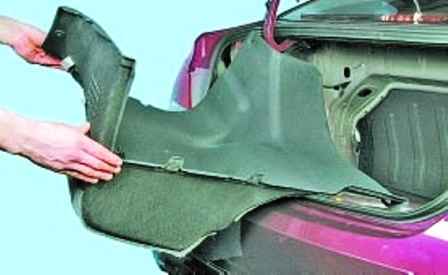
Remove the side lining of the luggage compartment
In the same way, remove the second side lining of the trunk
Install the lining of the luggage compartment in reverse order
Removing and installing the trunk lid lock
You will need a screwdriver and a 10mm socket
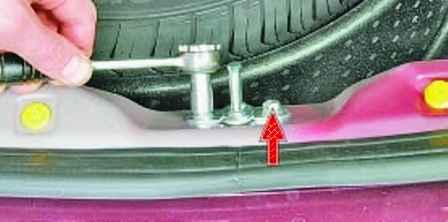
To remove the latch of the trunk lid lock, unscrew the two bolts securing the latch and remove it
When adjusting the lock, move the latch
To remove the trunk lid lock, disconnect the negative battery terminal
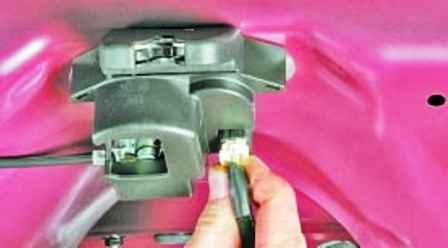
Squeeze the wire block retainer
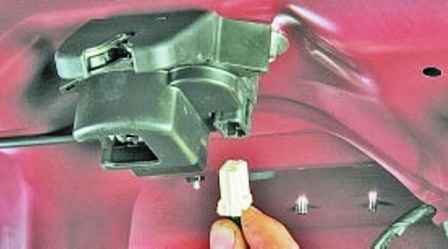
Disconnect the wiring harness from the trunk lid lock
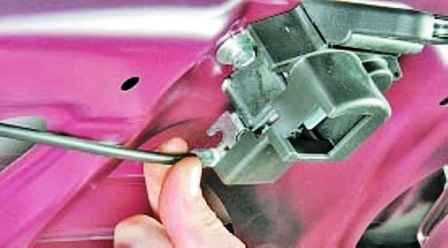
Disconnect the tip of the cable sheath from the lock body
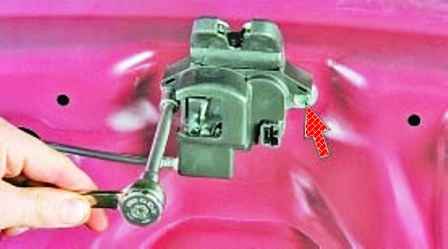
We unscrew the two bolts securing the lock to the trunk lid
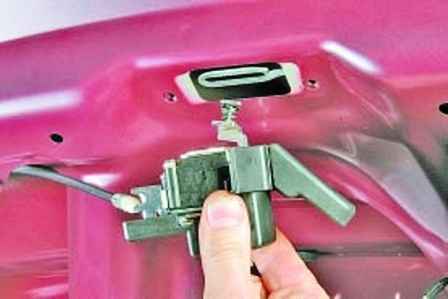
We remove the lock from the lock drive rod
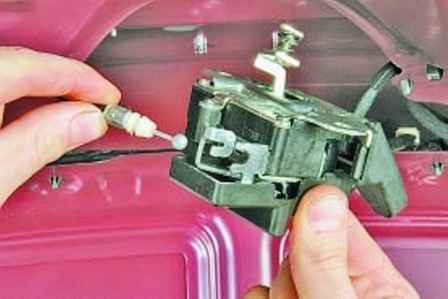
Remove the tip of the tailgate lock cable from the slot in the lever and remove the lock
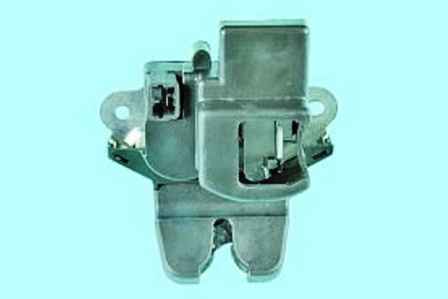
Install the tailgate lock in reverse order
Removing and installing the trim on the trunk lid
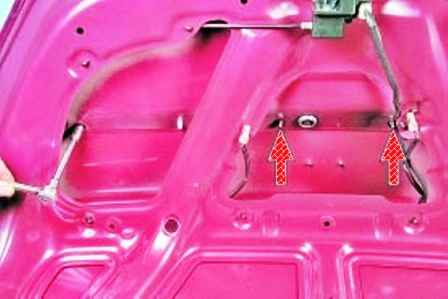
We unscrew the four nuts with a 10 socket head
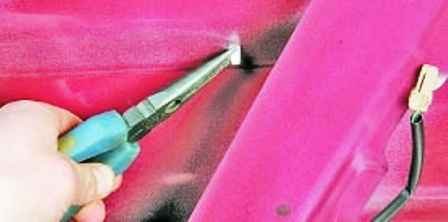
We press the two fasteners for fastening the decorative trim on the inside of the trunk lid
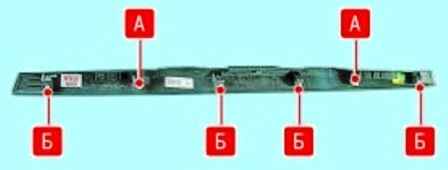
This is how the locks "A" and fastening nuts "B" of the decorative lining of the trunk lid are located
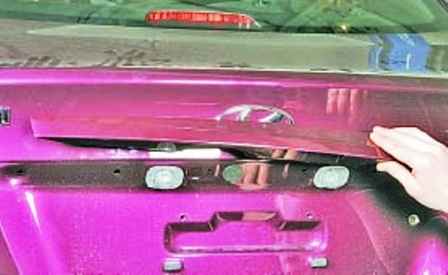
Remove the overlay
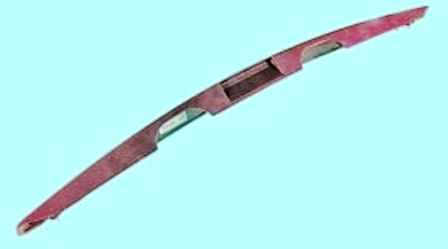
Install the overlay and all the details in reverse order
Removing and installing the luggage compartment lid
You will need a 10 wrench and a screwdriver
Disconnect the negative cable from the battery
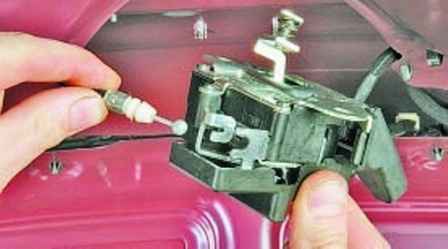
Remove the trunk lid lock, disconnect the wiring block and the drive cable from the lock, as described above
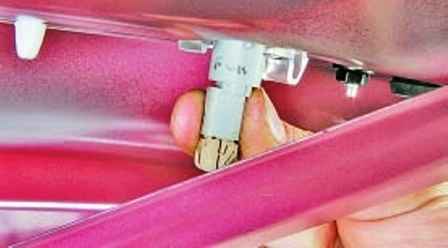
Press out the latch
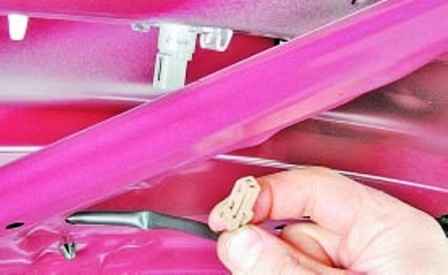
And disconnect the wiring harness from the license plate light connectors
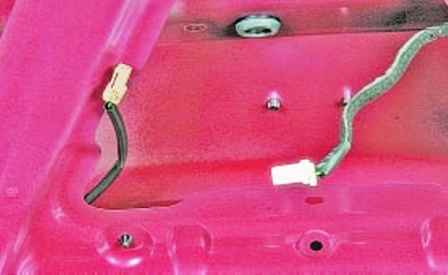
Disconnect the wire blocks located on the trunk lid
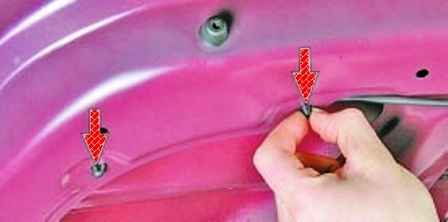
Remove the two clamps of the lock cable from the trunk lid
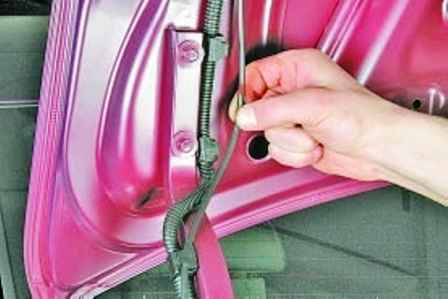
We take it out of the hold spruce rope
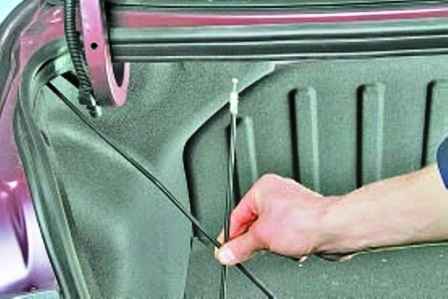
And disconnect the trunk lid drive cable
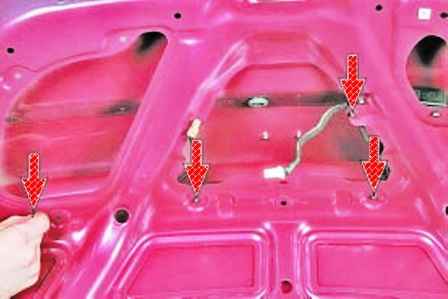
Remove the wire harness holders from the trunk lid
We pass the wiring harness and cable through the hole in the trunk lid
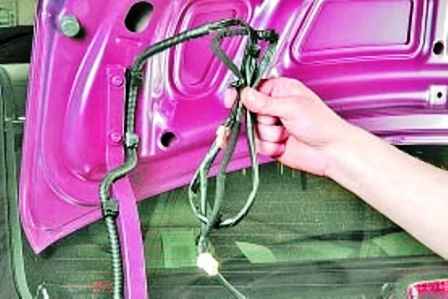
Leave the wiring harness to the side
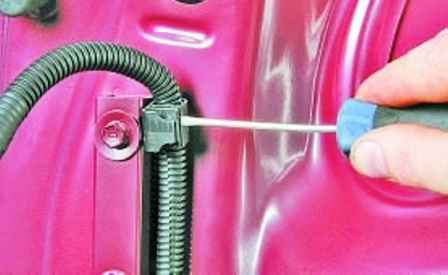
Pry off with a screwdriver
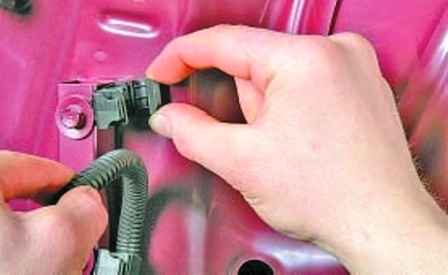
And take out the wiring harness from the three holders
If the trunk lid is not removed for replacement, you need to mark the position relative to the hinges with a marker
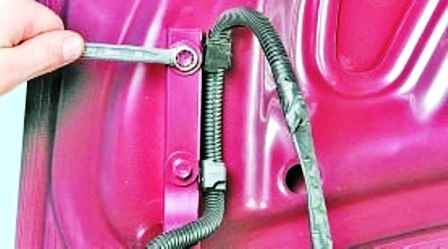
Holding the trunk lid (with the help of an assistant), unscrew the bolts securing the lid and remove it
Install the trunk lid in reverse order. If we install the old cover, then before tightening the bolts, install it according to the marks.
When installing a new cover, you need to adjust the position of the cover so that the gaps between the cover and the wings are the same on both sides. The gaps between the upper and lower edges of the cover and the parts mating with the cover must be uniform.
Removing and installing the filler manhole cover
Remove the manhole cover for repair and as an option when choosing paint for body parts
You will need a 10 wrench and a screwdriver
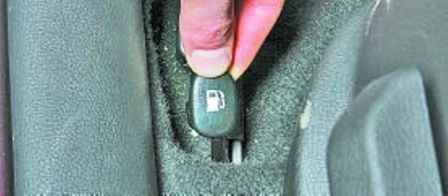
Opening the fuel tank filler cap
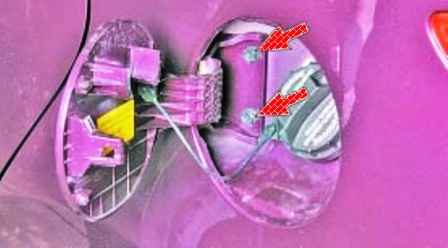
We unscrew the two bolts securing the hatch cover
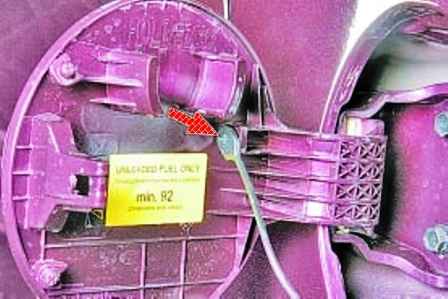
Disconnect the tip of the fuel tank plug harness from the filler pipe hatch cover and remove the cover
Install the hatch cover in reverse order


