We replace the crankshaft seals if there is a strong oil leak.
Before replacing oil seals, make sure that oil leakage is not caused by increased pressure in the engine crankcase due to a clogged recirculation system.
Replacing the front crankshaft oil seal
The front crankshaft oil seal is convenient to remove and install using a puller #4919660.

There is no need to remove the engine front cover.
Preparing the gland for installing the puller.
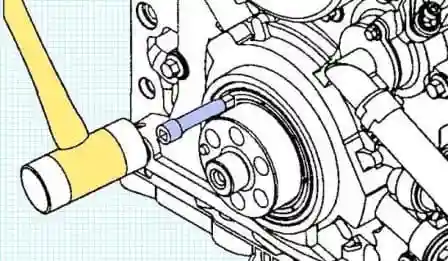
We take the extension cord from the tool kit and carefully push the stuffing box in so that a gap between the bodies is 1 - 2 mm.
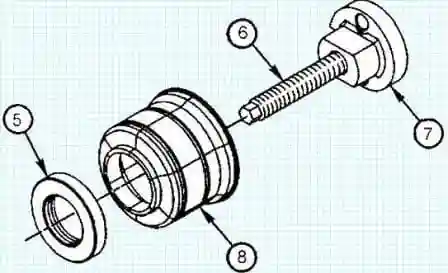
Assembling the puller.
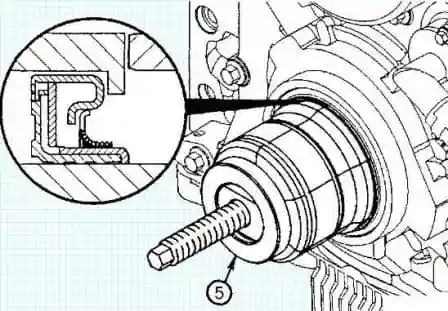
We install the puller in the gap formed earlier between the inner and outer housings
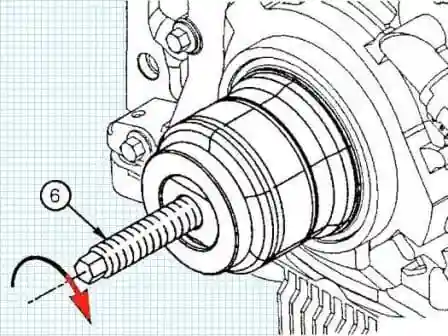
Remove the oil seal by turning the screw clockwise (in this case, the tightening torque of 45 Nm must not be exceeded).
Installing the gland
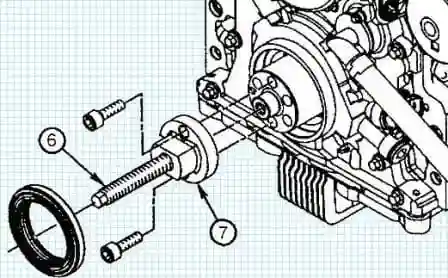
Install adapter 7 on the end of the crankshaft
We tighten two screws M12x1.25x60 mm
We install a new crankshaft oil seal on the toe of the crankshaft and slide it into the cover as far as possible.
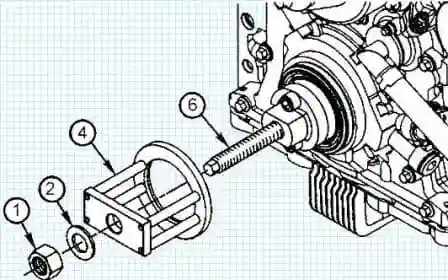
Install the mandrel (4) on the screw (6) and move it forward until it stops.
Install the washer (2) and screw the nut (1) onto the screw (6)
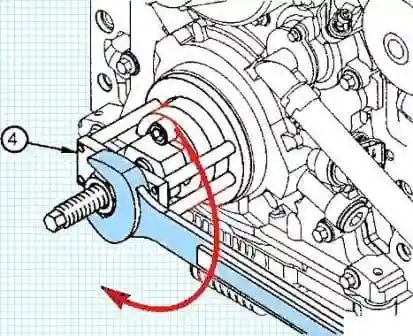
Holding the mandrel (4), tighten the nut clockwise until the stuffing box is installed in the cover.
Remove the fixture.
Of course, there is an easier way, which we considered for the Cummins ISF2.8 engine (article - Replacing the Cummins ISF2.8 Gazelle Next crankshaft oil seals).