We disassemble the doors to repair the elements of the door, as well as to replace the door.
Removing the door trim
Prepare the car and open the door
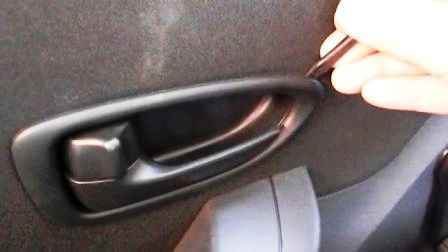
Pry off the trim of the interior door handle with a screwdriver
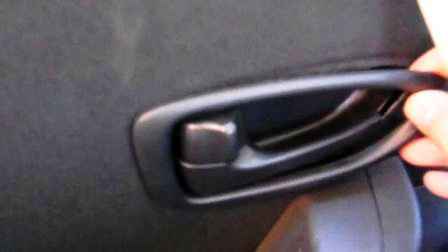
Remove the overlay, gently pressing it away from the lining
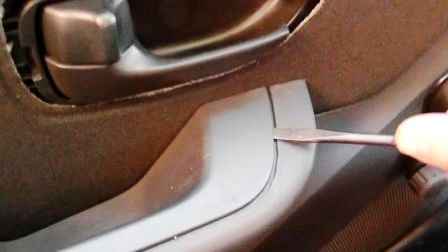
Pry off the trim in the door armrest with a flat thin screwdriver
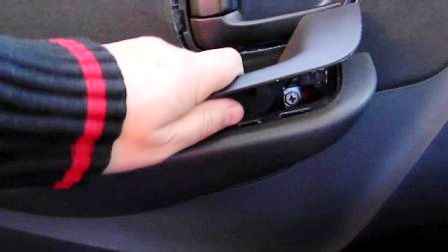
Remove the overlay
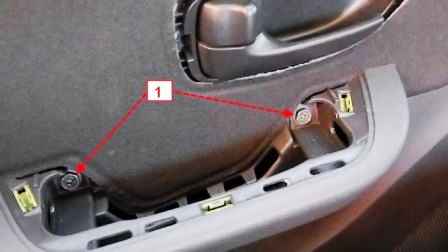
In the niche of the armrest with a head of 10 with an extension, we unscrew two self-tapping screws 1, fastening the upholstery to the inner panel of the door
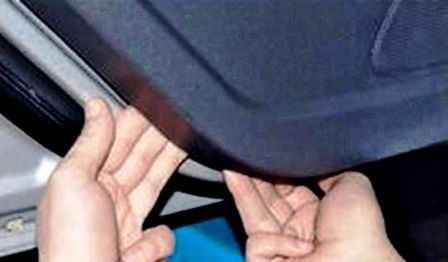
Pull on the bottom edge of the upholstery...
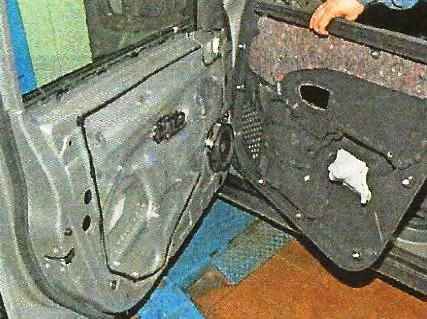
...separate the door upholstery from the inner panel
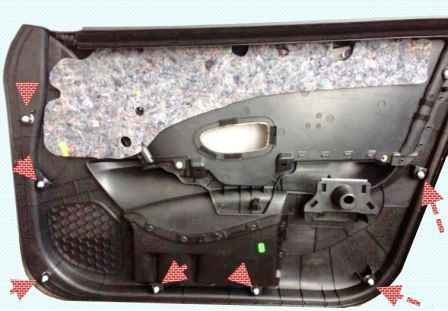
The picture shows the location of the front door upholstery caps
Install upholstery in reverse order.
Removing the outside mirror
Remove the door upholstery as above
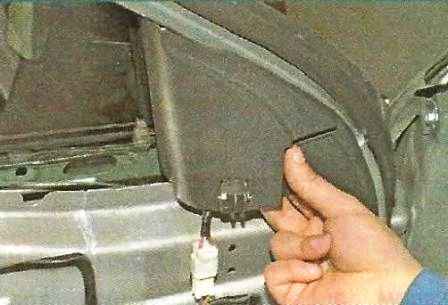
On the inside of the door we pry off the corner decorative overlay
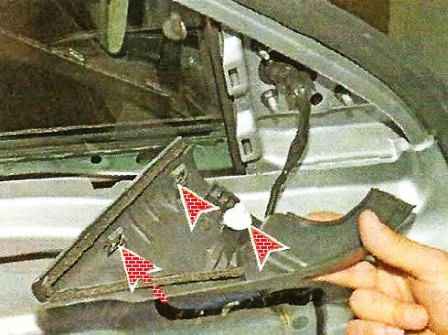
Remove the decorative overlay.
There are two metal clips and one plastic clip on the overlay
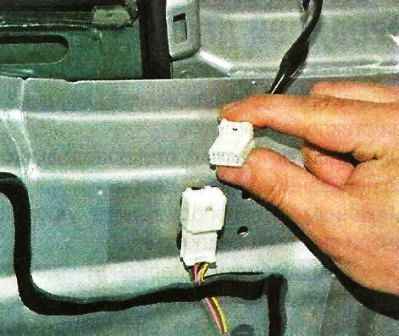
Using a screwdriver, press the lock of the upper block and disconnect the outer mirror wiring harness blocks
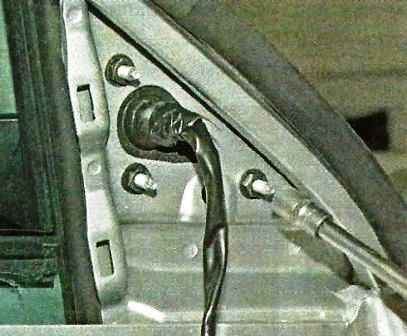
With a 10 socket, unscrew the three nuts securing the exterior mirror bracket to the door
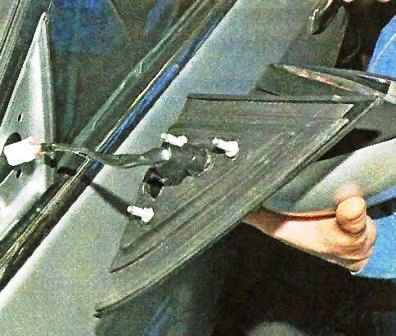
Remove the outside mirror. Install the mirror in reverse order.
Removing the front door glass
Remove the front door upholstery
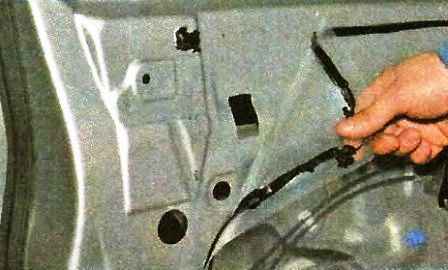
Carefully peel off the protective film, starting from the top
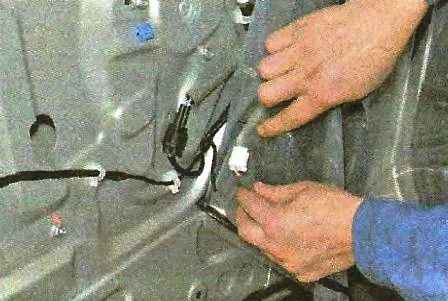
Disconnect the block of wires from the speaker and bring the block of wires through the hole in the film and peel off the film completely.
We lower the glass so that it would be possible to unscrew the bolts securing the glass holders through the technological holes in the inner door panel.
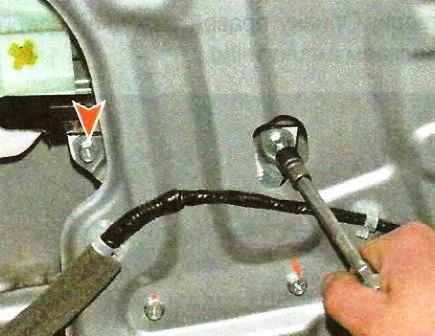
With a 10 head, unscrew the two bolts securing the glass holders to the power window slider
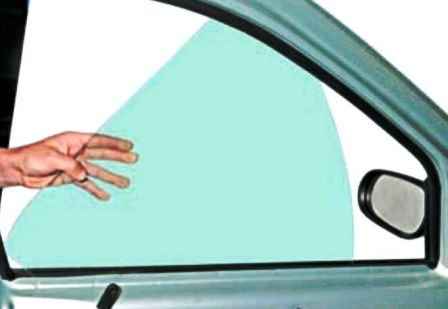
Turning the glass, take it out of the door
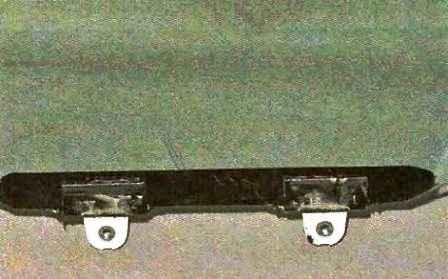
Position of glass holders
Install the glass in reverse order.
Removing the front door power window
Remove the front door upholstery as described above
We unscrew the bolts of the glass holders, as described above
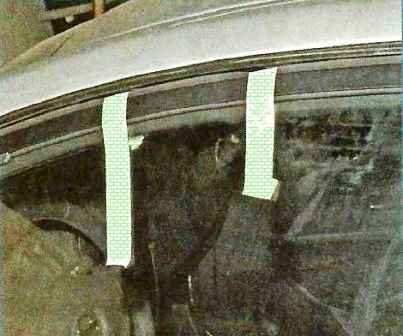
Squeezing the glass with your hands, raise it to the top position and fasten it with adhesive tape to the door frame.
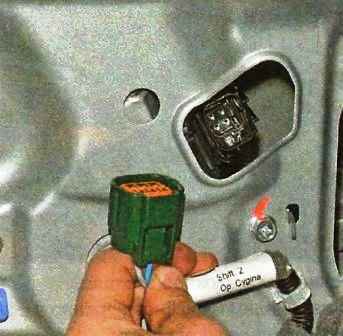
Press the latch and disconnect the wiring harness block from the power window gear motor.
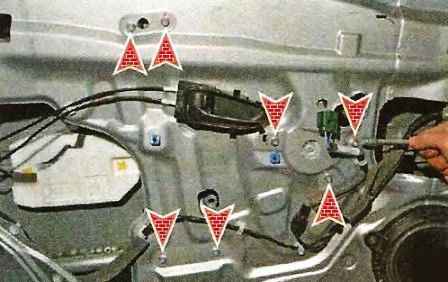
With a 10 head, we unscrew the three bolts securing the gear motor to the inner door panel and two bolts each of the upper and lower fastenings of the window guide.
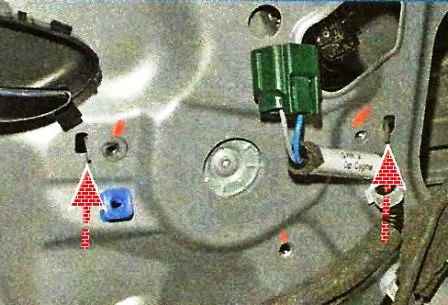
Having lifted the gear motor bracket, we remove its two antennae from the holes of the inner door panel.
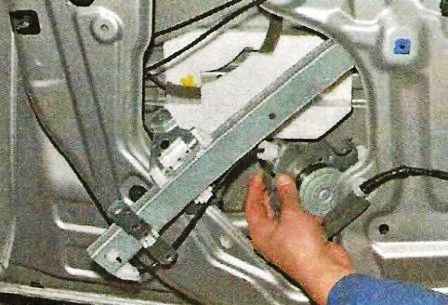
We take the power window mechanism away from the inner door panel and remove the mechanism through the technological hole in the inner door panel
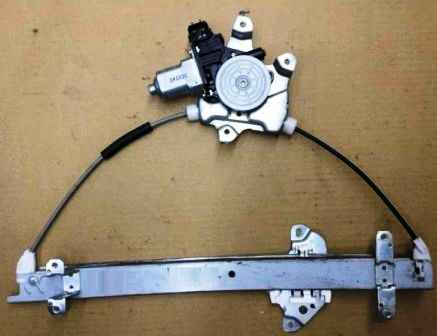
The power window mechanisms of the right and left doors are different.
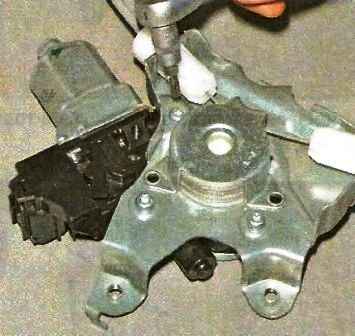
If you need to replace the power window motor reducer, use the Torx T25 key to unscrew the three screws securing the motor reducer to the bracket
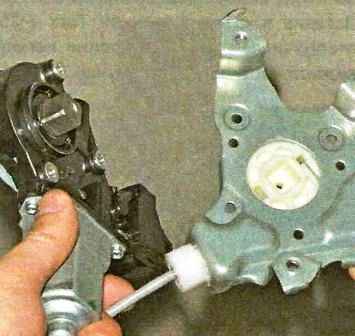
Remove the geared motor
Install the power window mechanism in reverse order.
Removing the inner handle of the front door
Remove the door upholstery
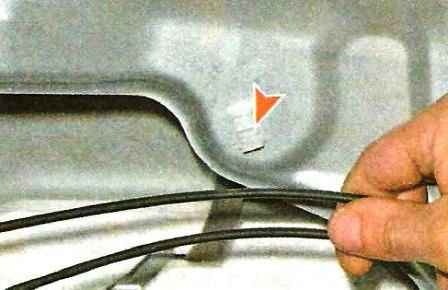
Removing the cable sheaths of the inner handle from the plastic holder
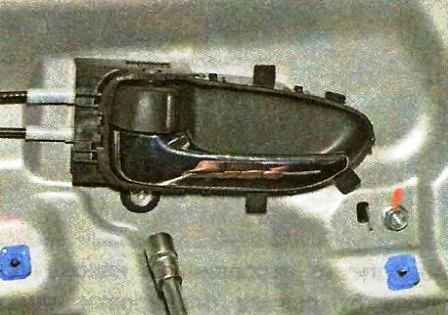
With a 10 head, unscrew the bolt securing the base of the handle to the inner her door panels
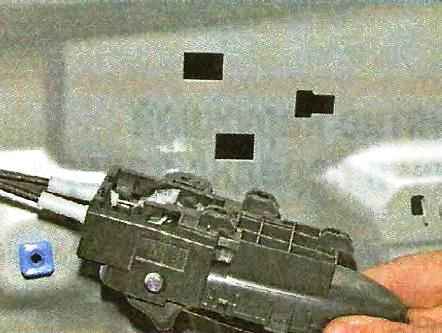
Sliding the handle back, we take it away from the door
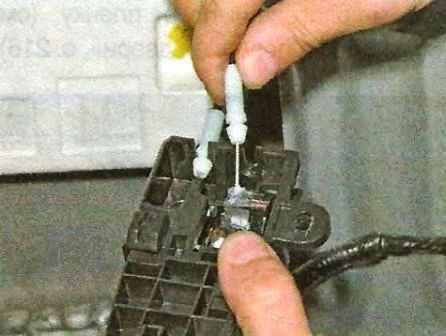
Remove the tip of the shell of the cable for opening the door lock from the groove of the base of the handle
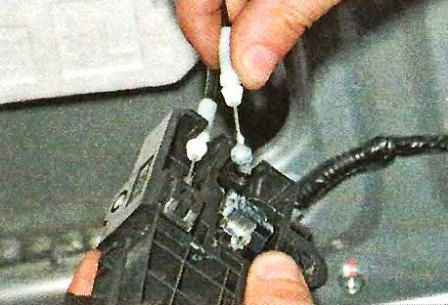
Moving the cable in the groove of the handle lever, we remove the tip of the cable from the hole in the handle lever
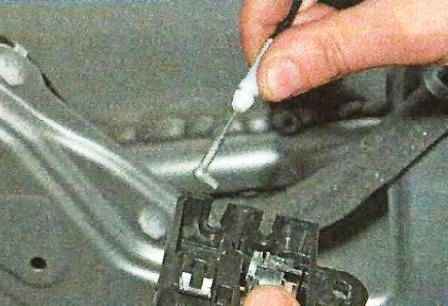
We also disconnect the tip of the cable from the door lock lever and remove the inner handle in reverse order.
Removing the outer front door handle
Remove the door upholstery and peel off the moisture-proof film, as described above
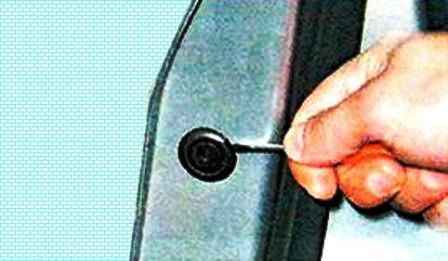
Use a flat screwdriver with a thin blade to pry off the plug
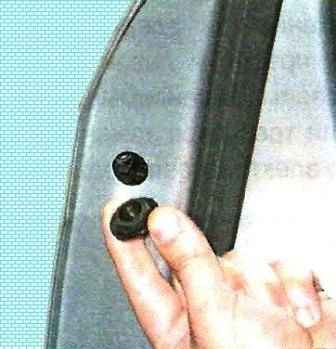
Remove the plug from the hole in the end of the door
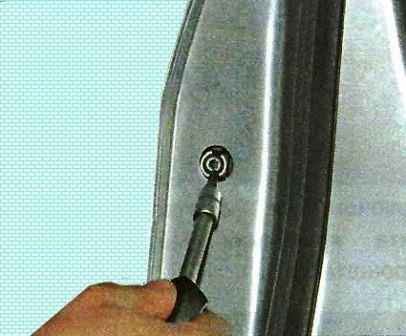
Having inserted the Torx T30 key into the hole, unscrew the screw securing the fixed part of the outer handle
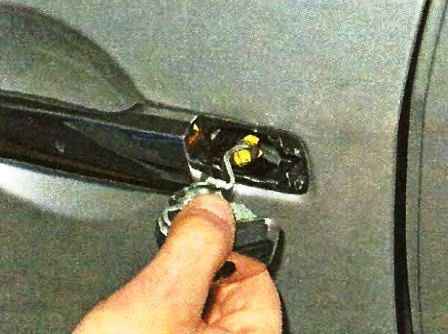
Remove the outer handle from the door panel
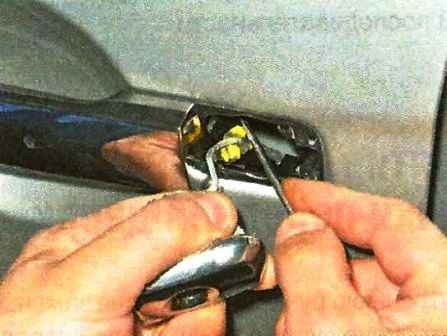
Turn the plastic retainer around its axis, remove the rod of the cylinder mechanism of the lock from the hole in the lever
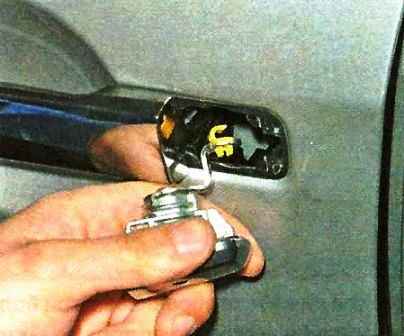
Remove the fixed part of the outer handle together with the cylinder mechanism of the lock.
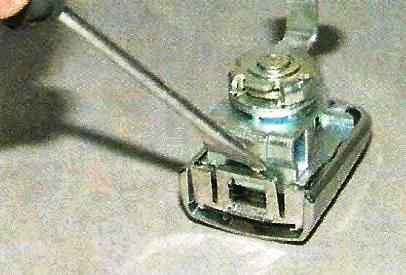
Use a flat screwdriver to squeeze the fixing tab of the lining
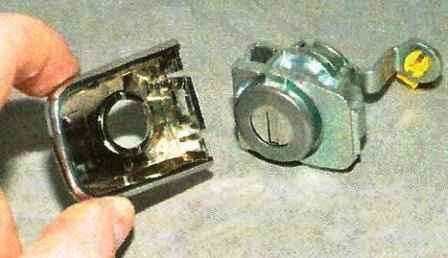
Remove the cylinder mechanism of the lock
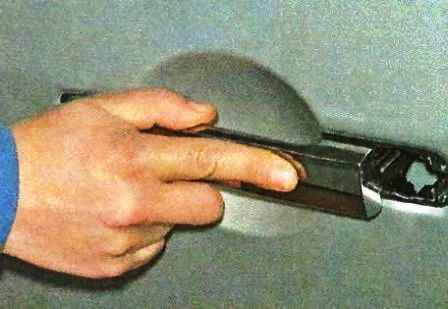
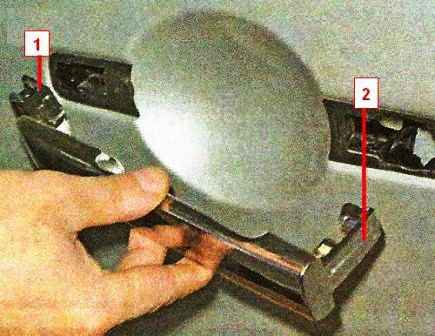
Move the movable part of the outer handle back so that the leash 2 disengages from the lever of the handle base, and the front latch 1 comes out of the groove of the handle base
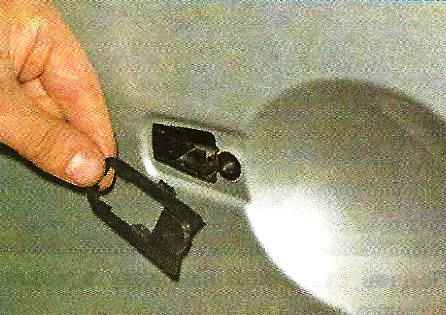
Remove the front handle pad
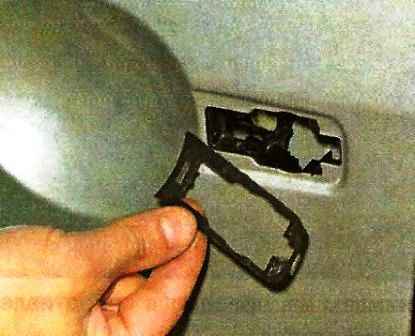
Remove the rear handle pad
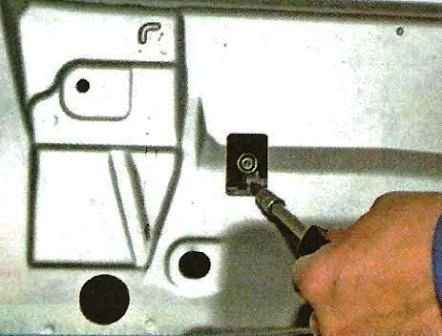
Using a Torx T30 key, unscrew the screw securing the handle base to the outer door panel
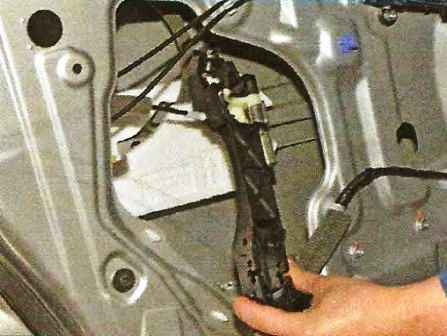
Move the base of the handle to the technological hole in the inner panel of the door
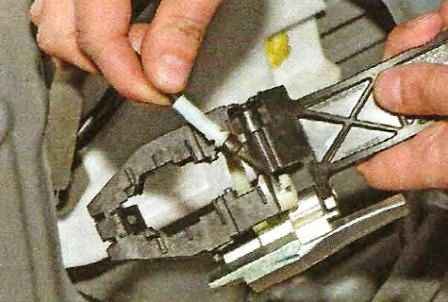
We take out the tip of the shell of the cable for opening the door lock from the groove at the base of the handle
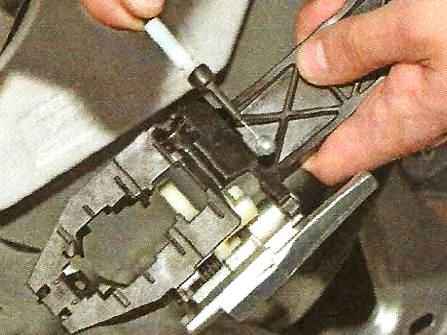
We bring the tip of the cable through the groove in the handle lever and remove the base of the outer handle.
Install the outer handle in reverse order.
Removing the front door lock
Raise the glass all the way
Remove the door upholstery
Disconnecting the cables from the levers of the inner handle
Remove the outer handle, all this is described in this article.
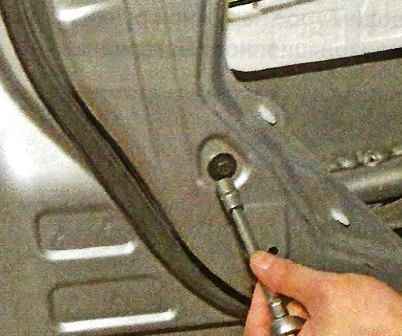
With a 10 head, unscrew the screw securing the glass guide to the inner door panel
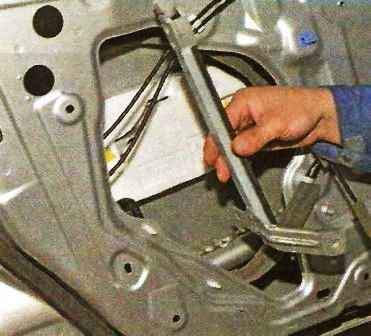
We take out the guide through the technological hole in the inner panel of the door
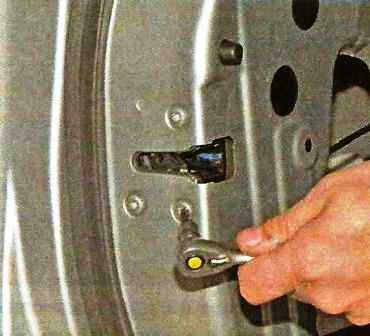
Using a Torx T30 key, unscrew the three screws securing the lock to the end of the door
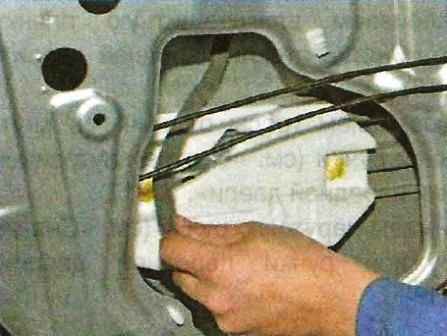
We remove the cable of the outer handle from the groove of the soundproofing material
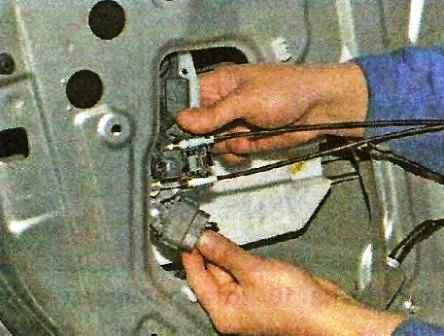
We shift the door lock to the technological hole in the inner panel of the door
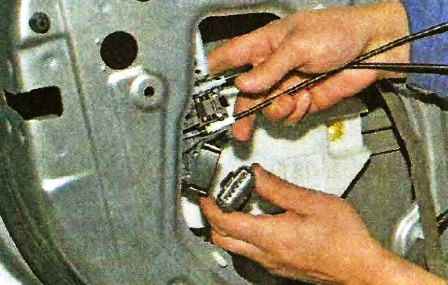
By pressing the latch, we disconnect the block of wires from the electric drive of the lock
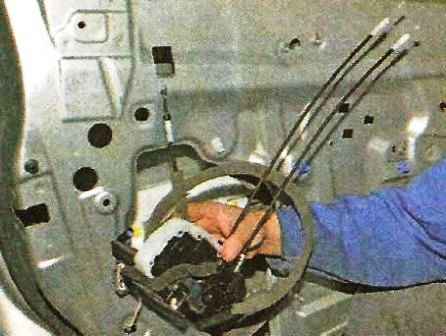
We remove the lock assembly with an electric drive, a rod and three cables through a technological hole in the inner panel of the door
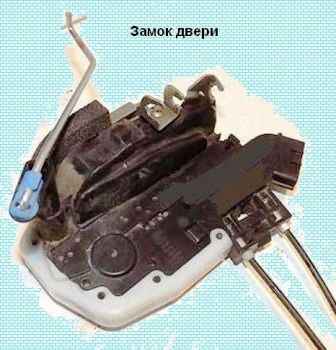
Install the lock in reverse order
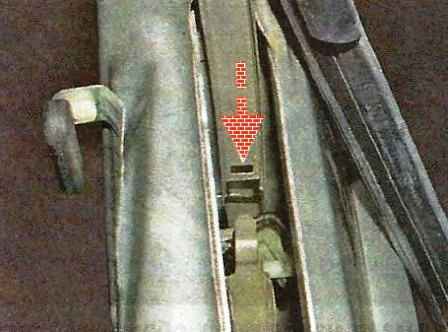
When installing the glass guide, the upper tab must fit into the groove indicated by the arrow.


