We remove the instrument panel when repairing the interior heater, when replacing the wiring harness and performing some body work.
Tools will be required: a set of screwdrivers, a Torx T-20 key.
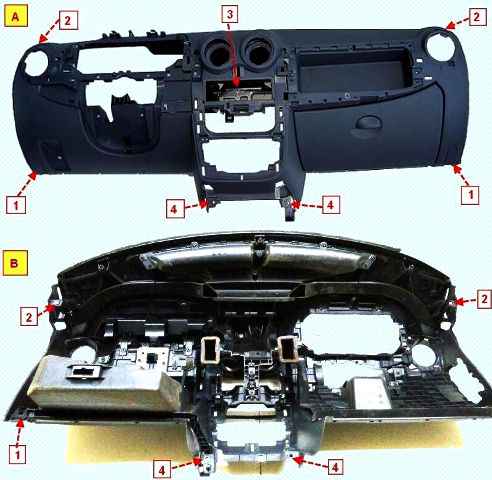
Preparing the car for the task.
Disconnect the negative battery terminal.
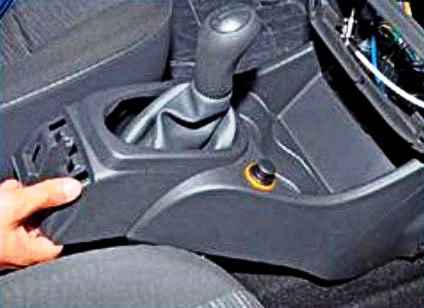
We remove the floor tunnel lining (article - How to remove the Nissan Almera floor tunnel lining)
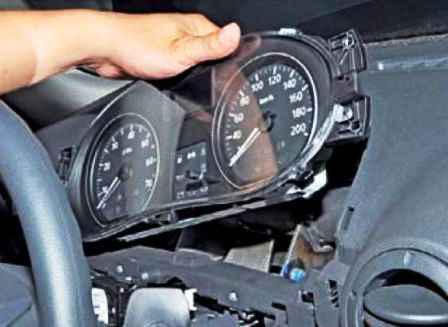
We remove the instrument cluster (article - Removing the instrument cluster of a Nissan Almera car)
Removing the steering wheel
We remove the steering column switches (article - Removing and installing Nissan Almera steering column switches)
We disconnect the wire blocks from the ignition switch and the immobilizer coil (article - Replacing the ignition switch and the Nissan Almera immobilizer coil)
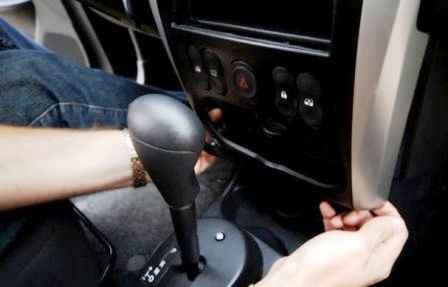
Press the trim of the instrument panel console from below
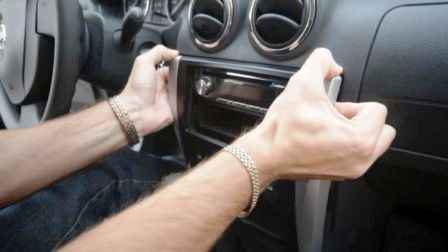
Then press the overlay on top
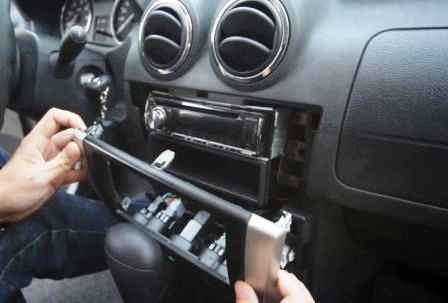
Remove the trim with switches from the instrument panel
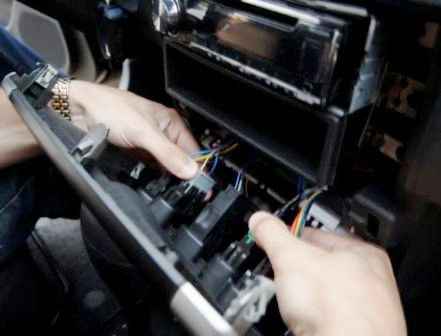
Disconnect the wire blocks from the switches
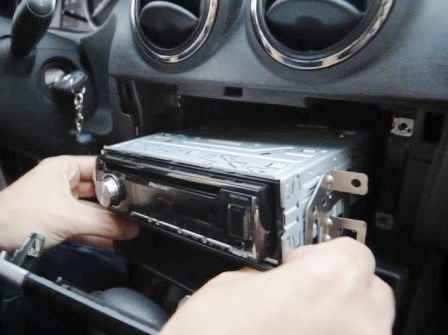
We unscrew the screws securing the radio and remove it from the socket of the instrument panel
Disconnect the wire connectors from the radio
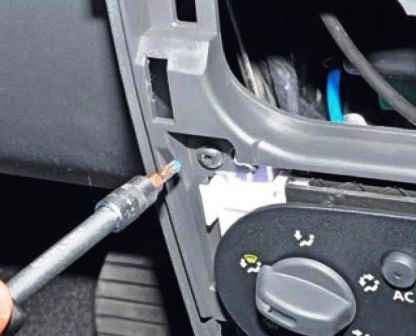
Unscrew the screws securing the heating and ventilation control unit
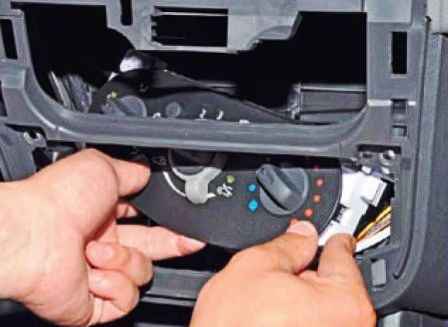
Remove the heating and ventilation control unit from the center console
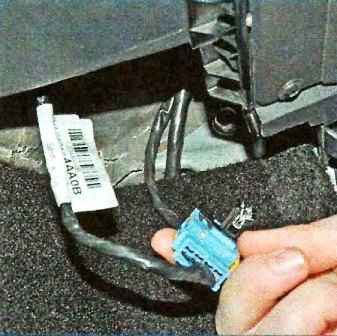
Remove the holder for the front passenger airbag wiring harness from the right bracket of the instrument panel cross member.
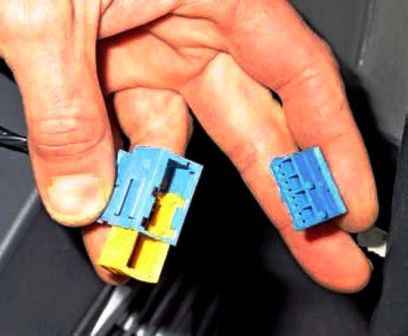
Hooking and pulling out with a screwdriver, the yellow latch, disconnect the wiring harness block from the front passenger airbag wiring block.
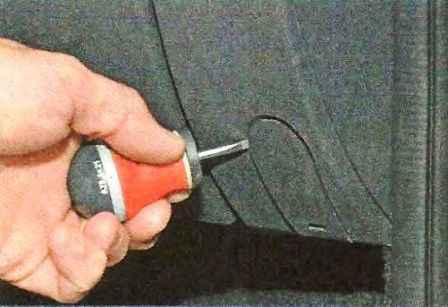
Having prying with a screwdriver, we fold back the screw cap of the lower side mounting of the instrument panel
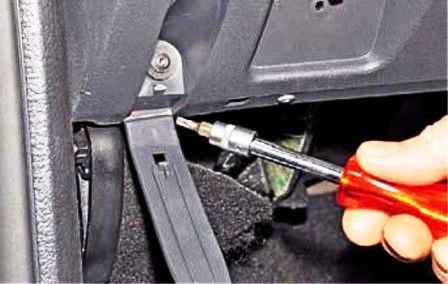
Using a Torx T-20 wrench, unscrew the screw on the side of the instrument panel.
We also unscrew the screw on the other side of the instrument panel.
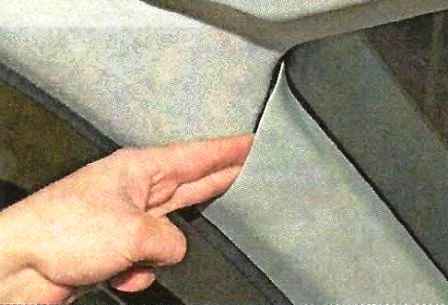
Press the upholstery of the left A-pillar
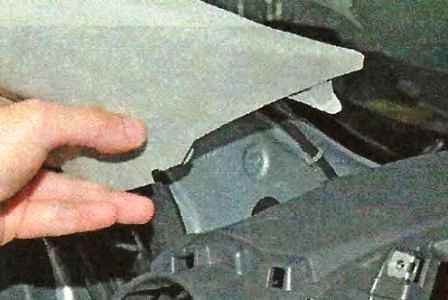
We remove the lower clips from the holes in the instrument panel and remove the upholstery of the left front pillar.
We also remove the upholstery of the right front pillar.
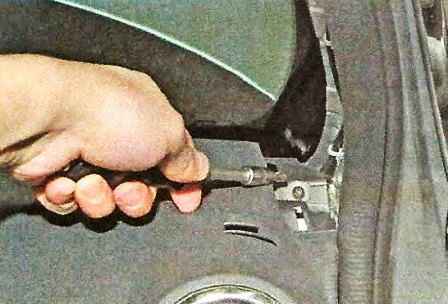
Using a Torx T-20 wrench, unscrew the screw of the upper side fastening of the instrument panel.
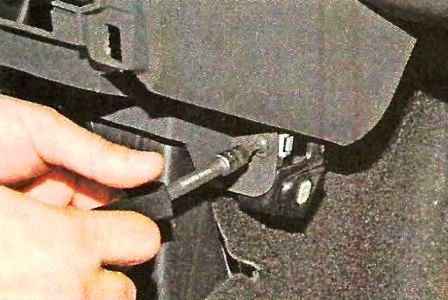
We also unscrew the screw on the other side of the instrument panel.
Using the Torx T-20 key, we unscrew the screw of the lower fastening of the instrument panel console to the body on the right side
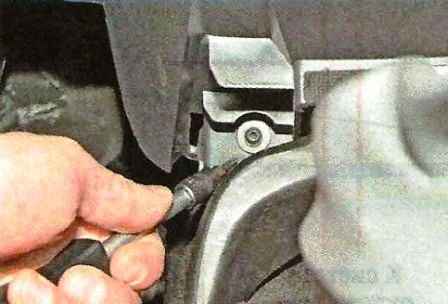
Unscrew the screw on the left side of the instrument panel console
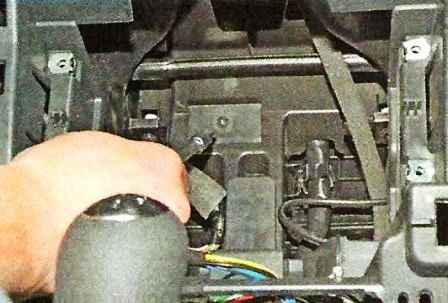
In the niche for the radio, use the Torx T-20 key to unscrew the screw for the central fastening of the instrument panel.
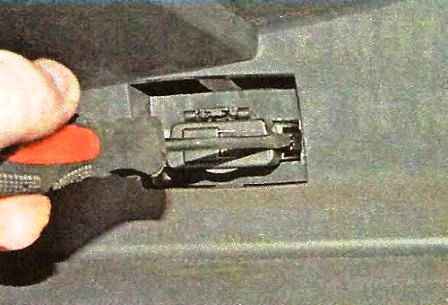
Having opened the lid of the glove box, use a screwdriver to tighten the latch and push the diagnostic connector out of the socket of the glove box.
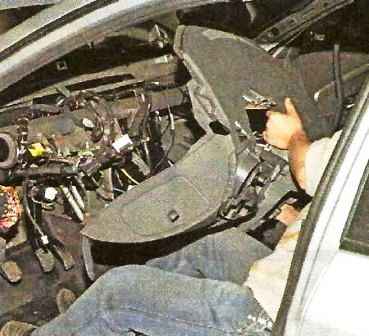
Remove the instrument panel from the cross beam
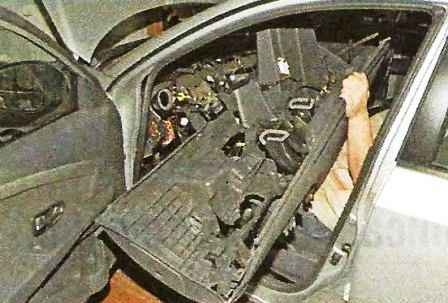
And remove the instrument panel from the car
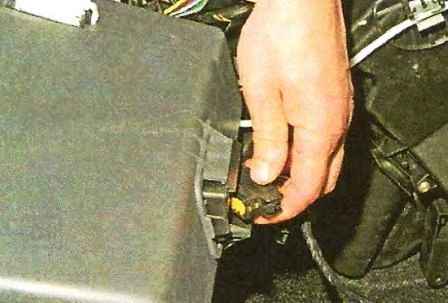
Before installing the instrument panel, insert the diagnostic connector into the glove box socket.
Assemble all the parts in reverse order.


