In the article, we will consider the replacement of lamps and cases of outdoor lighting elements of a Nissan Almera car.
Replacing bulbs in the headlight
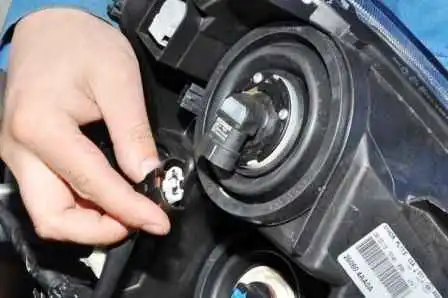
To replace the high beam lamp, press the lock of the wire block, disconnect the block from the lamp
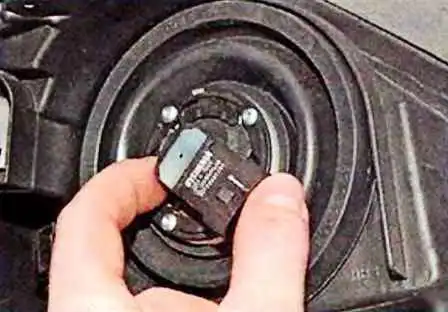
Turn the lamp counterclockwise
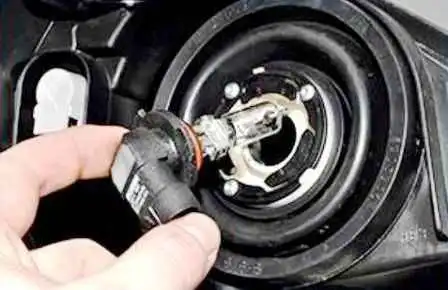
Remove the lamp from the headlight housing.
Install the new HB3 lamp in reverse order.
To change the low beam bulb:
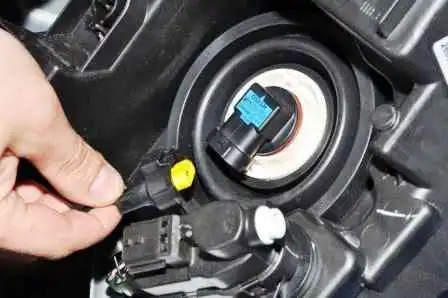
Push the lock of the wire block, disconnect the block from the lamp
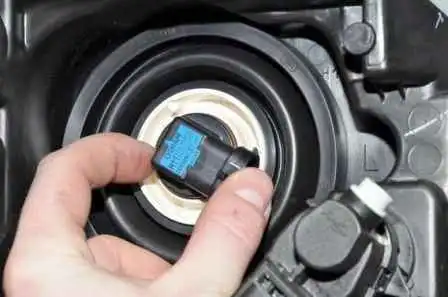
Turn the low beam lamp counterclockwise
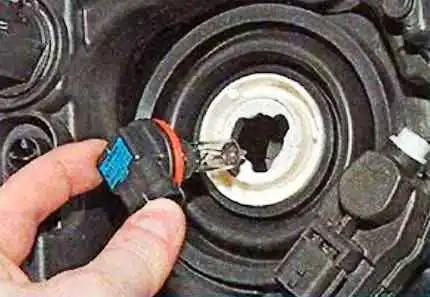
Remove the lamp from the headlight housing.
Install the new H11 lamp in reverse order.
To replace side light bulbs:
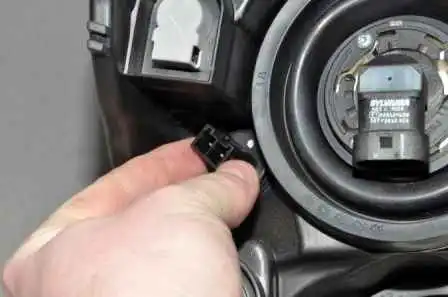
Turn the side light bulb socket counterclockwise
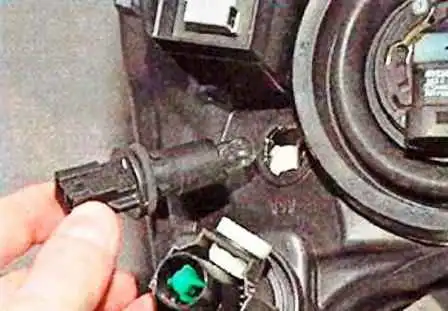
Remove the cartridge with the lamp from the headlight housing
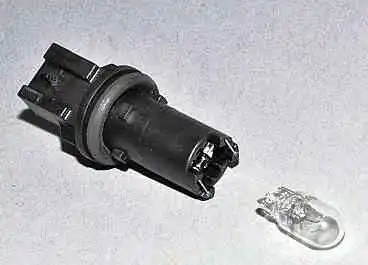
Pull the lamp. We take it out of the cartridge.
The cartridge is sealed in the headlight housing with a rubber ring.
If the ring is torn or cracked, it needs to be replaced.
To change the turn signal bulbs:
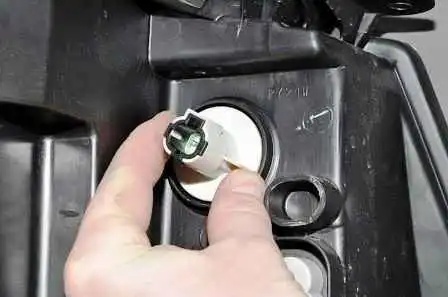
Turn the lamp socket counterclockwise
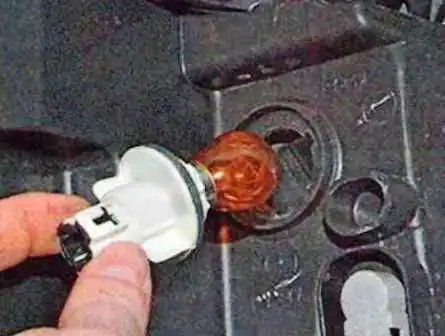
Remove the cartridge with the lamp from the headlight housing.
Click on the lamp, turn it counterclockwise until it stops
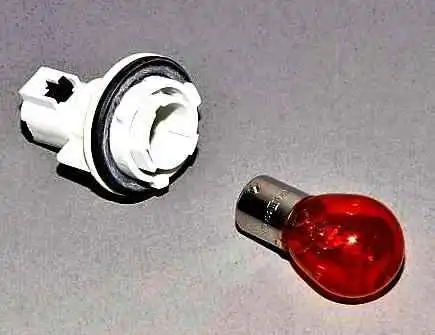
And take the lamp out of the socket.
The cartridge is sealed in the headlight housing with a rubber gasket. If the gasket is torn, we replace it.
Install the new PY21W lamp in reverse order.
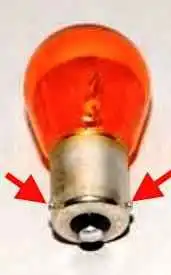
At the same time, two protrusions located asymmetrically relative to the axis of the lamp, must fit into the corresponding grooves of the cartridge.
Removing headlight
To remove the headlight, remove the front bumper.
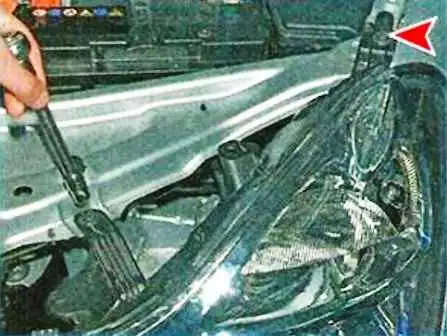
With a 10 head, we unscrew the two bolts of the upper fastening of the headlight.
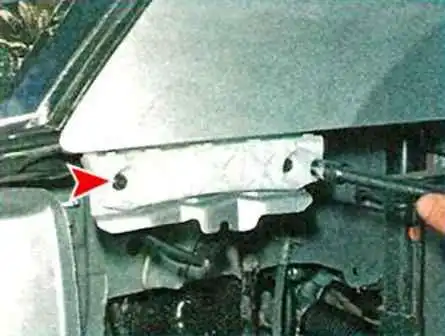
With a 10 head, unscrew two screws
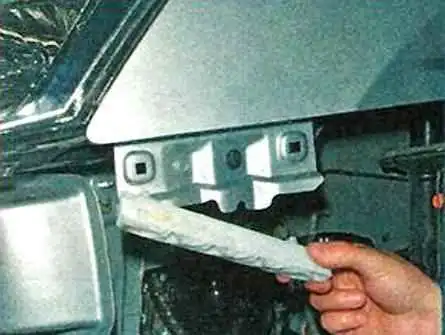
Remove the front bumper holder
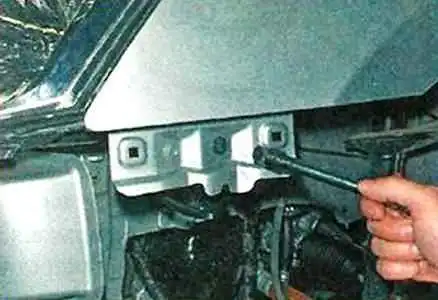
With a head of 10, unscrew the headlight mounting bolt located under the bumper holder
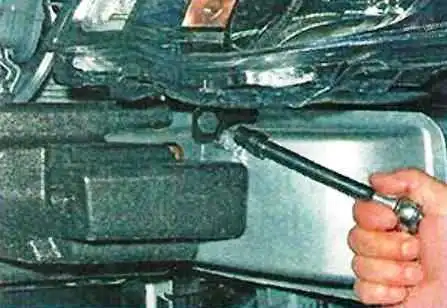
We unscrew the bolt of the lower fastening of the headlight
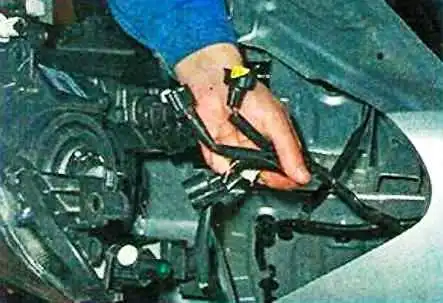
We take the headlight unit away from the body, disconnect the wire blocks from the high and low beam lamps, the turn signal and side light bulb holders and the headlight beam direction control actuator
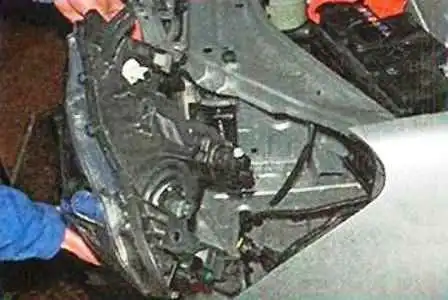
Remove the block headlight.
Install the headlight in reverse order.
After installing the headlight, we adjust the direction of the headlight beams (described below).
Removing the headlight beam adjuster mechanism
We remove the actuator for headlight beam direction control for replacement in case of malfunction.
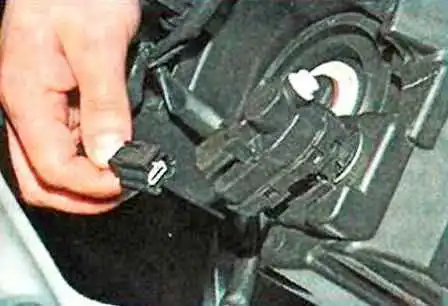
By pressing the lock of the wire block, we disconnect the block from the connector of the actuator
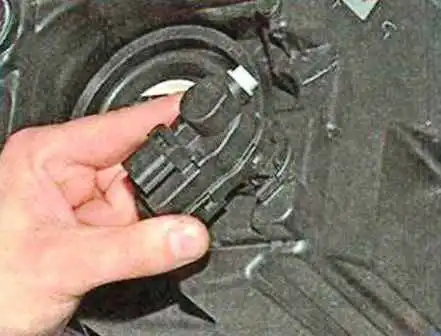
Turn the actuator clockwise
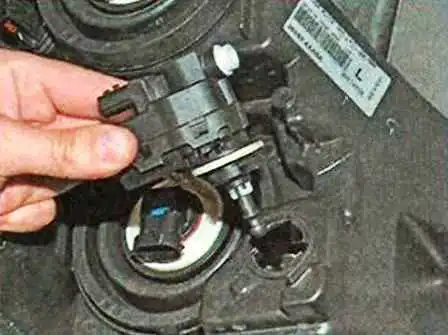
Remove it from the headlight housing
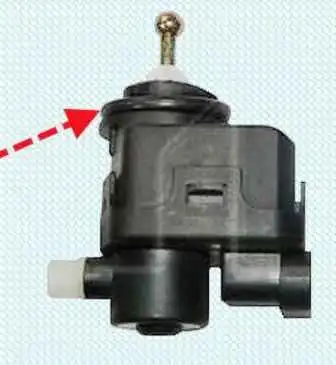
The actuator is sealed in the housing with a rubber ring
Install the actuator in reverse order.
Before fixing the mechanism in the headlight housing, make sure that the tip is inserted into the corresponding socket of the headlight reflector - when the actuator housing sways in the vertical plane, the headlight reflector should rotate.
Replacing the fog light bulb
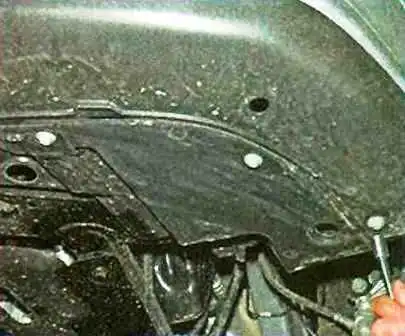
With a head of 10, unscrew the three bolts securing the front wheel liner
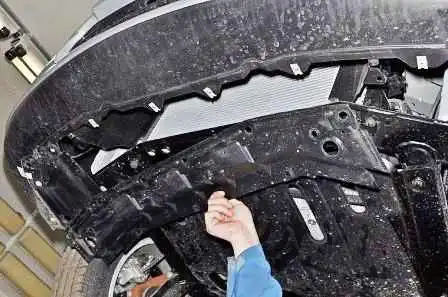
Remove the front bumper mudguard
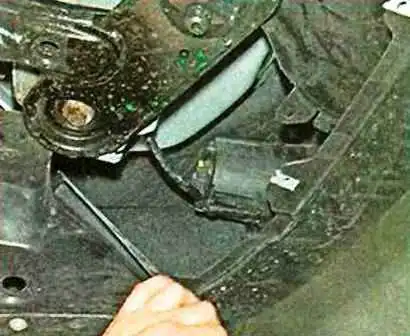
Bending the edge of the fender liner
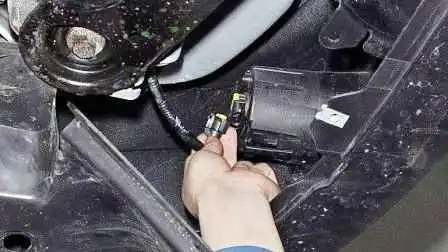
By pressing the lock of the wire block, we disconnect the block from the lamp
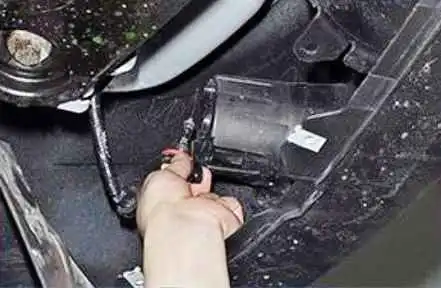
Turn the bulb counterclockwise and remove it from the headlight housing.
Install the new H8 lamp in reverse order.
Removing the fog lamp
We perform work on a lift or a viewing ditch
Bend the edge of the fender liner and disconnect the wire block from the fog lamp
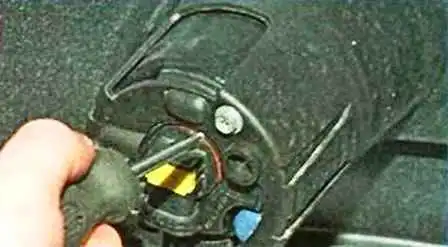
Use a Phillips screwdriver to unscrew the screw securing the headlight to the front bumper
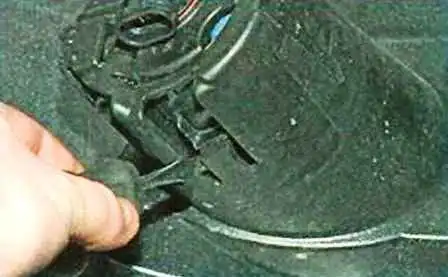
Use a slotted screwdriver to press the latch and move the headlight so that it comes out of the latch
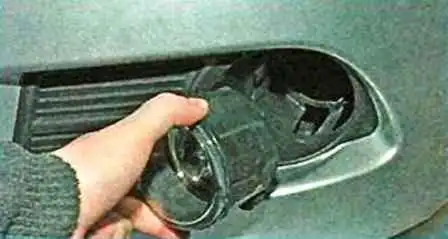
Remove the headlight from the front bumper
Install the fog lamp in reverse order.
After installing the headlight, we adjust the direction of the headlight beam
Adjusting the direction of the headlight beams
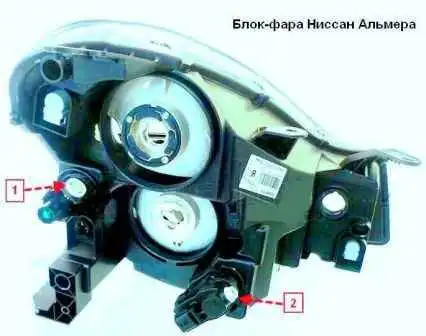
We adjust the direction of the headlights on a fully fueled and equipped car, with normal tire pressure.
We place the car on a flat area, put an assistant in the driver's seat or a load of 75 kg.
Set the headlight range control switch to the "0" position and turn on the low beam headlights.
Closing one of the headlights.
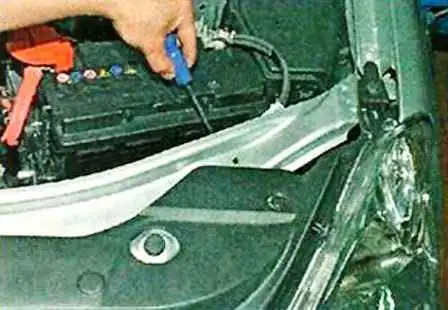
By turning the regulator located closer to the axis of the car with a Phillips screwdriver, we change the position of the light beam in the vertical plane.
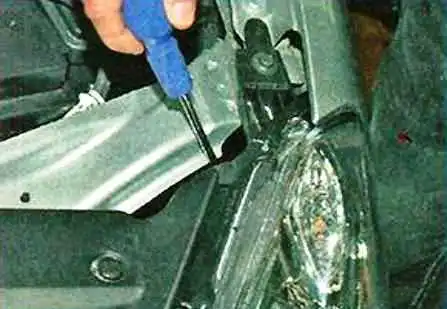
By turning the regulator located closer to the wing of the car with a Phillips screwdriver, we change the position of the light beam in the horizontal plane.
We also adjust the low beam of the other headlight.
The fog lamp beams are adjusted under the same conditions as when adjusting the headlights.
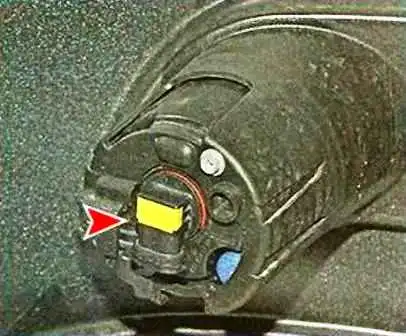
Use a Phillips screwdriver to turn the plastic adjusting screw clockwise to raise the beam, or counterclockwise to lower the beam.
To adjust the fog lamp beams during operation, holes are made in the bumper
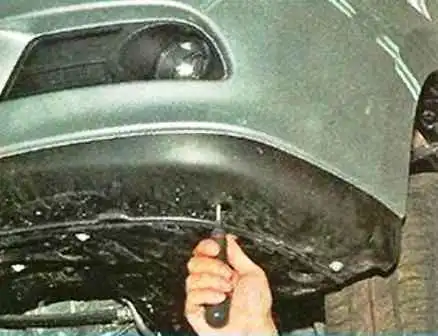
To adjust, insert a Phillips screwdriver with a long shaft into the hole and turn the adjustment screw.
Removing and installing side turn signal and lamp
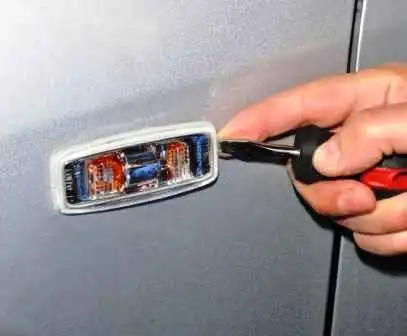
Pry off the turn signal with a screwdriver
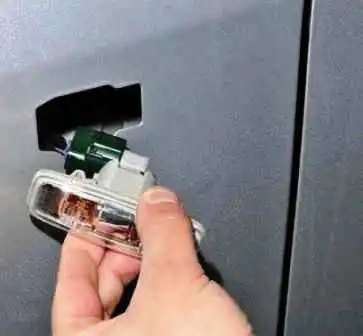
Remove the repeater from the hole in the front fender
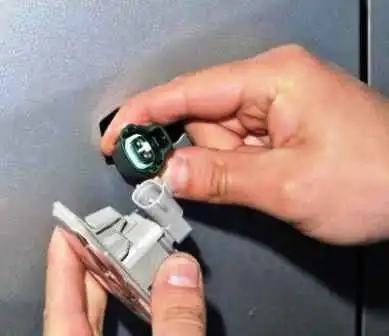
We press the lock of the wire block, disconnect the block from the lamp socket.
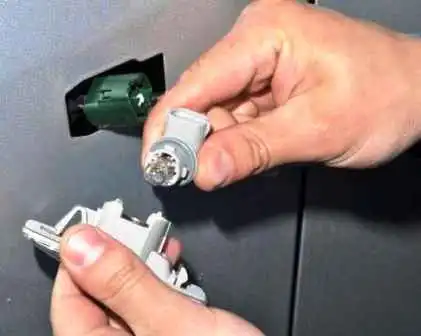
By turning the lamp socket counterclockwise, we remove the socket from the pointer body
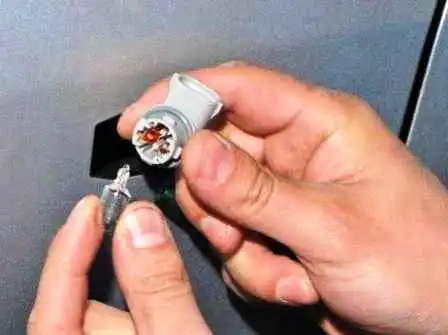
Pull out the lamp, remove it from the socket and replace it with a new W5W lamp.
Install the repeater in reverse order.


