


To remove the upper A-pillar trim, you must remove the sun visor.
Removing the sun visors
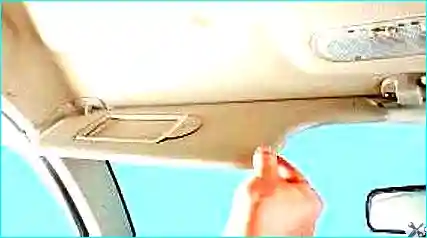
Fig. 1. Lower the sun visor to access the bracket retaining screws
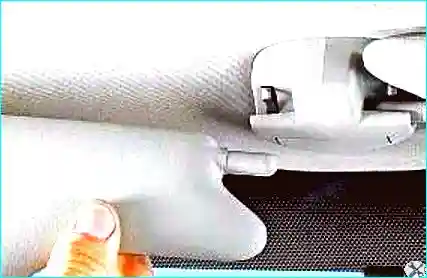
Fig. 2. Remove the visor from the holder
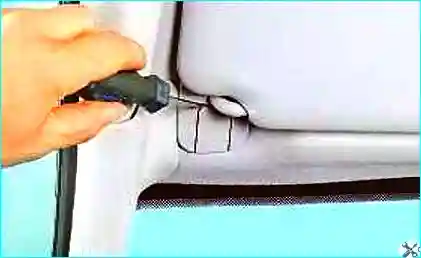
Fig. 3. Prise the decorative cover with a screwdriver
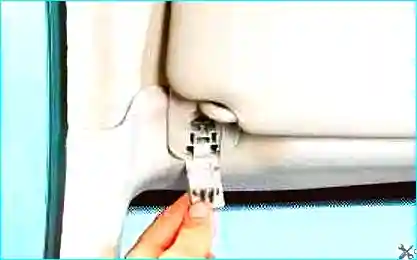
Fig. 4. Fold back the decorative cover of the visor bracket retaining clip
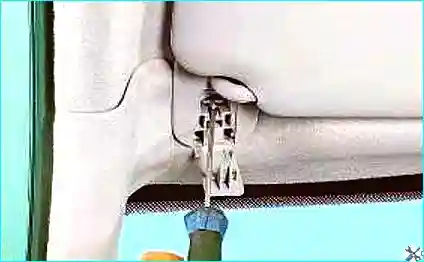
Fig. 5. Release the visor bracket retaining clip from the body
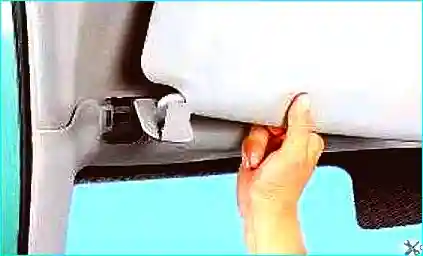
Fig. 6. Remove the sun visor
Remove the second visor in the same way.
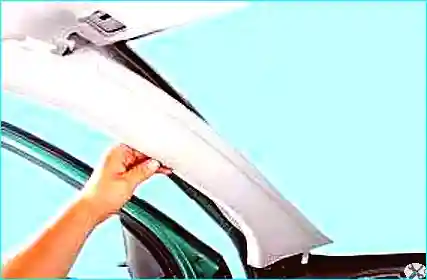
Fig. 7. Remove the A-pillar trims, overcoming the resistance of the clips
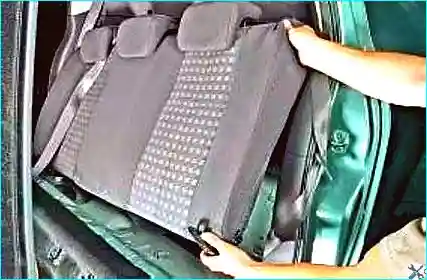
Fig. 8. To remove the rear A-pillar trim, remove the rear seat
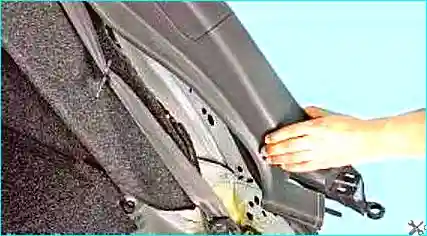
Fig. 9. Remove the rear pillar trim, overcoming the resistance of the clips
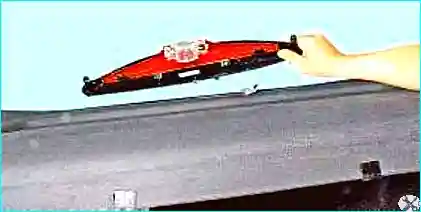
Fig. 10. To remove the rear parcel shelf, remove the high-level brake light
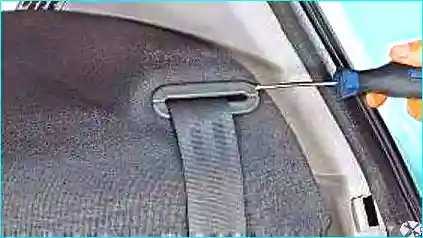
Fig. 11. Prise the seat belt trim with a screwdriver
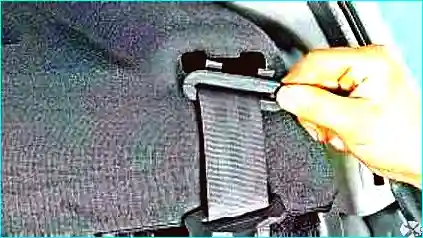
Fig. 12. Remove the seat belt trim
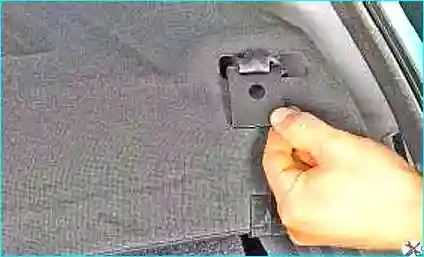
Fig. 13. Through the opening in the trim, thread the buckle tongue and the lower buckle mounting
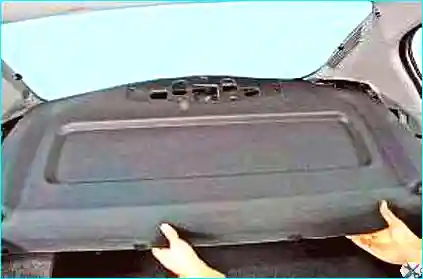
Fig. 14. Remove the rear parcel shelf
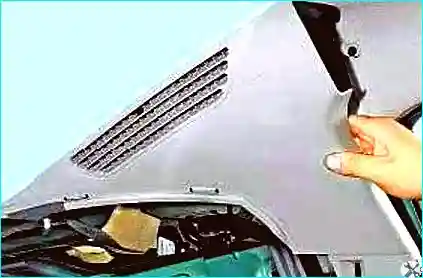
Fig. 15. Remove the upper rear pillar trim, overcoming the resistance of the clips
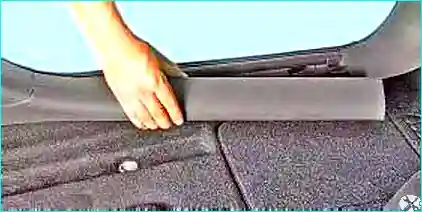
Fig. 16. Remove the front sill trim by pulling it upwards
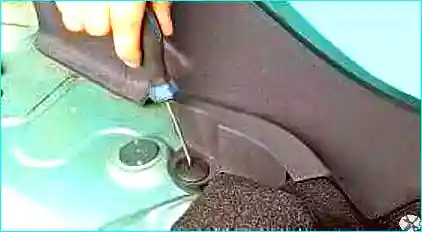
Fig. 17. To remove the rear sill trim, unscrew the clip core
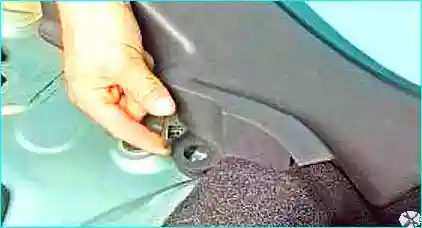
Fig. 18. Remove the clip from the hole
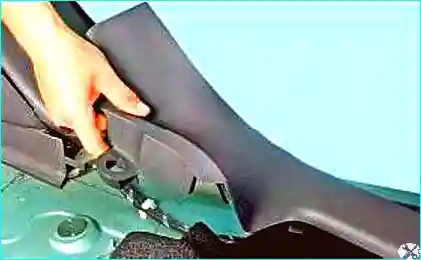
Fig. 19. Remove the rear sill trim
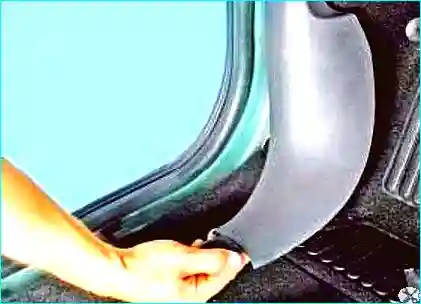
Fig. 20. Remove the lower A-pillar trim by pulling it upwards
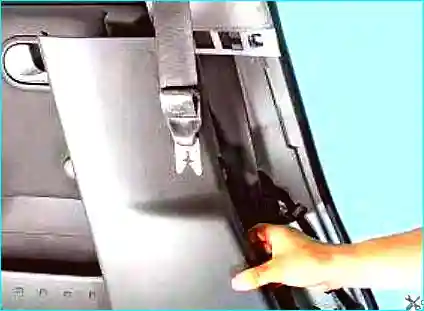
Fig. 21. Remove the lower B-pillar trim by pulling it sideways
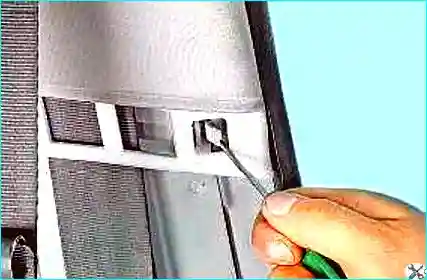
Fig. 22. Release the clips of the upper B-pillar trim and move the trim aside
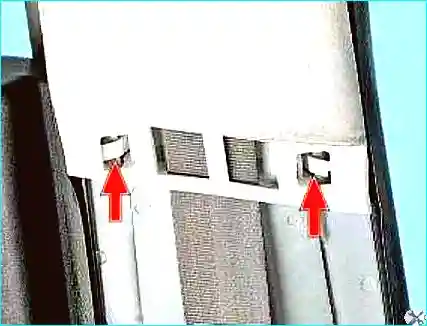
Fig. 23. Location of the retaining clips for the upper B-pillar trim
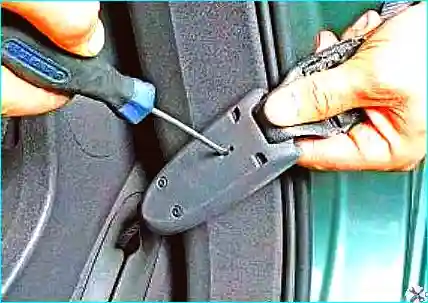
Fig. 24. Release the clip
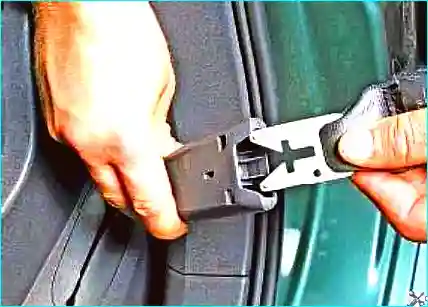
Fig. 25. Remove the seat belt buckle
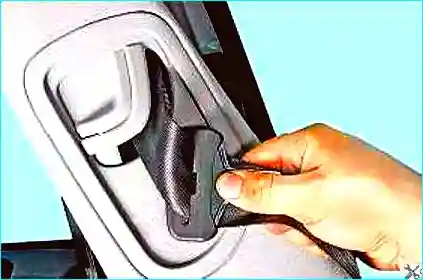
Fig. 26. Prise alternately through the opening in the trim the buckle tongue and the lower seat belt mounting, then remove the upper B-pillar trim
Removing the boot trims
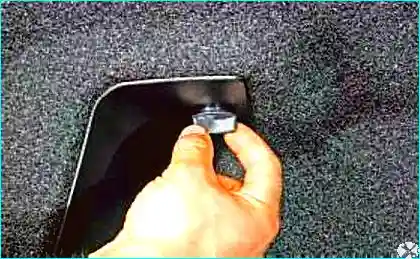
Fig. 27. Turn the clip
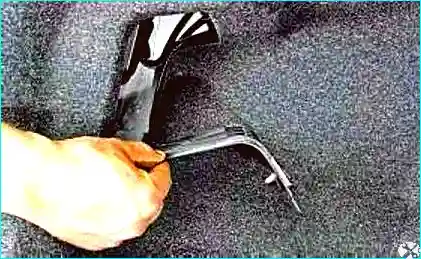
Fig. 28. Remove the rear lamp covers from the left and right sides of the body
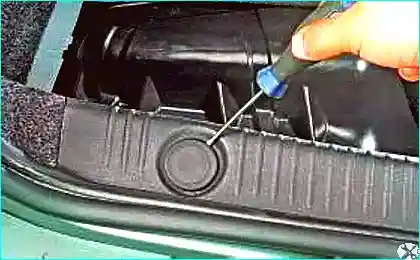
Fig. 29. Prise the clip with a screwdriver
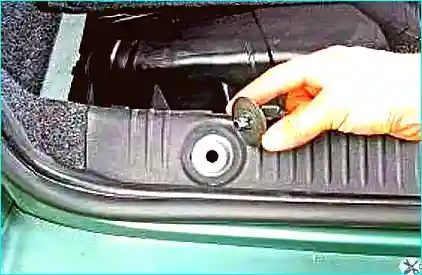
Fig. 30. Remove the rear boot trim retaining clips from the body panel holes
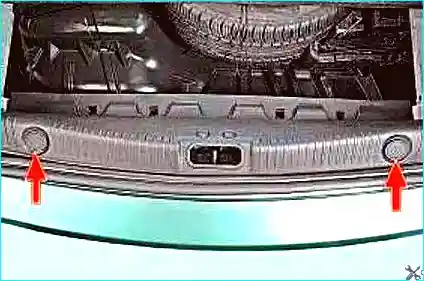
Fig. 31. Location of the rear boot trim clips
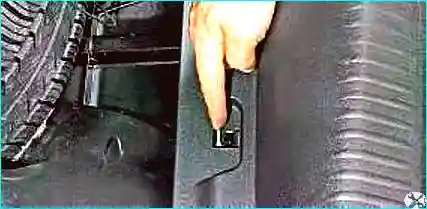
Fig. 32. Release the rear trim clips
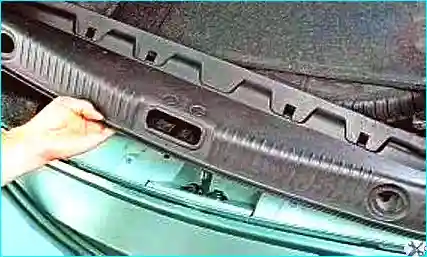
Fig. 33. Remove the rear boot trim
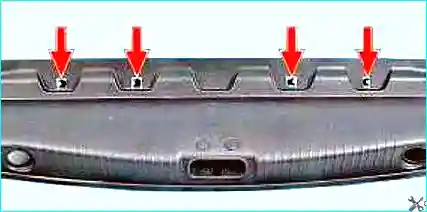
Fig. 34. Location of the rear boot trim retaining clips
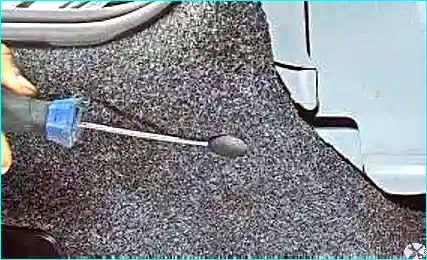
Fig. 35. Prise and remove the side boot trim fixings from the body holes
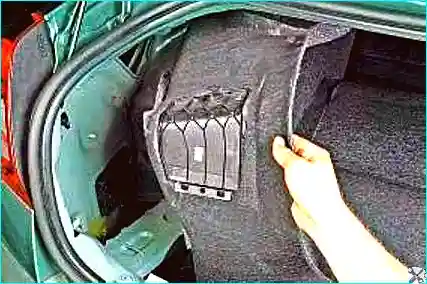
Fig. 36. Remove the side boot trims
Install all components in the reverse order, after checking the clips and trim fasteners.


