We remove the lining of the floor tunnel to approach the parts and assemblies located in the floor tunnel itself, as well as under the lining of the floor tunnel
Disconnect the negative battery terminal
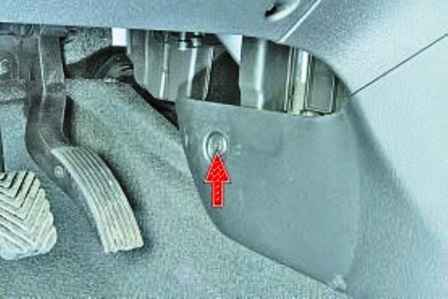
We unscrew the retainer of the piston for fastening the left side of the floor tunnel lining
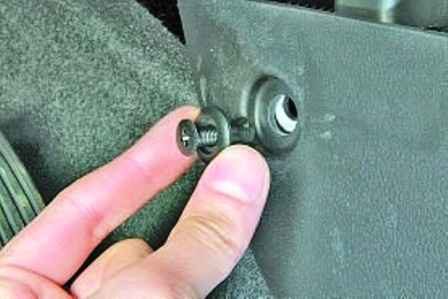
We take out the piston. We also unscrew the latch and take out the fastening clip of the right front part of the floor tunnel lining
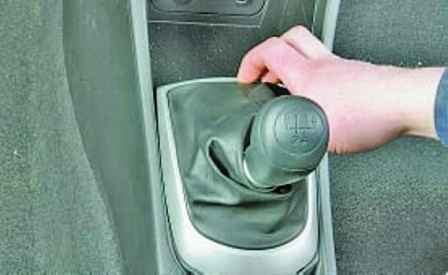
Pry off the edge of the frame of the gear lever cover
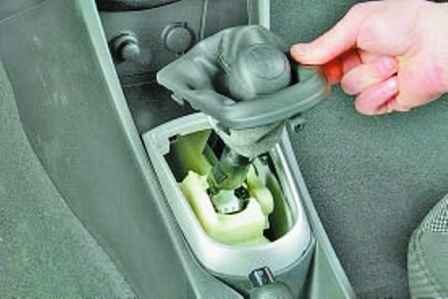
Remove the frame, overcoming the elasticity of the clamps
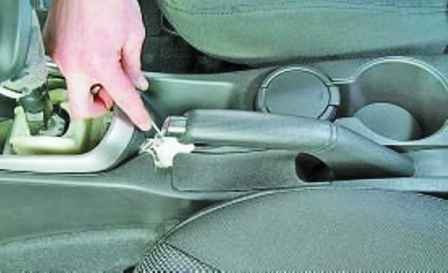
Using a screwdriver to pry off the cutout of the parking brake lever
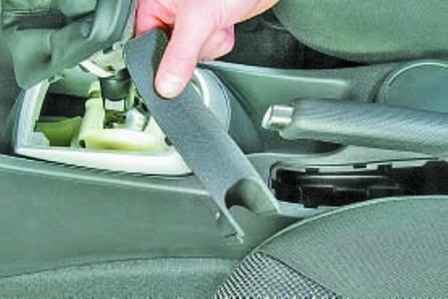
Remove the overlay, overcoming the resistance of the clamps
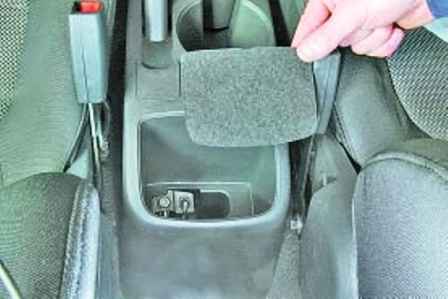
We take out the decorative insert of the niche of the rear part of the lining of the floor tunnel
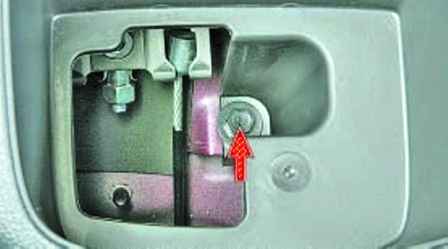
Unscrew the bolt securing the lining of the floor tunnel to the body
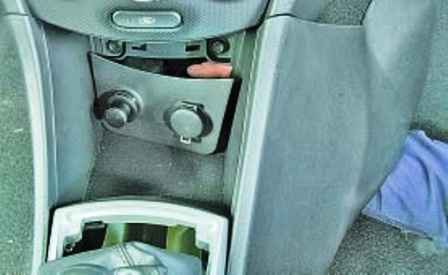
Remove the lining of the floor tunnel with a cigarette lighter unit and a socket for connecting additional equipment
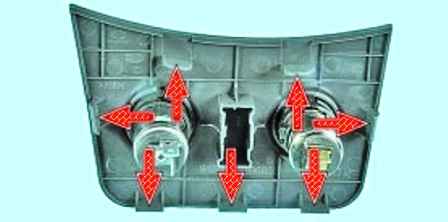
The photo shows the location of the fixing latches of the floor tunnel lining
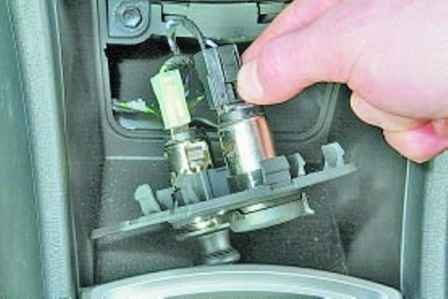
We press the retainer for fastening the socket wire block for connecting additional electrical equipment
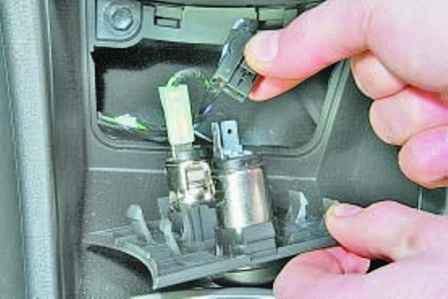
Disconnect the block from the socket
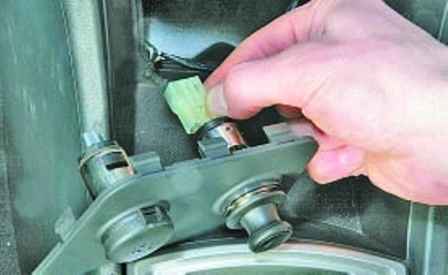
Disconnecting the cigarette lighter wire
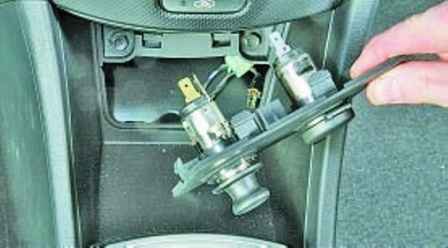
Remove the lining of the floor tunnel lining with the cigarette lighter unit and socket
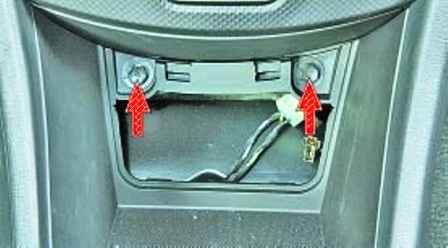
We unscrew the two bolts securing the lining of the floor tunnel to the instrument panel
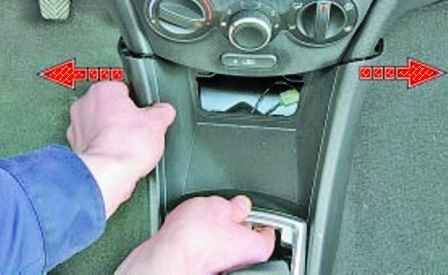
We part the front part of the floor tunnel lining
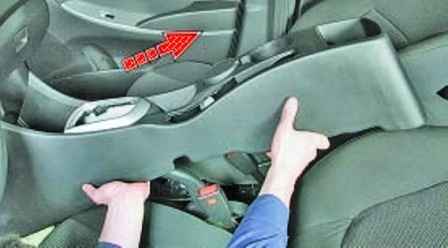
We pull the lining up and back and, overcoming the resistance of the fasteners, remove the lining from the car
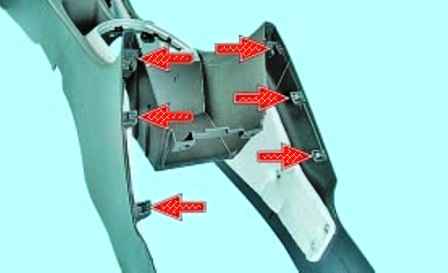
The photo shows the location of the fasteners for fastening the front part of the floor tunnel lining to the instrument panel
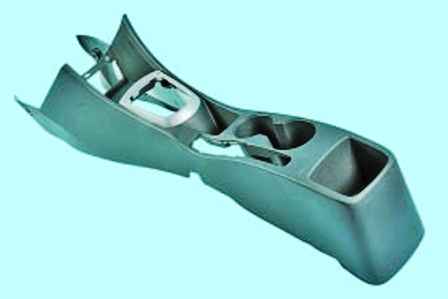
Install the lining of the floor tunnel and all removed parts in reverse order


