In the article, we will consider the removal and installation of car lights and lamps
Changing the front light bulbs
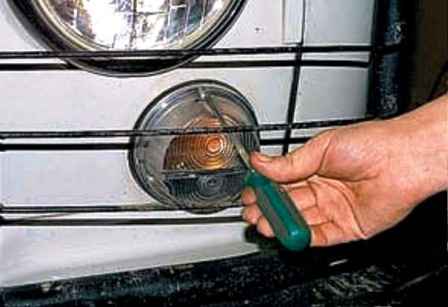
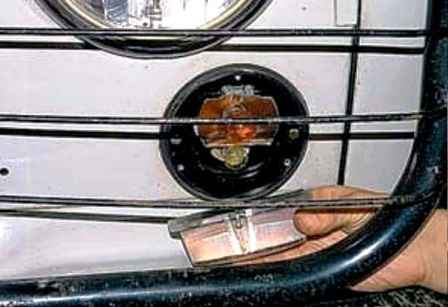
Unscrew the two screws with a screwdriver and remove the diffuser
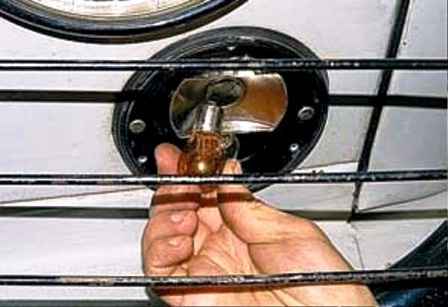
Replacing the defective lamp and reinstalling the diffuser
Removing the front light
Remove the protective arc
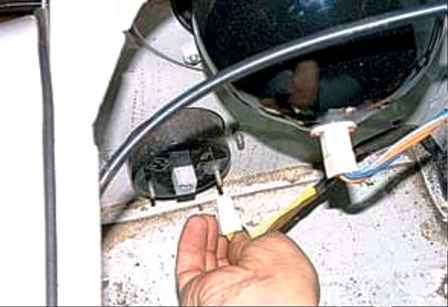
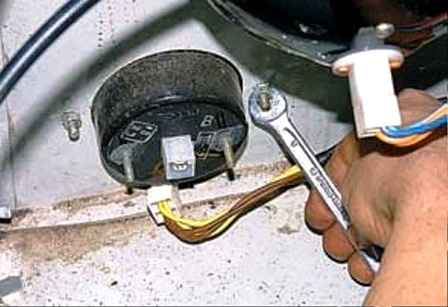
Disconnect the wiring harness from the lamp in the engine compartment
We unscrew the two nuts of the lamp fastening with a key 8
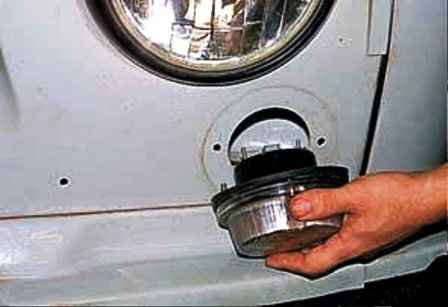
Remove the lantern
Install the lantern in reverse order
Replacing side turn signal bulbs
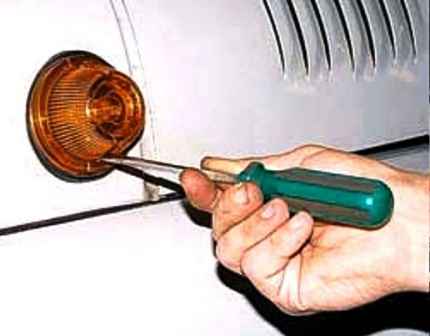
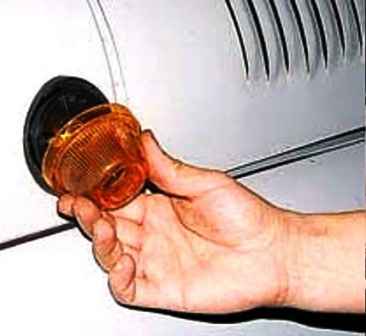
Unscrew the two screws with a screwdriver and remove the diffuser
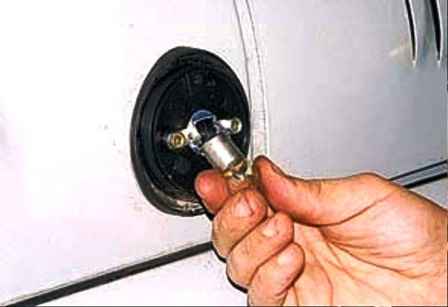
Replacing a faulty lamp
Removing the side turn signal
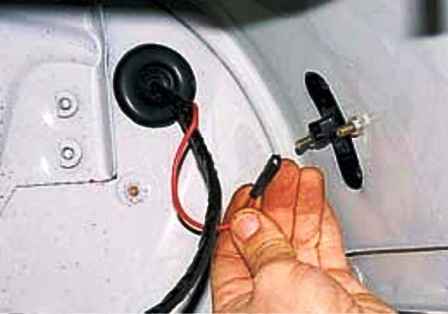
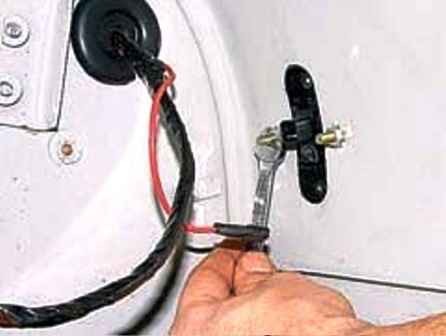
Disconnect the wire tip from the direction indicator under the instrument panel
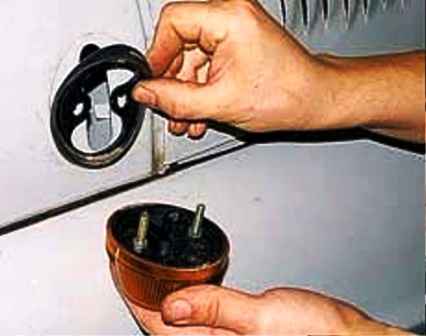
We unscrew the two nuts securing the side direction indicator with an 8 wrench
Remove the pointer and rubber gasket from the car
Setting the side pointer in reverse order
Replacing bulbs for reversing, rear and fog lights
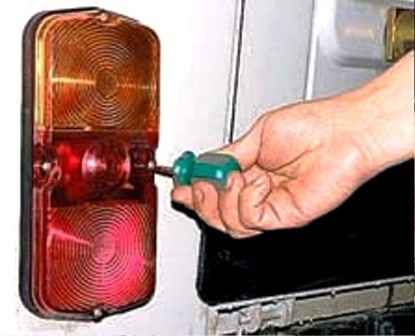
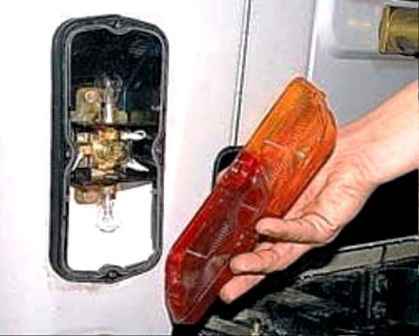
Unscrew the four screws securing the diffuser with a screwdriver and remove the diffuser
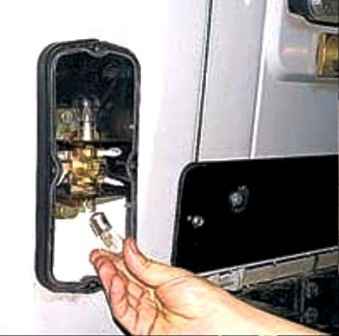
Removing and replacing the defective lamp
Reinstall diffuser with orange section up
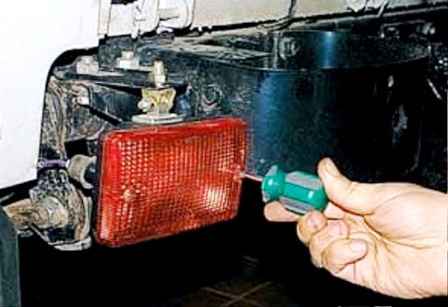
To replace the rear fog lamp bulb, use a Phillips screwdriver to unscrew two self-tapping screws
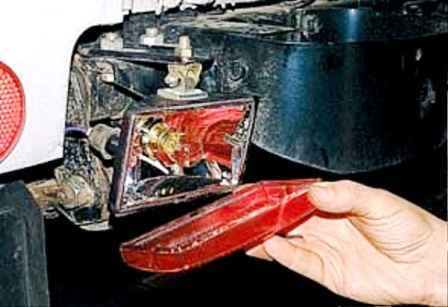
Remove diffuser
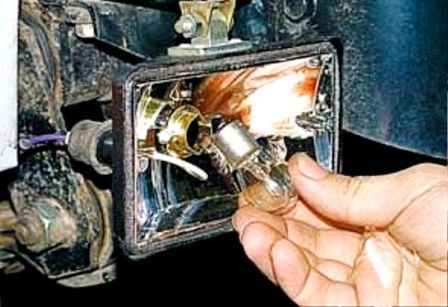
Removing and replacing a defective lamp
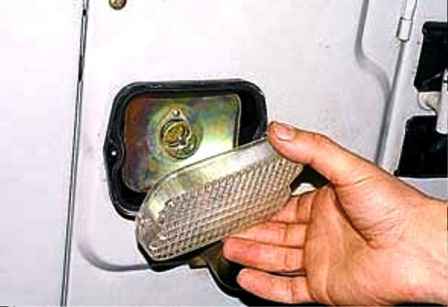
Installing the diffuser in place, in accordance with the marked "Top"
We replace the reverse lamp lamp in the same way as in the rear fog lamp
Replacement of the rear and fog lamp
Disconnect the negative battery terminal
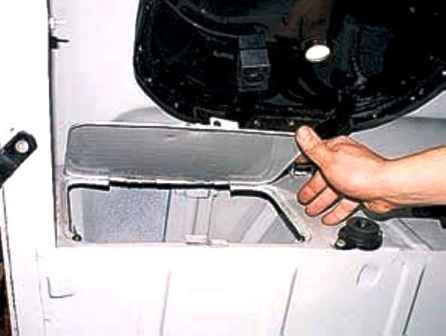
From the cab, open the hatch cover under the folding seat
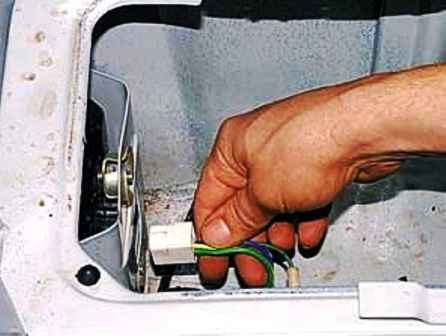
In the niche of the hatch, disconnect the block of wires from the lantern
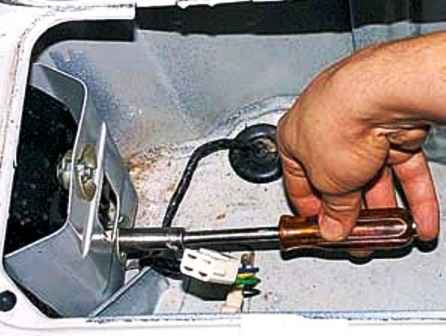
Unscrew the head 10 two nuts fastening the lantern
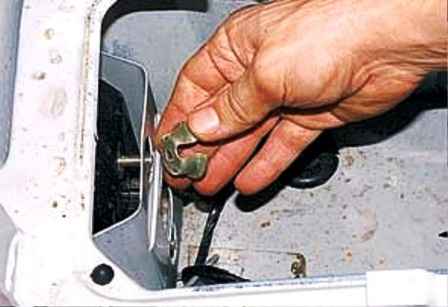
Shaped washers installed under the nuts
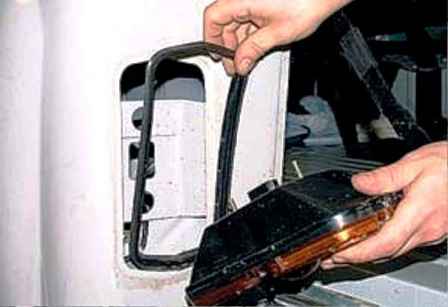
Remove the lantern and rubber gasket
Install the rear light in reverse order
To remove the fog lamp, slide the protective cover
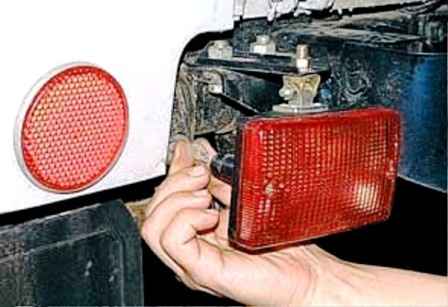
Disconnect the wire from the output of the lamp
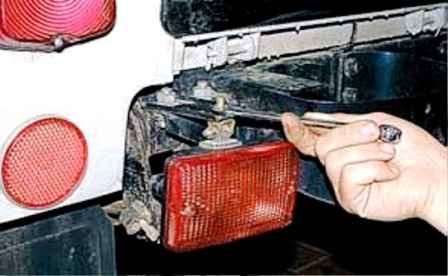
We unscrew the nut of the lamp fastening with a key 13 and remove the fog lamp
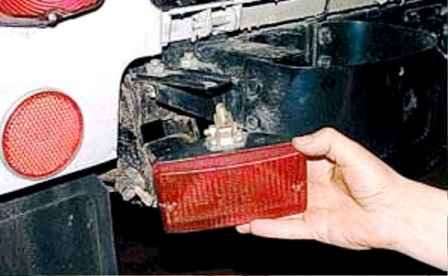
Install the lantern in reverse order
Replacing the license plate light bulb
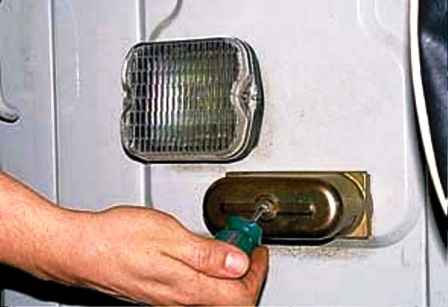
Unscrew the screw securing the lamp cover with a screwdriver and remove it
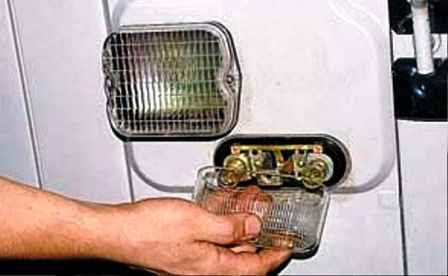
Remove the diffuser and replace the defective lamp
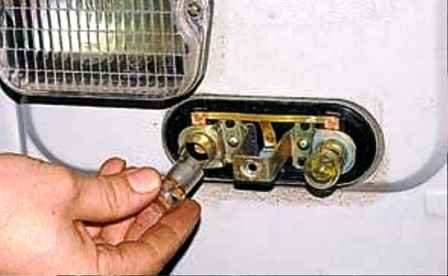
Reinstalling the diffuser and shroud
Removing license plate and reversing lights
Disconnecting the battery
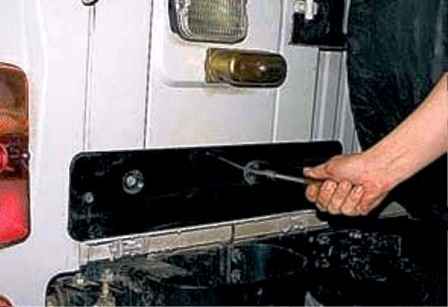
Using a 10 socket, unscrew the two bolts securing the license plate panel
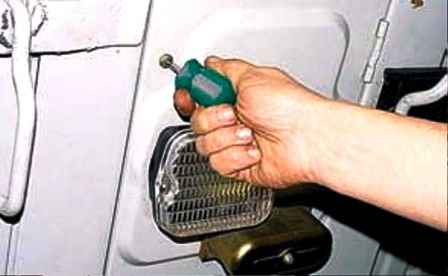
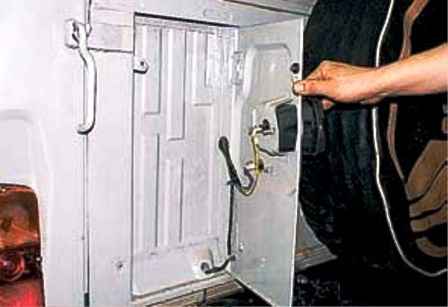
Use a Phillips screwdriver to unscrew the screw and open the tailgate niche door
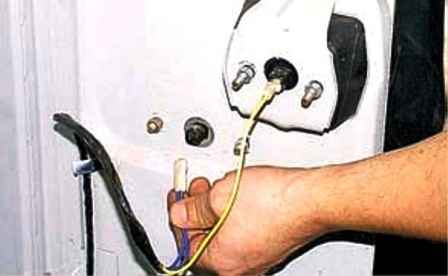
Disconnect the wire end from the license plate light
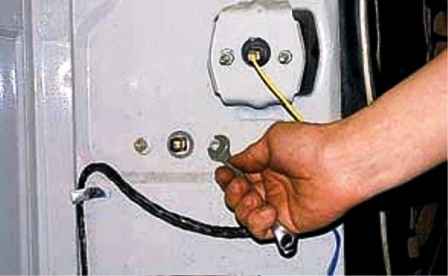
We unscrew the two nuts with a 10 wrench and remove the lantern along with the gasket
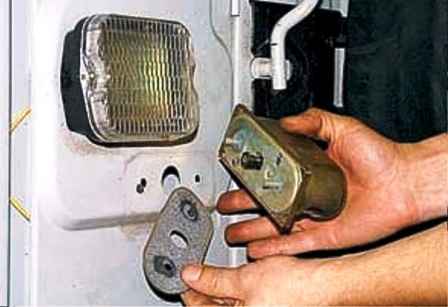
Install the lantern in reverse order
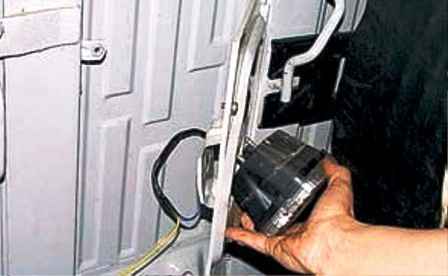
Remove the reversing light in the same way
Removing the additional brake light and replacing the bulb
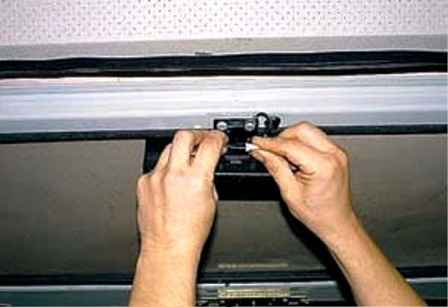
Disconnect the tip of the wire from the output of the lamp
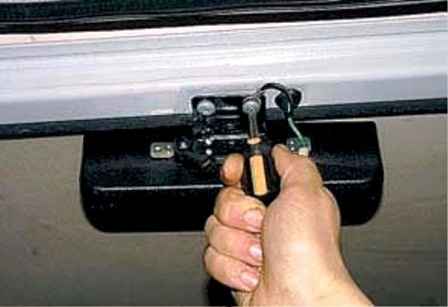
Using a Phillips screwdriver, unscrew the two screws securing the lamp
One of the screws holds the ground wire
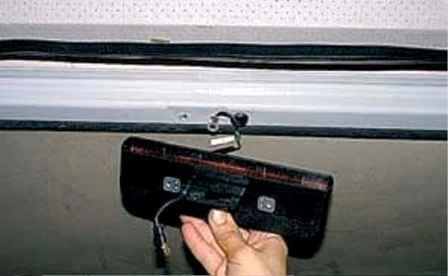
Remove the lantern
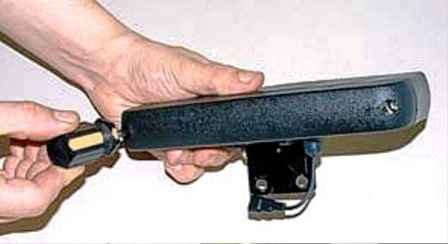
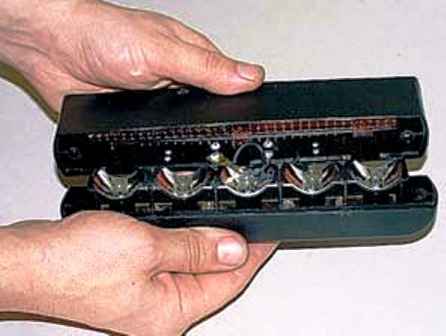
Use a Phillips screwdriver to unscrew the two screws and separate the body of the lamp
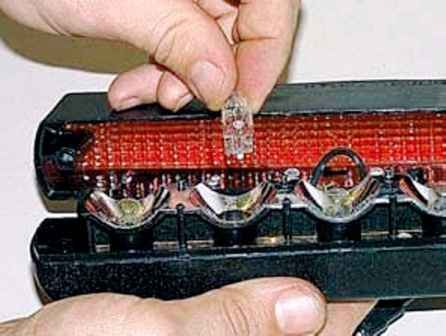
Replacing a faulty lamp
We assemble and install the lantern in reverse order
Changing the lamp for interior lighting
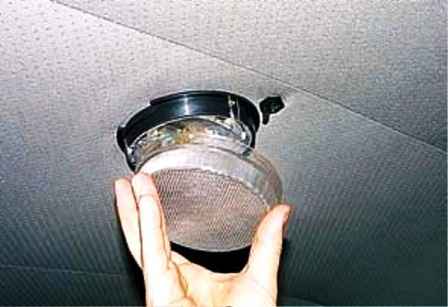
Turn the diffuser of the lampshade counterclockwise and remove it
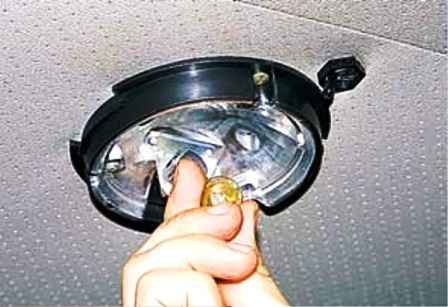
Take out the lamp
Replacing the faulty lampu and twist the diffuser into place
Removing the dome light and its switch
Disconnecting the battery
Remove the diffuser as described above
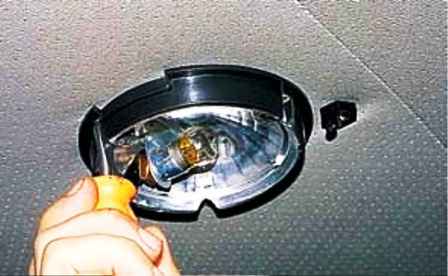
Using a screwdriver, unscrew the three screws securing the ceiling to the roof
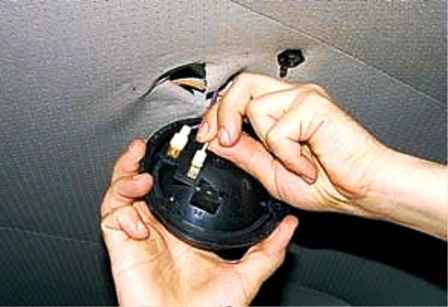
Remove the cover, remember the order of connecting the wires and disconnect the tips from the terminals
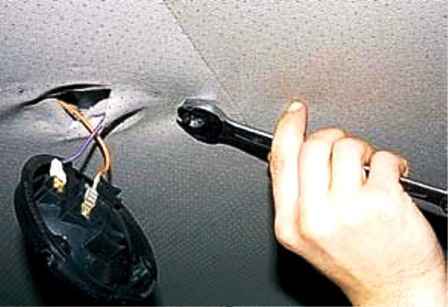
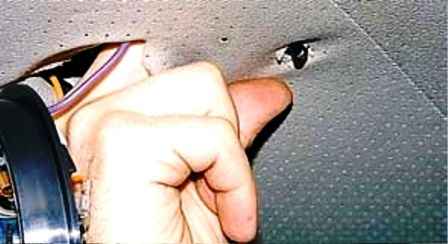
Unscrew the switch nut with a 17 key and remove the switch from the roof box
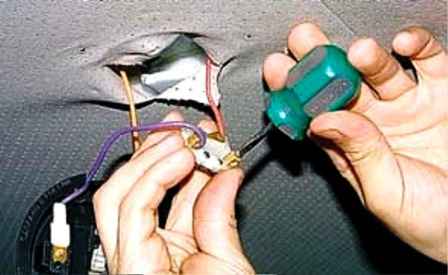
Loosen the screws securing the wire lugs to the terminals with a screwdriver
Install the cover and switch in reverse order
Tighten the nut lightly so as not to damage the threads on the plastic part


