In the article, we will consider the replacement of shock absorbers and front suspension springs
We prepare the car and install it on a lift or a viewing ditch
Shock absorber replacement
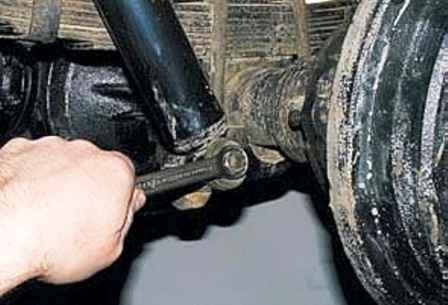
Unscrew the lower shock absorber nut
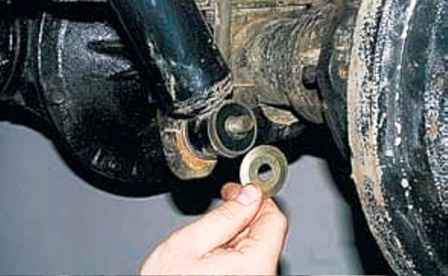
Remove the shaped washer, installed with a bulge to the rubber bushing
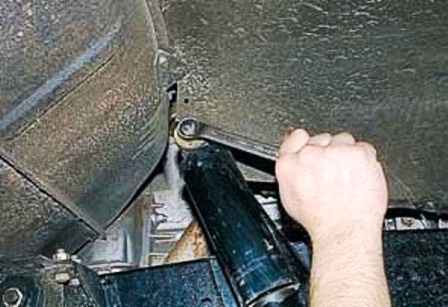
We also unscrew the top fastening nut and remove the washer
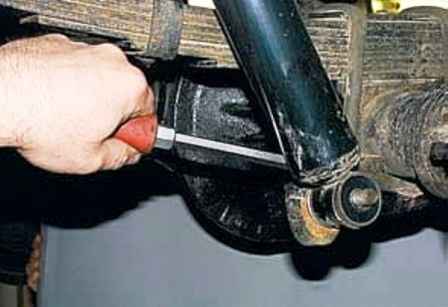
Using a large screwdriver, we pull the upper and lower shock absorber lugs off the axles
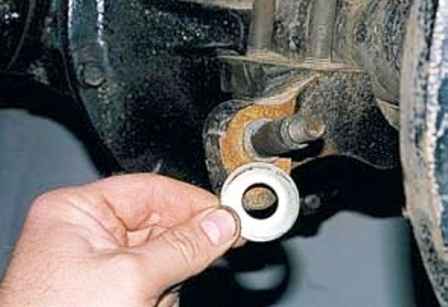
Remove the upper and lower inner washers

Remove the rubber bushings from the shock absorber lugs
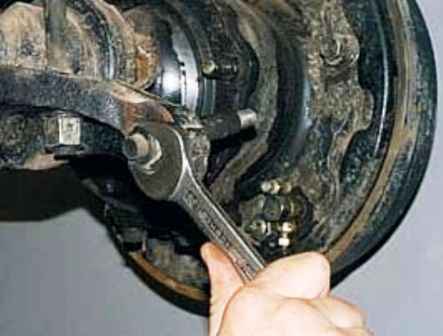
If it is necessary to replace the lower shock absorber axle, unscrew the nut with a 22 wrench
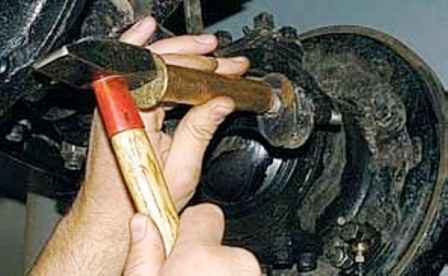
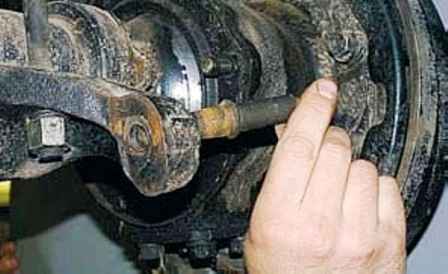
Through a drift with a hammer, we knock out the axle and remove it from the hole
We install all the parts in the reverse order, applying grease to the axle cone and replacing the rubber bushings
Removing and disassembling the spring
Hang out the front of the car by placing stops under the frame
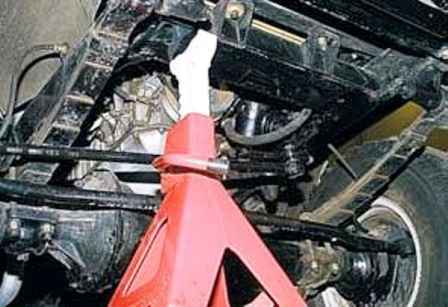
Remove the front wheel from the desired side
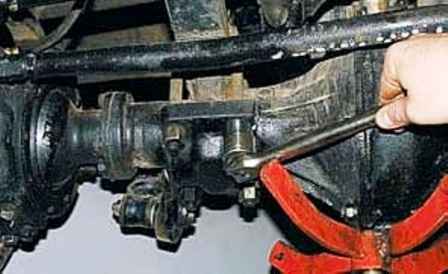
Using a 22 head, we evenly loosen and unscrew the four nuts of the spring ladders
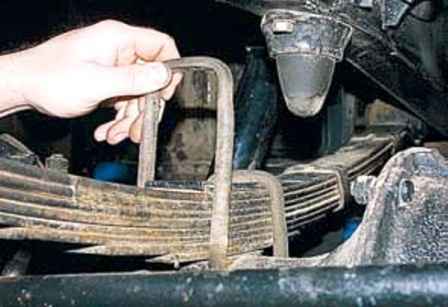
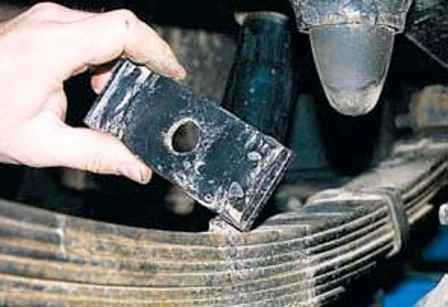
Remove the ladders and spring cover
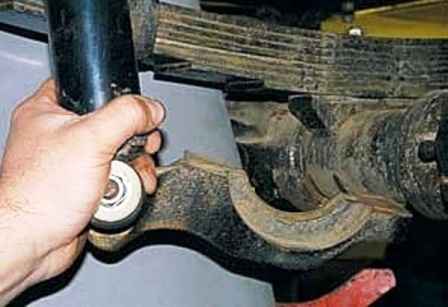
We loosen the nut of the upper fastening am with a key of 17 and move the shock absorber together with the spring spacer to the side and up
Slightly lower the bridge, unloading the spring
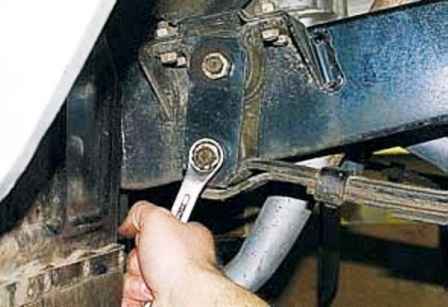
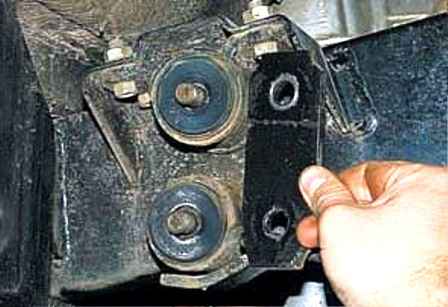
With a 22 head, unscrew the two nuts of the spring fingers and remove the outer cheek of the earring
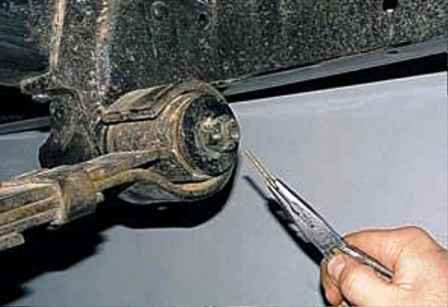
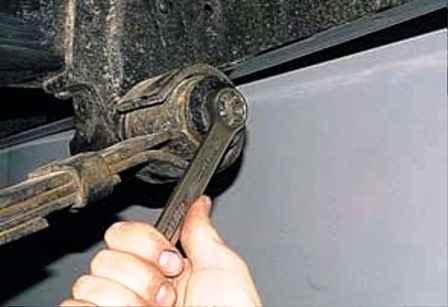
We unpin the nut of the axle of the front spring mounting with pliers
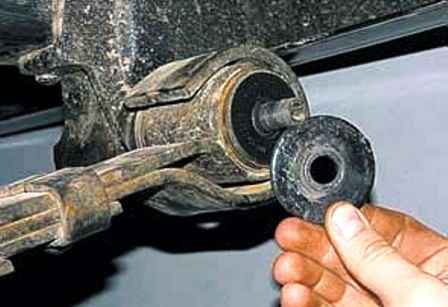
Use a 22 wrench to unscrew the nut and remove the washer
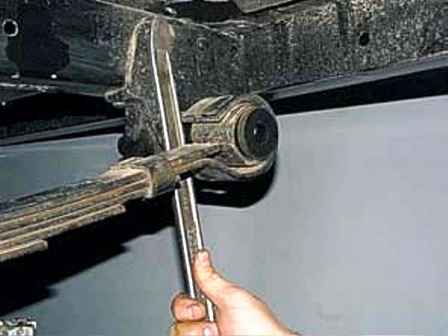
Using a mounting spatula, we remove the spring from the frame side member and remove it
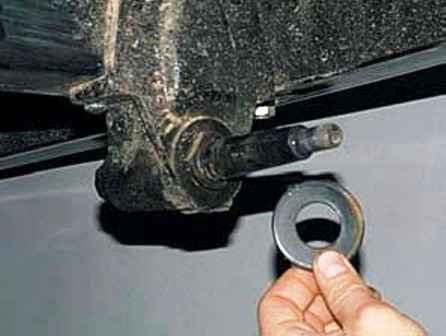
Remove the inner washer from the front axle (the chamfer of the hole should be directed towards the frame)
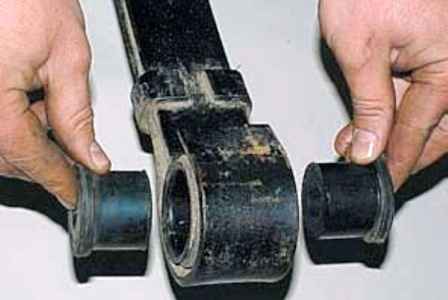
Remove rubber bushings from the spring eye
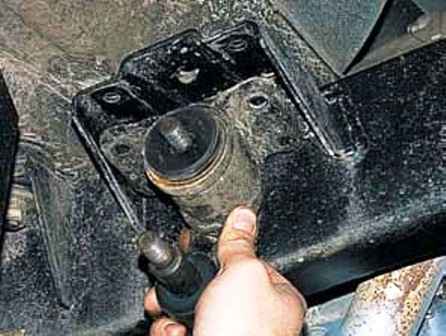
We unscrew the bolts of the rear mounting bracket and remove the bracket together with the cheek of the earring and rubber bushings
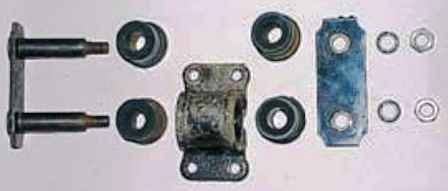
We disassemble the rear spring mount and clean the spring from dirt
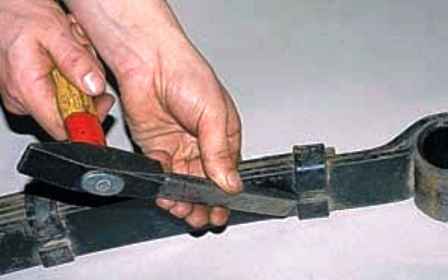
Using a chisel, we unbend the spring clamps
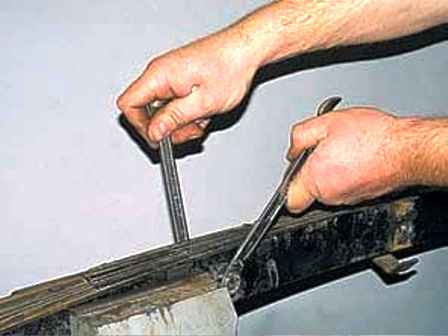
Clamp the spring in a vise and, holding the center bolt, unscrew its nut with a 17 wrench
We take out the bolt and push the vise jaws apart, disassemble the spring
Sheet bending radii
| Spring sheet number | Spring leaf inner radius, mm | |
|---|---|---|
| Front | Back | |
| 1 | 1506 | 1711 |
| 2 | 1449 | 1642 |
| 3 | 1377 | 1574 |
| 4 | 1306 | 1506 |
| 5 | 1236 | 1440 |
| 6 | 1167 | 1375 |
| 7 | 1100 | 1309 |
| 8 | 1100 | 1248 |
| 9 | - | 1100 |
Replace damaged sheets according to the table
Lubricate the leaf springs with graphite grease
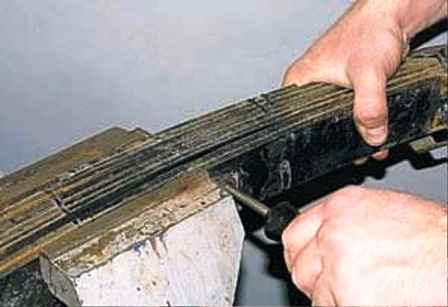
We assemble the spring in a vice, centering the sheets with a screwdriver or a rod of a suitable diameter
Install the center bolt and tighten its nut
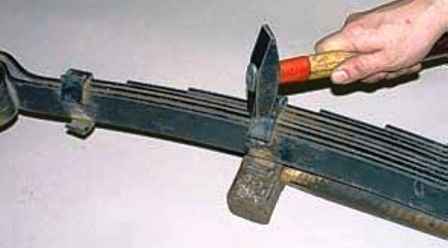
Bending the spring clamps with a hammer
When assembling and installing the spring, you need to pay attention to the difference in design:
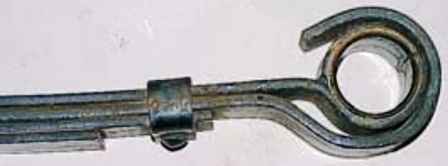
- front spring eye;

- rear spring lug
If necessary, we replace the axis of the front spring mounting, for this:
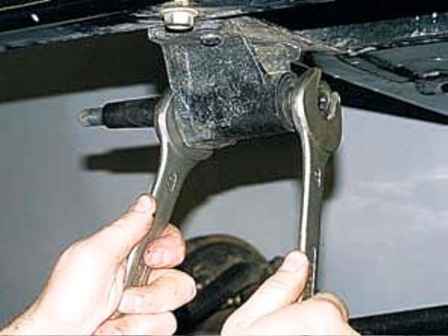
- unscrew the nut ku axis with a key of 27, holding the axis with a key of 30
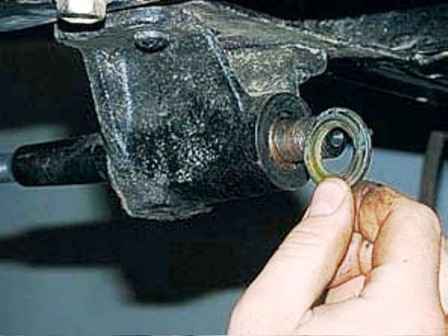
Remove the spring and flat washers
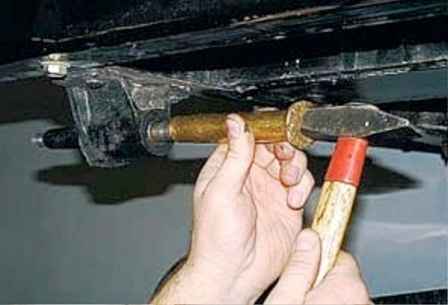
We knock out the axle with a hammer and take it out
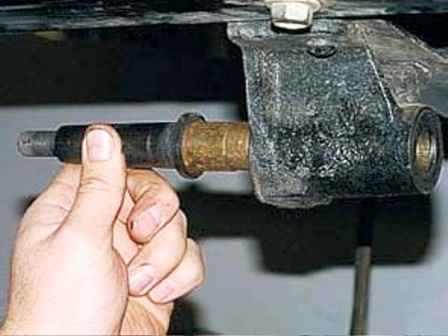
Install the axle, bracket and spring in reverse order
When installing the axle, apply lubricant to its cone
Finally tighten the nuts of the axle, pins and stepladders of the spring in an equipped car standing on wheels. Otherwise
The service life of the rubber bushings will decrease and the stepladders may loosen.
Replacing the rubber buffer
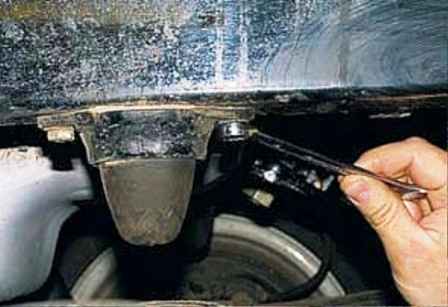
We unscrew the two bolts securing the buffer to the frame side member with a 14 key and remove the buffer
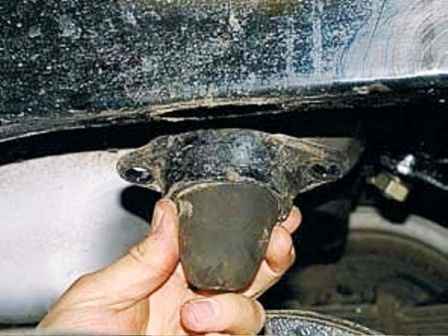
Before installing a new buffer, lubricate the threads of the bolts


