


Removing the doors for repair or replacement.
Tools required: pliers, Torx T40 key, hammer.
If the doors are removed for subsequent replacement or repair, it is better to strip them while they are still fitted to the vehicle.
Removing the front door
Disconnect the battery negative terminal.
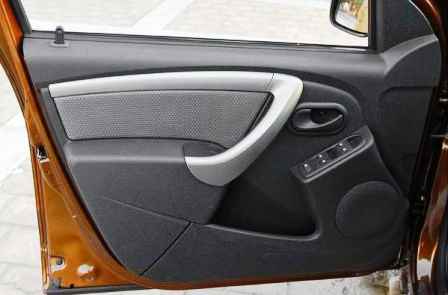
Open the front door.
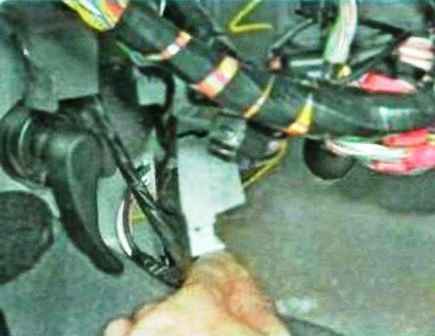
Under the instrument panel, slide out the lock on the door wiring harness connector.
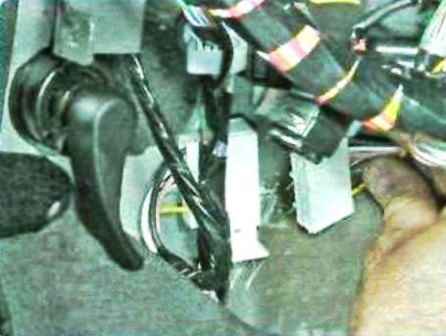
Separate the connector.
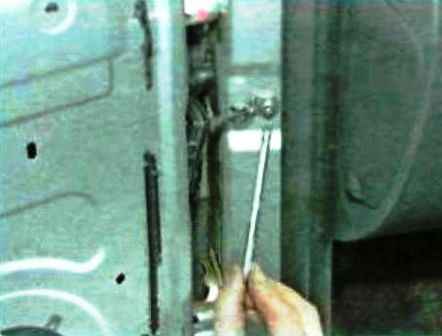
Undo the hinge bolt of the front door check strap and swing the hinge away from the A-pillar.
Place a support under the front door or ask an assistant to hold the door.
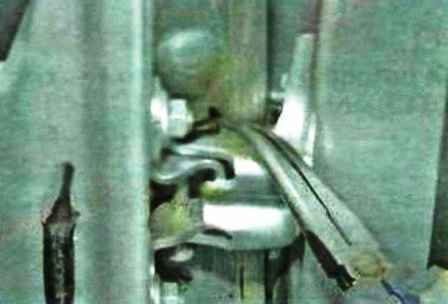
Using pliers, extract the clip from the groove of the upper hinge pin of the front door and drive the pin downwards with light blows.
Also drive out the lower mounting pin and remove the front door.
Refit the front door in reverse order.
If the front door lock locks or unlocks poorly, or if closing is accompanied by a knock, adjust the position of the striker relative to the lock.
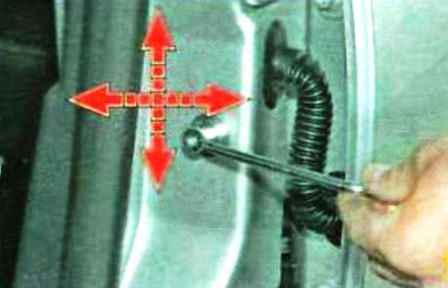
To do this, slacken the striker at the centre pillar and move the striker left and right and up and down.
Removing and installing the rear door
Required: pliers, Torx T40 key, hammer.
Disconnect the battery negative terminal.
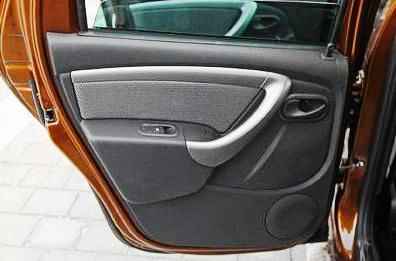
Open the rear door.
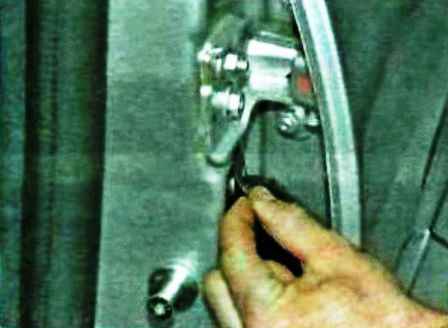
Prise up the edge of the door wiring harness grommet.
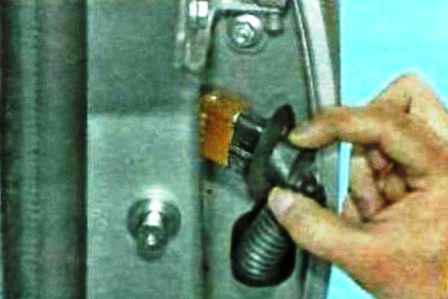
Extract the grommet and the harness connector from the hole in the centre pillar.
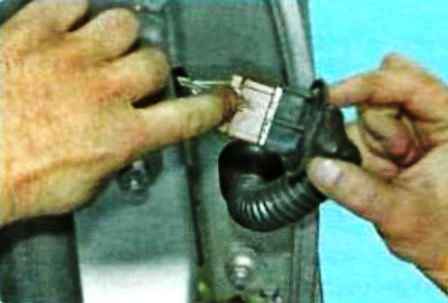
Press the clip on the door wiring harness connector.
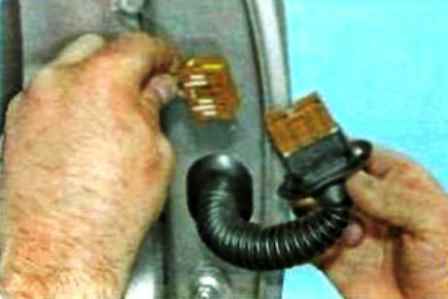
Separate the connector.
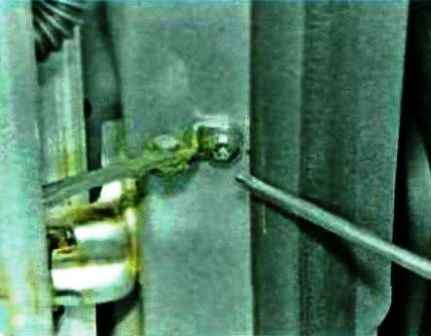
Undo the hinge bolt of the rear door check strap and swing the hinge away from the centre pillar of the body.
Place a support under the rear door or ask an assistant to hold the door.
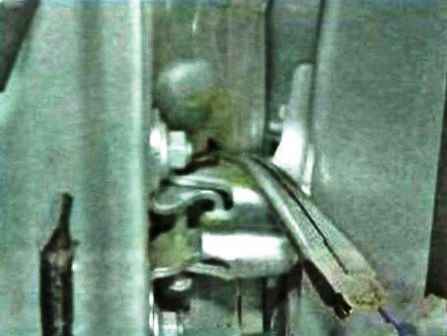
Using pliers, extract the clip from the groove of the upper hinge pin of the rear door and drive the pin downwards with light blows.
Also drive out the lower mounting pin and remove the rear door.
Refit the rear door in reverse order.
If the rear door lock locks or unlocks poorly, or if closing is accompanied by a knock, adjust the position of the striker relative to the lock.

To do this, slacken the striker at the rear pillar and move the striker left and right and up and down.
Removing and installing the tailgate
Tools required: plastic trim tool or flat-blade screwdriver, 10 mm socket, marker.
Disconnect the negative cable from the battery.
Open the tailgate.
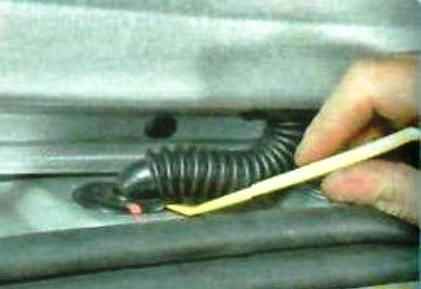
Prise up the edge of the harness grommet, extract the grommet and connector through the opening in the body and separate the connector by pressing its clip.
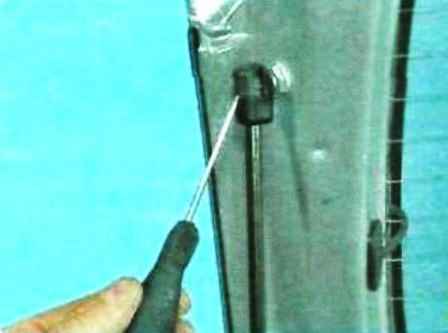
Prise with a screwdriver and slide the spring clip of the upper ball joint of the tailgate strut.
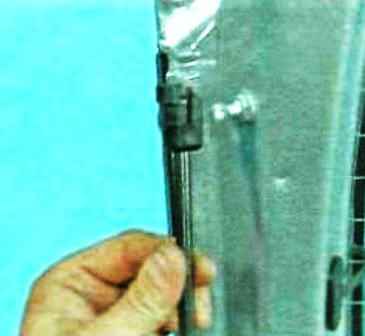
Disconnect the upper joint from the mounting on the tailgate.
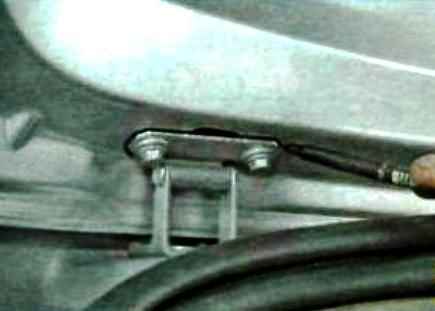
If the tailgate is being removed for something other than replacement, mark the hinge positions.
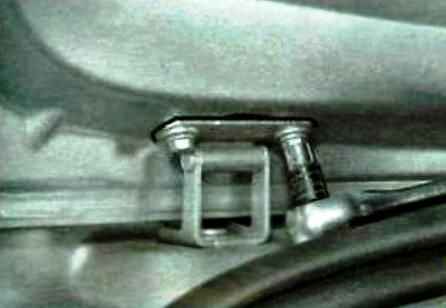
Undo the two bolts securing the left and right hinges.
With an assistant, remove the tailgate.
Refit the tailgate in reverse order.
If refitting the original tailgate, before finally tightening the securing bolts, align it with the marks made previously.
If the tailgate has been replaced, before finally tightening the securing bolts, adjust its position so that the gaps to the adjacent body panels are even.


