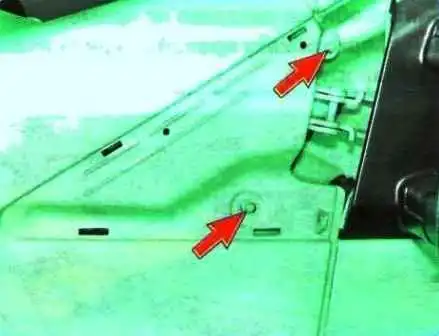
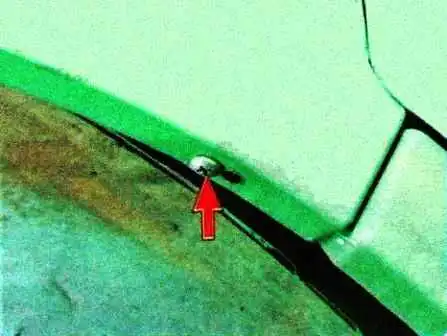
Prepare the vehicle for the task. Disconnect the negative battery terminal.

Required tools: trim clip remover, screwdrivers, TORX T25 key, 10 mm socket.

Materials: clean rags, container for screws, marker pen for identification.
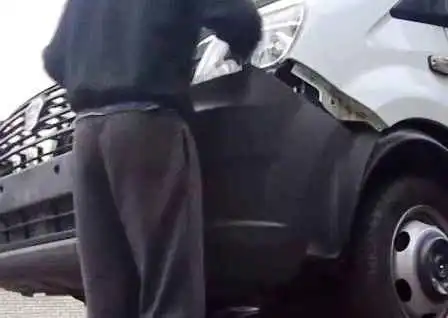
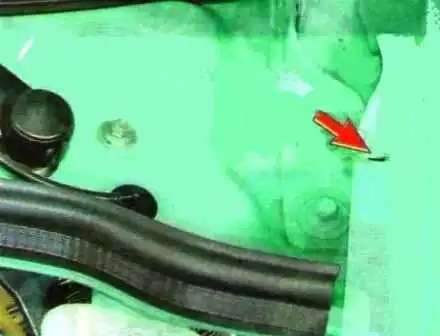
Location of the front wing fixings
General view of the work area before removal.

Remove the bumper (article – Removing and installing the wheel arch liners and bumper)
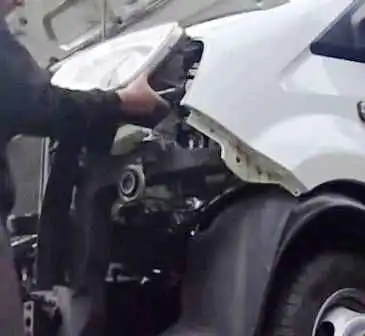
Removing the headlamp unit
Remove the headlamp unit (article – Replacing the headlights and lamps)
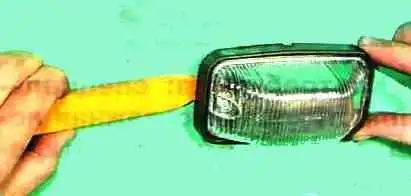
Prying the side repeater
Pry the front edge of the turn indicator repeater.
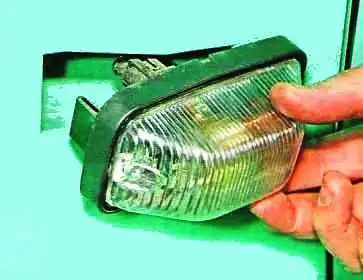
Repeater being extracted
Extract the turn indicator repeater from the hole in the front wing.
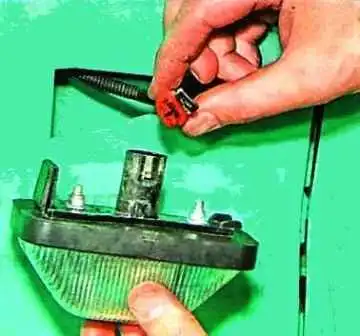
Disconnected repeater connector
Press the wiring harness connector latch, disconnect the connector, and remove the repeater.
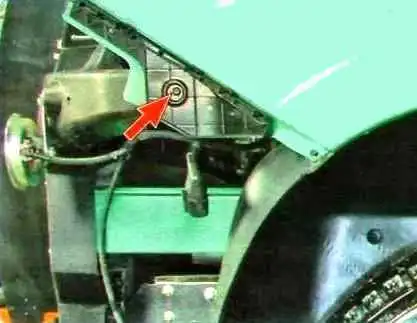
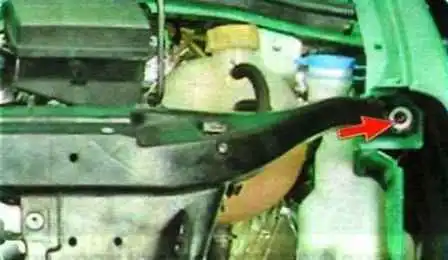
Unscrewing the frame screw
Unscrew the fixing screw securing the wing to the plastic base of the radiator frame.
Unscrewing the upper screw
Unscrew the fixing screw securing the wing to the upper reinforcement of the front panel.
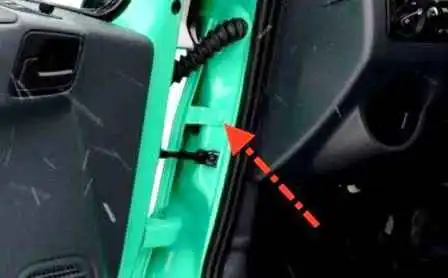
Rear wing bolt
Open the door and unscrew the rear fixing bolt to the cabin pillar.
Removing the trim
Unscrew the fixing screw of the mirror decorative trim.
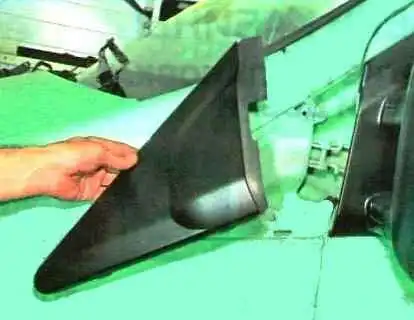
Removing the mirror trim
Disengage the trim holders from the wing and remove the trim.
Unscrewing the hidden screws
Unscrew the two fixing screws located under the mirror trim.
Unscrewing the lower screw
Unscrew the lower fixing screw securing the wing to the wheel arch.

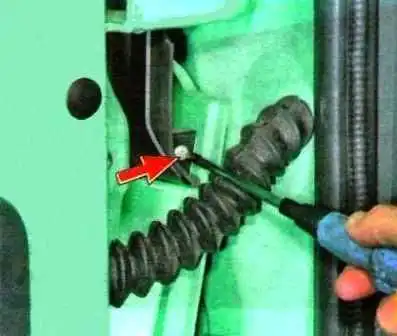
Unscrew the upper fixing screw securing the wing to the cabin frame and remove the wing.
Installed front wing
Install the front wing in reverse order.