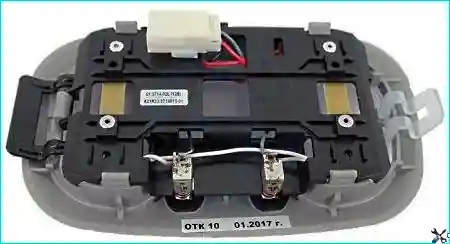
We remove the vehicle's headlights and tail lights in the event of a fault, when replacing bulbs, or during dismantling work on other assemblies.

Replacing the headlight assembly

We disconnect the negative battery terminal.

We remove the front bumper (see article – Removing and installing the wheel arch liners and bumper).
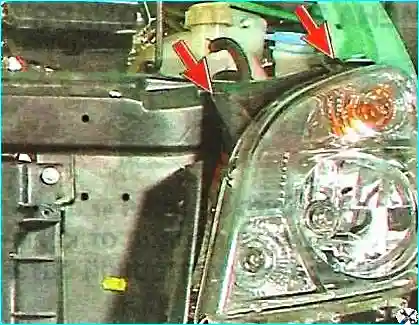
Upper headlight mounting
Fig. 1. Unscrewing the two upper mounting bolts of the headlight.

We press the clip and disconnect the electrical wiring harness connector from the headlight plug.
Disconnecting the wiring harness
Fig. 2. Disconnecting the connector from the headlight.

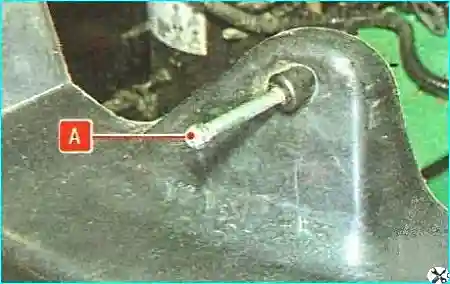
We pull the headlight forward and detach the hinge socket of the lower body support from its bracket «А» on the radiator frame base.
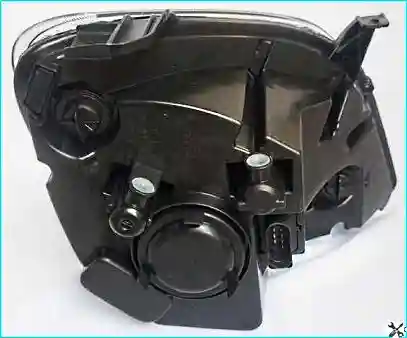
Detaching the lower support
Fig. 3. Detaching the lower support of the headlight body.
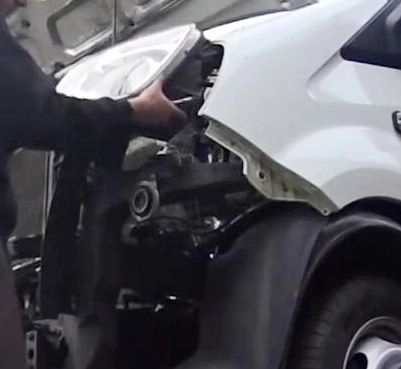
Removing the headlight assembly
Fig. 4. Removing the headlight assembly.

We install the new headlight assembly in reverse order. Important: after installation, it is necessary to check and, if necessary, adjust the headlight beam direction on a special alignment bench.

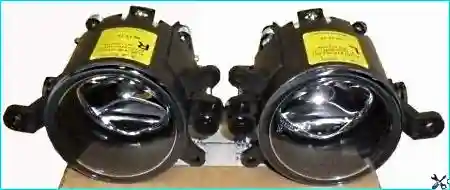
Replacing the fog lamp

Required tools: special plastic trim removal tool, Phillips screwdriver.

We remove the front wheel arch liner (see article – Removing and installing the wheel arch liners and bumper).

We press the clip and disconnect the wiring harness connector from the bulb holder. Note: do not touch the glass of the halogen bulb with bare hands; use a clean cloth.
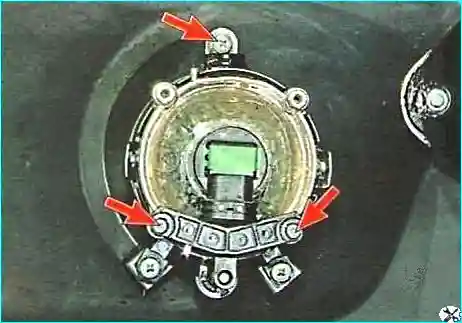
Disconnecting the fog lamp connector
Fig. 5. Disconnecting the wiring harness from the fog lamp.

We unscrew the three screws securing the lamp housing to the bumper bracket.
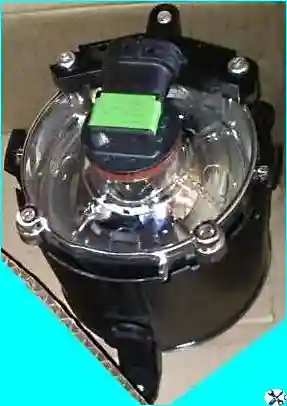
Fog lamp housing mounting
Fig. 6. Unscrewing the housing mounting screws from the bumper.
Installing the fog lamp
Fig. 7. Removing the lamp from the bracket and subsequent installation in reverse order.

We connect the wiring harness to the lamp and refit the wheel arch liner.

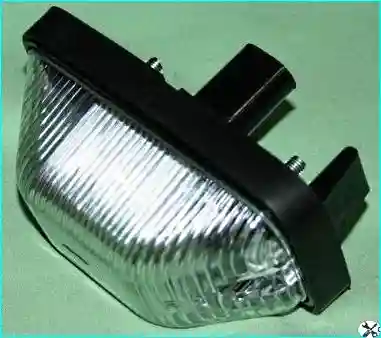
Replacing the side repeater

We disconnect the negative battery terminal.
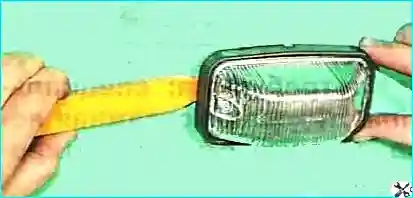
Prying the side repeater
Fig. 8. Prying the front edge of the light with a plastic tool.
Extracting the side repeater
Fig. 9. Extracting the repeater from the front wing hole.
Disconnecting the repeater connector
Fig. 10. Disconnecting the wiring harness (without letting it drop into the wing cavity).
Installing the side repeater
Fig. 11. Installing the side repeater in reverse order.

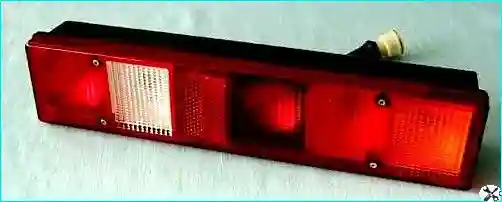
Replacing the tail light

A 10 mm spanner is required.

We disconnect the negative battery terminal.
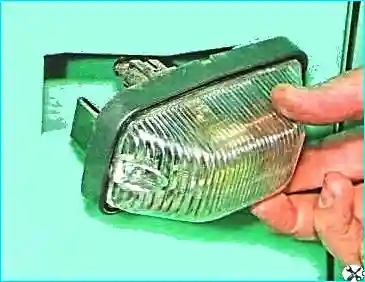
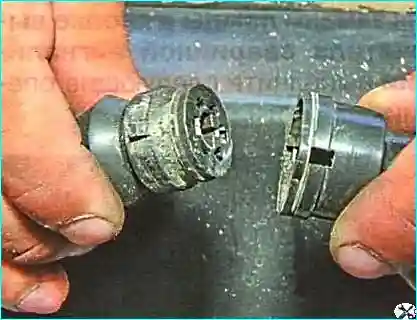
Disconnecting the tail light connector
Fig. 12. Disconnecting the tail light wiring harness.
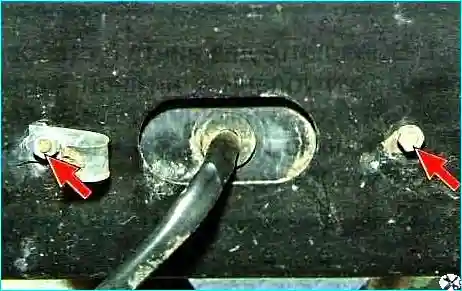
Tail light mounting
Fig. 13. Unscrewing the two light mounting nuts.
Removing the tail light
Fig. 14. Removing the light from the underrun protection beam.

We install the tail light in reverse order, checking the seal's tightness.

Replacing the cab interior light

We disconnect the negative battery terminal.
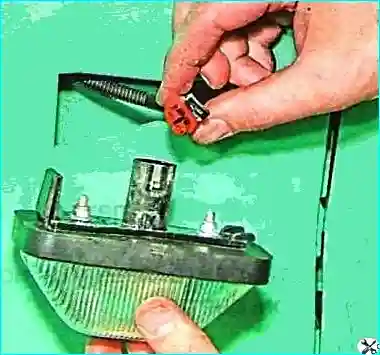
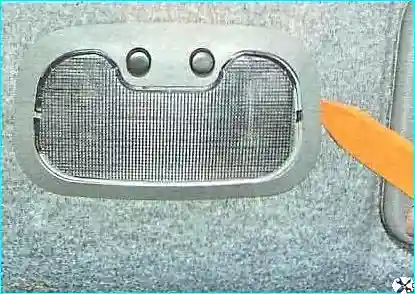
Prying the interior light
Fig. 15. Prying the edge of the light housing on the right side.
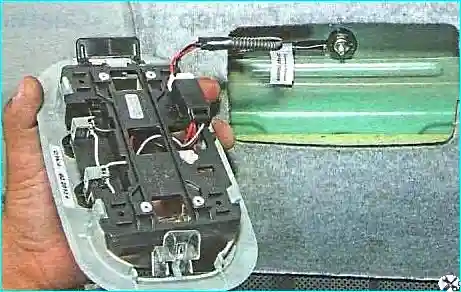
Extracting the interior light
Fig. 16. Extracting the light from the roof lining socket.
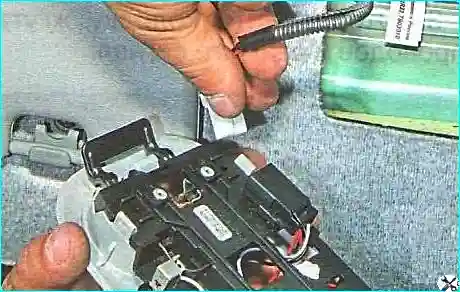
Disconnecting the interior light connector
Fig. 17. Pressing the clip and disconnecting the wiring harness.
Removing the interior light
Fig. 18. Removing the interior light.

We install the cab interior light in reverse order.
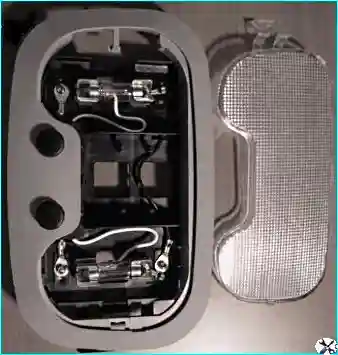
Checking the interior light
Fig. 19. Connecting the battery and checking functionality.