When replacing the high/low beam lamp, do not touch the lamp bulb with your fingers, because due to the high temperature of the bulb, any surface contaminants (for example, fingerprints) burn out during operation, leaving blackening
This leads to local increases in the temperature of the flask, which can cause its destruction.
When installing, hold the lamp by the base, and in case of accidental contact with the bulb, carefully wipe the bulb with a cloth (for example, microfiber) that does not leave fibers.
Replacing high/low beam bulb
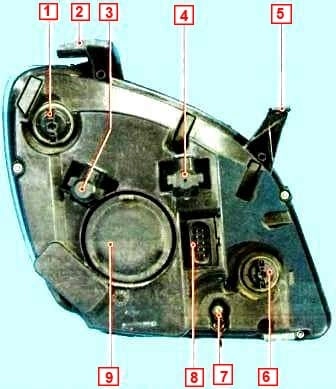
Left block headlight (view from the inside): 1 - turn signal lamp socket; 2.5 - bracket for the upper mounting of the headlight; 3 - screw for adjusting the light beam in the vertical plane; 4 - screw for adjusting the beam of light in the horizontal plane; 6 - daytime running light lamp holder; 7 - hinge socket of the lower housing support; 8 - connector for connecting the wiring harness; 9 - cover for high / low beam and front position lamps
Open the hood and disconnect the negative battery terminal.
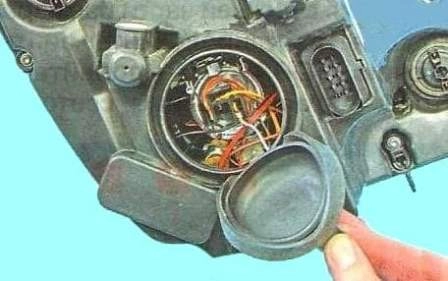
Remove the rubber plug of the high / low beam lamp.
Disconnect the wiring harness from the lamp leads
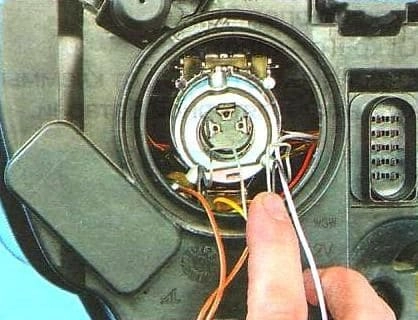
We disengage the spring lamp holder from the hooks
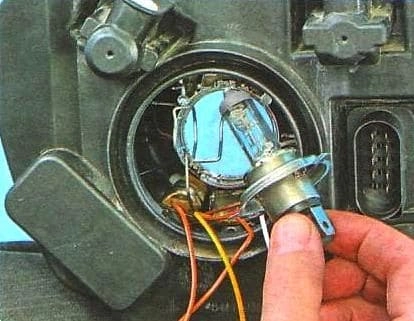
Removing the lamp
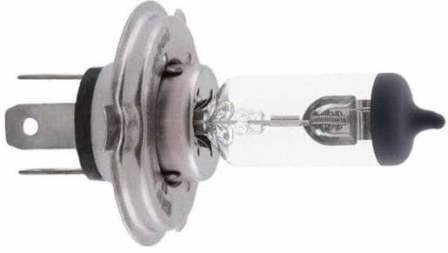
Install the new lamp in reverse order
Replacing the parking light bulb
Open the hood and disconnect the negative terminal from the battery.

Remove the rubber lamp cover
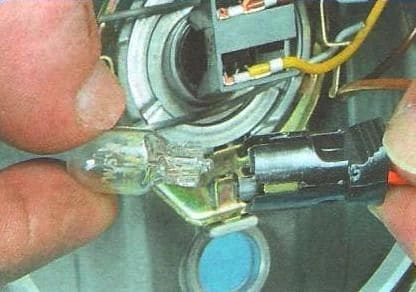
Remove the cartridge together with the lamp from the body and take out the lamp
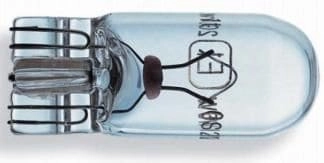
Install the new lamp in reverse order.
Changing the daytime running light bulb
Disconnect the negative battery terminal.
We press the lock of the wire block and disconnect the block from the lamp socket.
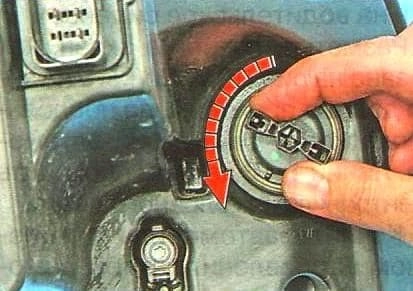
Turn the daytime running light bulb socket counterclockwise and remove it from the socket.
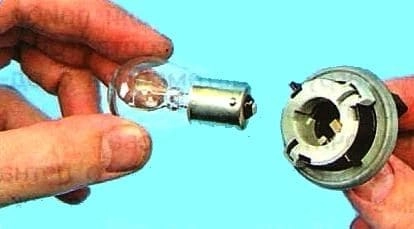
We insert a new lamp into the cartridge and install the cartridge in place.
Replacing the front turn signal bulb
Turn the lamp socket counterclockwise
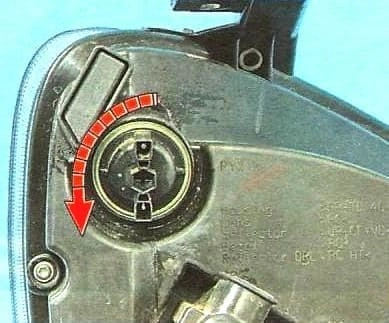
Removing the cartridge from the headlight
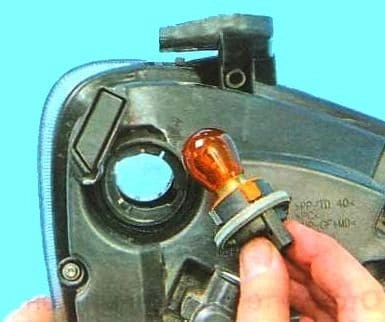
Slightly push the lamp into the socket, turn it turn it clockwise and remove it from the chuck
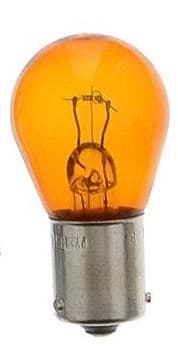
Install the lamp in reverse order.
Replacing the fog light bulb
We remove the corresponding fender liner (article - Removal and installation fender liner and bumper GAZelle Next)
We press the retainer for fastening the wiring block and disconnect the block from the fog lamp lamp.
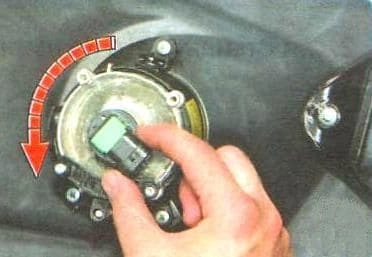
Turn the lamp counterclockwise
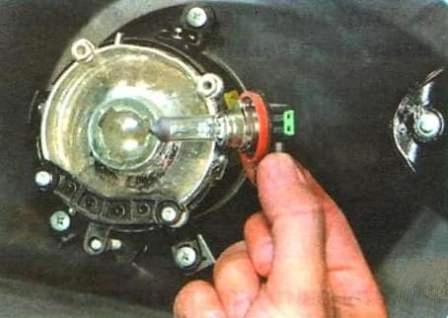
Remove it from the reflector
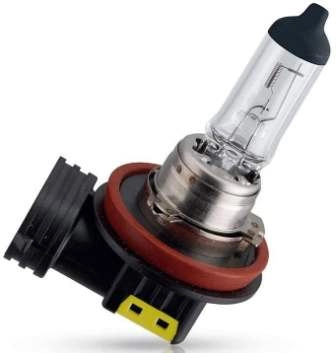
Don't touch the bulb with your fingers
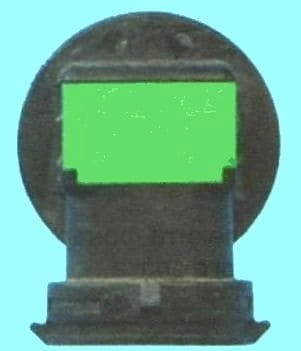
Install the new lamp in reverse order
Replacing the lamp in the turn signal
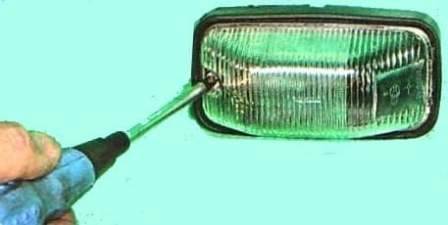
We unscrew the lens fastening screw
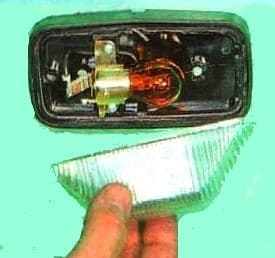
Remove diffuser
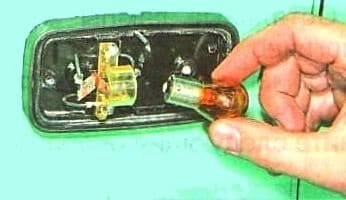
Slightly recess the lamp, turn it counterclockwise and remove the lamp
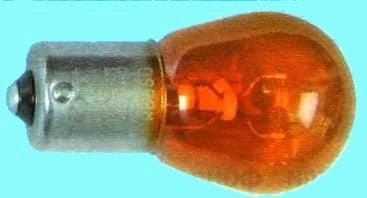
Insert the new lamp into the socket
Installing the diffuser.
Changing the bulbs in the rear light
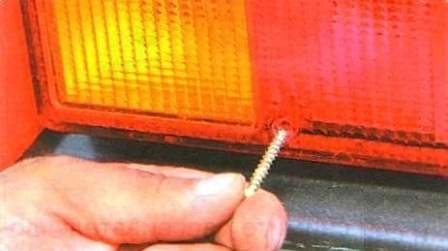
We unscrew the four screws securing the rear light lens
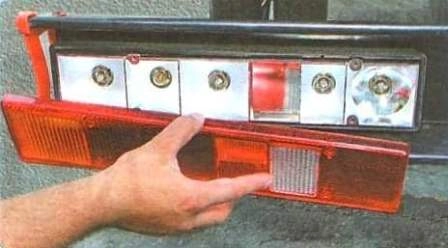
Remove diffuser
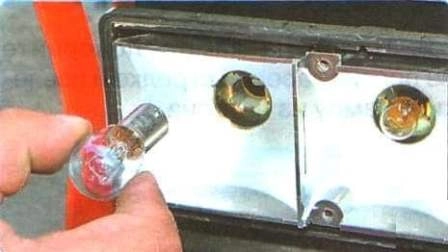
We slightly sink the lamp into the socket, turn it counterclockwise and remove the lamp from the socket.
Installing lamps and diffuser.
Replacing license plate lights
If the lights are installed in the frame underride bar:
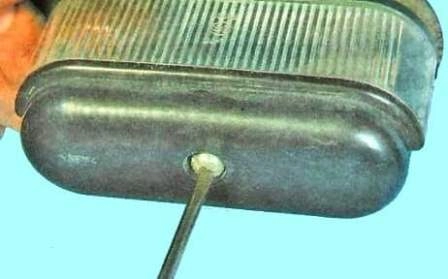
We unscrew the lens fastening screw
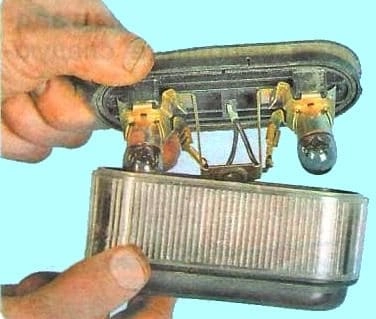
Remove diffuser
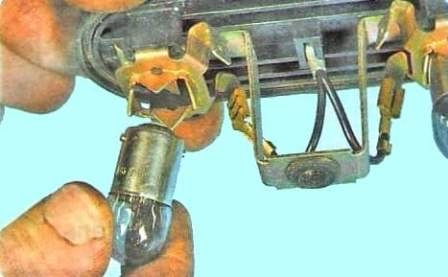
Pressing on the lamp, turn it counterclockwise and remove the lamp
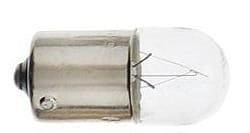
Install the lamp in reverse order
If the lights are mounted on the rear cross member of the body platform:
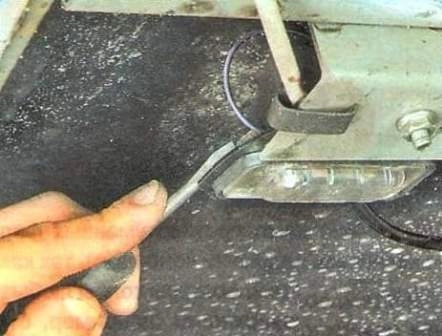
Pry off with a screwdriver
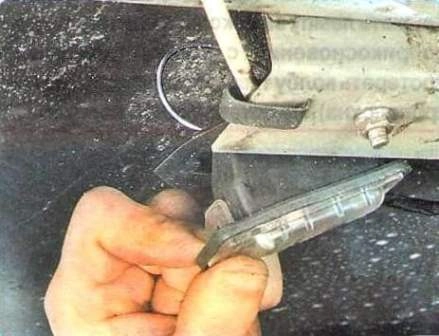
Removing the license plate light
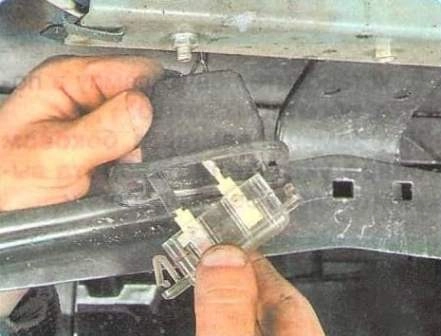
Slide the rubber cap off the lantern flange
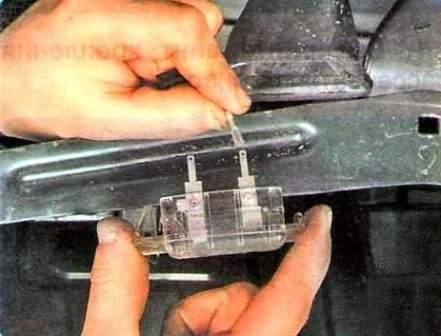
Disconnect the pads with wires from the lamp terminals
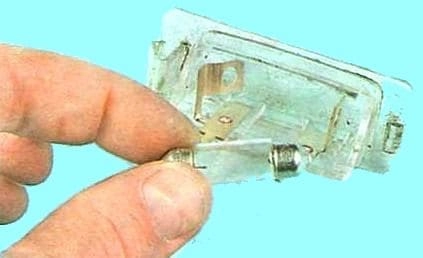
We press the spring contact and remove the lamp
Install the lamp in reverse order.
Replacing the cab light bulb
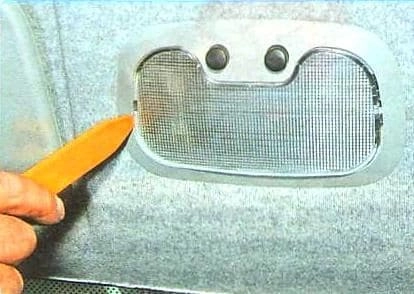
Pry off the edge of the diffuser of the ceiling
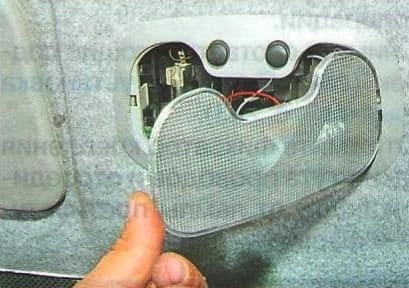
Flip back the diffuser on the hinge
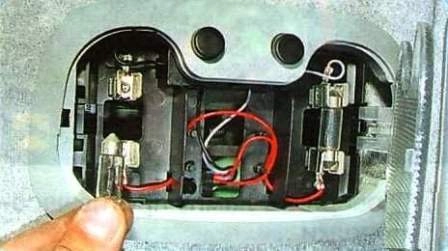
Press the spring contact and remove the lamp
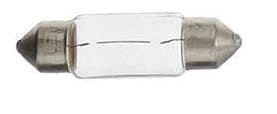
Install the lamp in reverse order
Replacing the hazard switch bulb
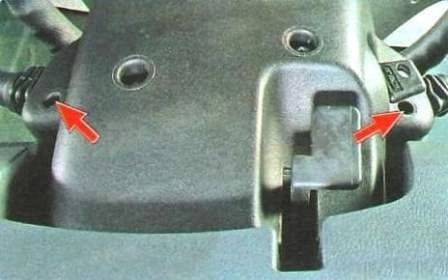
We unscrew the two screws in the recesses of the lower part of the casing
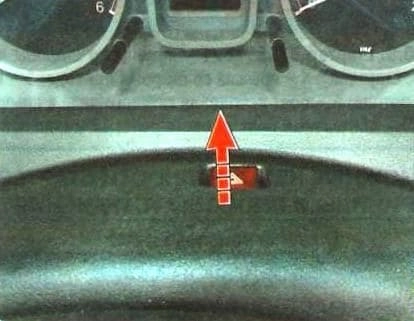
Drag up
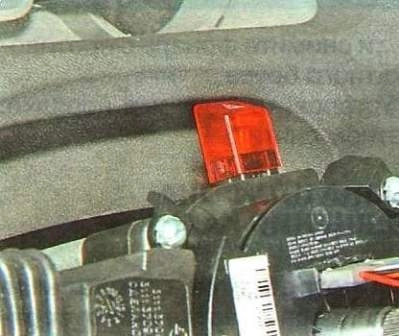
Remove the upper part of the casing
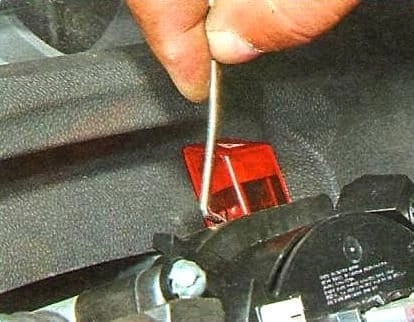
Press out the latch
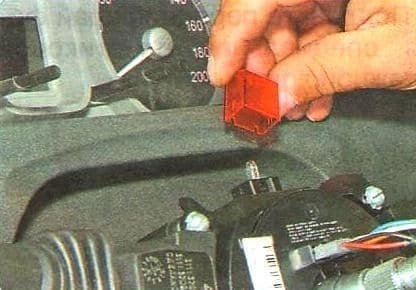
Remove the switch button
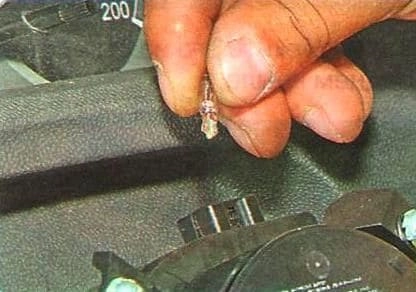
Pull out the baseless lamp from the socket
Install the lamp in reverse order
Lamps used on the car:
Name - Type - Power, W
Lights
- Low/high beam - H4 - 55/60
- W5W side lights - 5
- Turn signals PY21W - 21
- Daytime running light PY21W - 21
- Fog lamp - H11 - 55
- Side direction indicator - PY21W - 21
- Cab light - C10W - 10
Rear lights
- Turn signal - PY21W - 21
- Parking lights - R5W - 5
- Stop light - PY21W - 21
- Fog light - PY21W - 21
- Reversing light - PY21W - 21
- Hazard switch indicator lamp - A12-1.2 - 1.2
- License plate lights - W5W - 5
- Cigarette lighter and socket lighting - A12-1.2 - 1.2


