We remove the elements of the engine management system for inspection and replacement.
Removing the electronic control unit (ECU)
We prepare the car for the task, disconnect the negative battery terminal
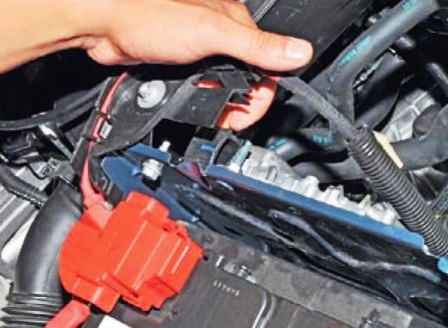
Raise the retainer of the engine control harness block
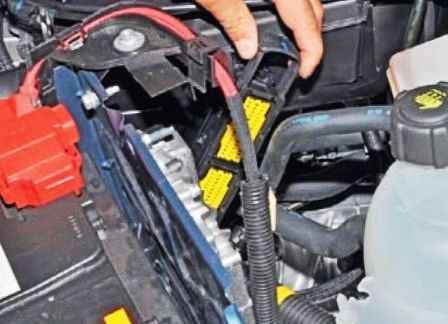
Disconnect the block of wires from the block connector
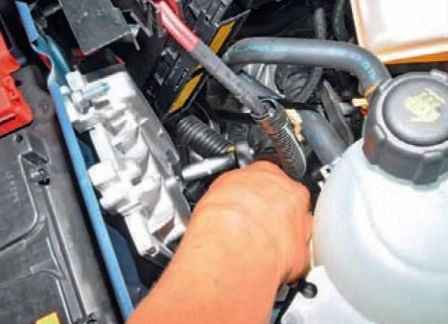
With a 10 head, unscrew the nut of the stud of the lower fastening of the block to the battery platform
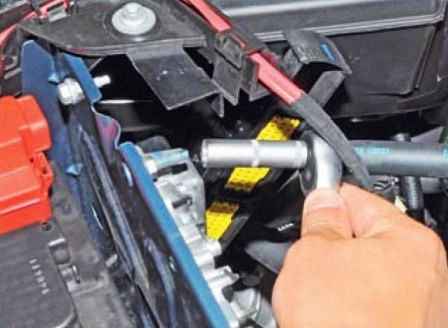
Unscrew the top stud nut
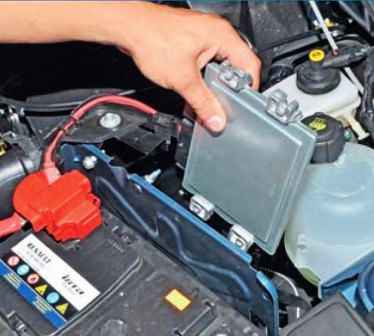
Remove the control unit from the studs of the battery platform
Installing the block in reverse order
Removing the crankshaft position sensor
Disconnect the negative battery terminal
To approach the sensor, remove the air path resonator (inlet air silencer)
Disconnect the wiring harness from the coolant temperature sensor
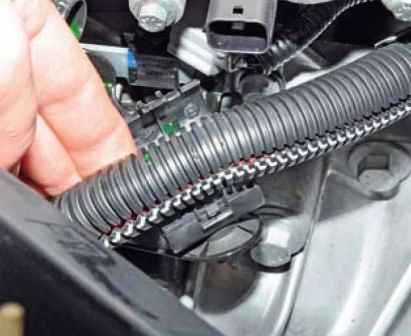
Unfasten the plastic holder for the engine control harness
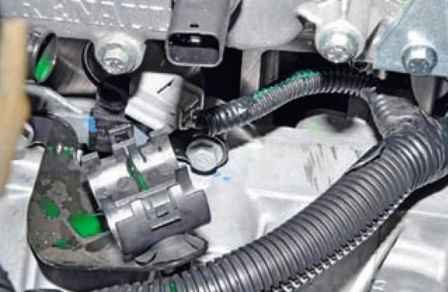
Remove the wiring harness away from the crankshaft position sensor
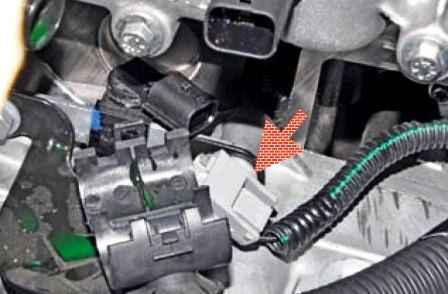
We press the lock of the engine management system wiring harness block, remove the block from the crankshaft position sensor connector
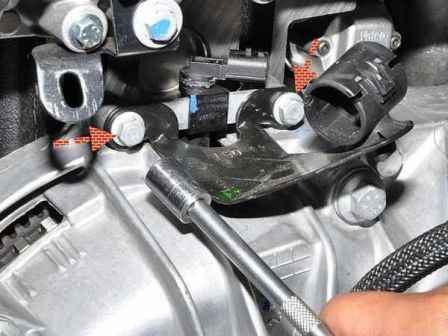
With a 10 head, we unscrew the two bolts securing the sensor and the bracket for the wire harness holder
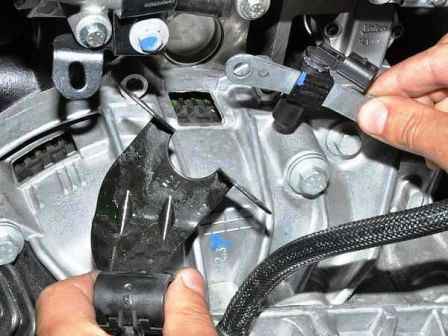
Remove the sensor and the harness holder bracket
Install the sensor in reverse order
Removing the engine coolant temperature sensor
We drain part of the coolant from the engine (if you quickly replace it, you can not drain it)
Remove the air intake silencer
Disconnect the negative battery terminal
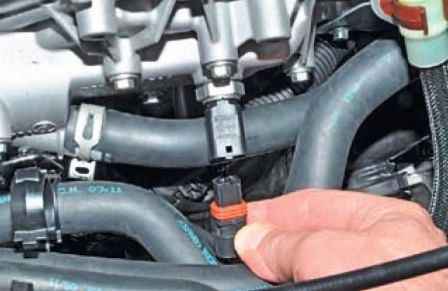
We press the lock of the engine control system wiring harness and disconnect the wiring harness from the sensor connector
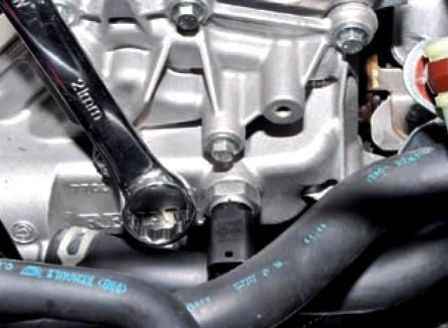
Using a 21 spanner, unscrew the sensor from the hole in the thermostat housing
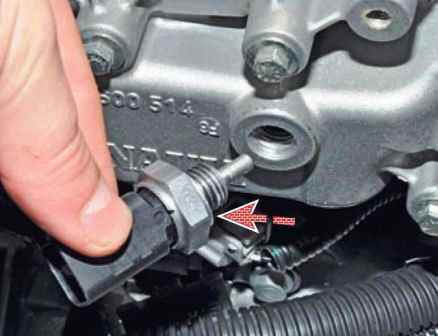
The sensor is sealed with an aluminum washer.
Install the sensor in reverse order
Removing the throttle position sensor (for a cable-actuated throttle assembly)
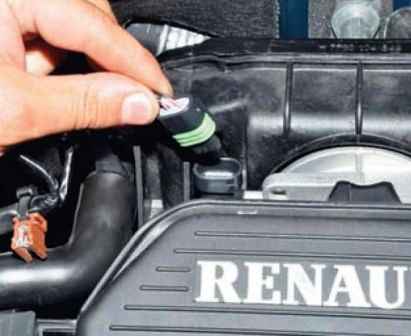
Disconnect the connector from the throttle position sensor connector
Remove the throttle body
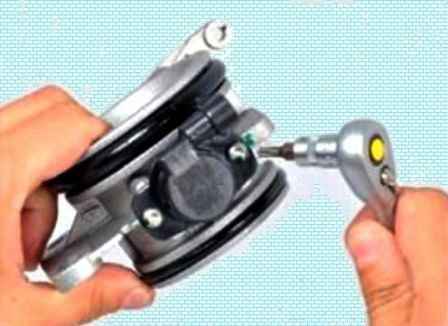
Using a Torx T-20 wrench, unscrew the two screws securing the sensor to the throttle body
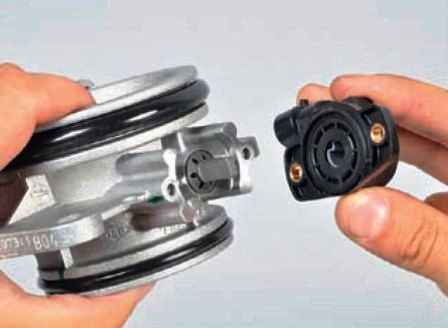
Remove the sensor from the throttle axis
Install the sensor in reverse order.
Removing the electronic gas pedal
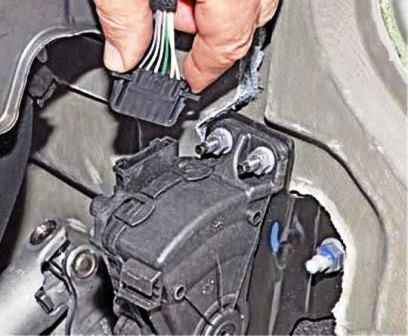
Squeeze the latches of the instrument panel wire block, remove the block from the electronic gas pedal connector
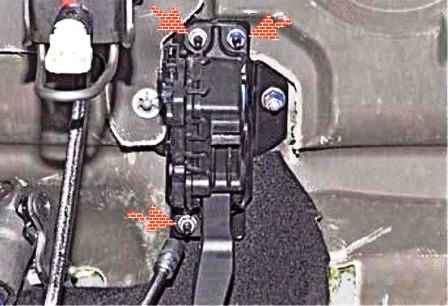
With a 10 head, unscrew the three nuts securing the gas pedal module to the bulkhead
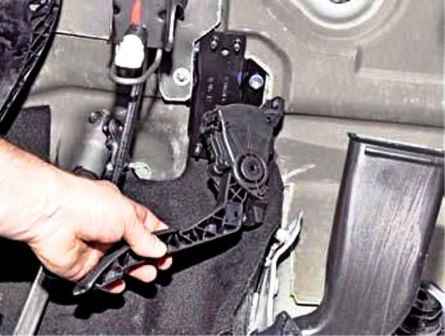
Remove the electronic gas pedal
Install the electronic pedal in reverse order.
Removing the knock sensor
Disconnect the negative battery terminal
Removing the fuel rail protection
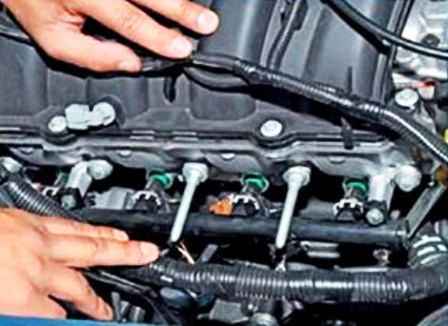
We remove the wiring harnesses from the installation site of the knock sensor
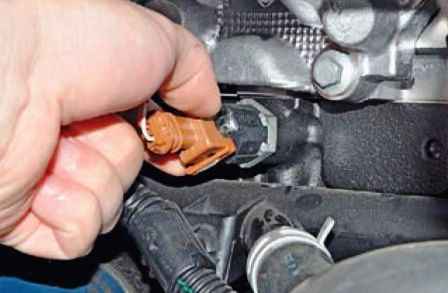
By pressing the wire retainer of the engine management system wiring harness block, disconnect the block from the sensor connector
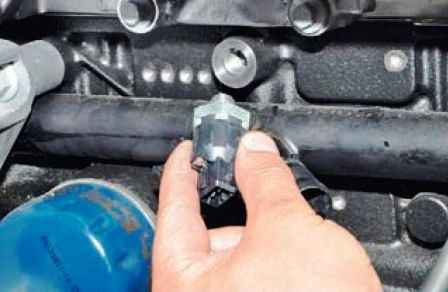
Unscrew and remove the knock sensor with a 24 socket wrench
Install the sensor in reverse order
Removing the absolute air pressure sensor
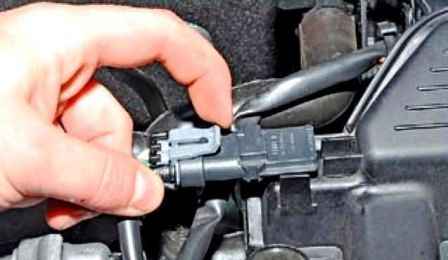
With the ignition off, depressing the lock of the engine control harness block
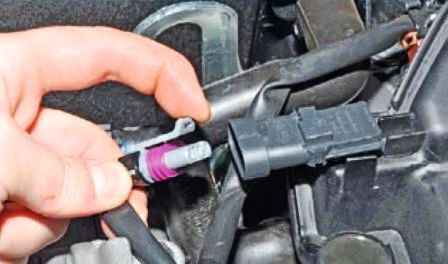
Disconnect the wiring harness from the sensor connector
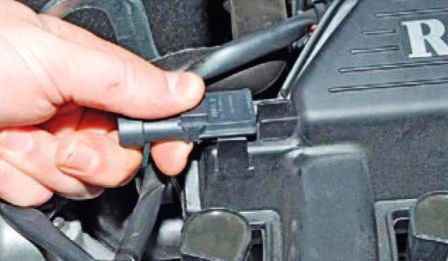
Remove the sensor from the hole in the receiver.
If the sealing rings are deformed or have lost their elasticity, then we replace them.
Install the sensor in reverse order
Removing the temperature sensor intake air pressure
We prepare the car, disconnect the negative terminal of the battery.
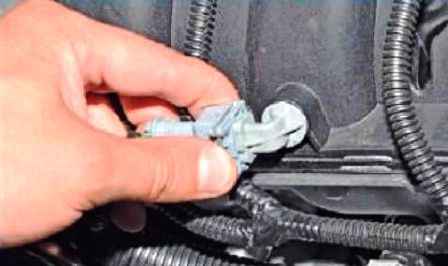
Press the wire retainer of the engine control harness block
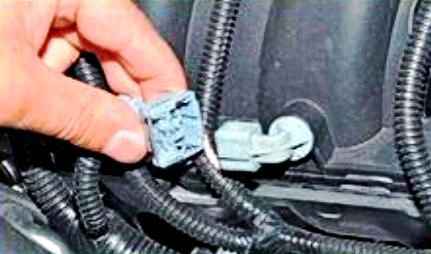
Disconnect the block from the sensor connector
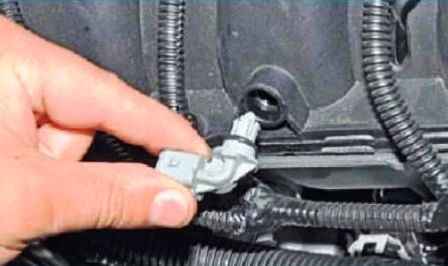
Remove the sensor from the hole in the receiver
Install the sensor in the reverse order, inserting its latches into the corresponding slots in the receiver holes.
Removing the control oxygen sensor
Remove the air filter housing (article - Replacing the Nissan Almera air filter)
Disconnect the negative battery terminal
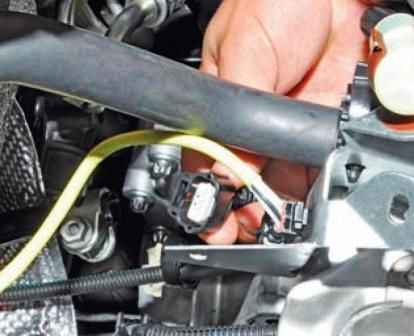
Disconnect the wire blocks of the control oxygen concentration sensor
Remove the sensor wire block from the holder
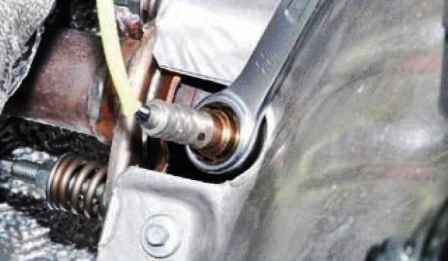
We pass the sensor wire block through the ring of the ring spanner by 22 and put the key ring on the sensor hexagon
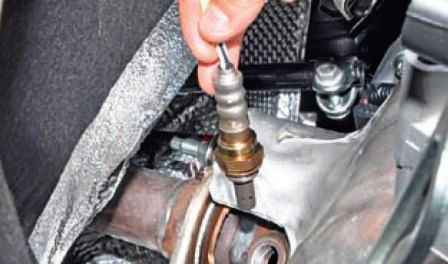
Unscrew the sensor and remove it from the exhaust manifold
Install the control oxygen sensor in the reverse order.
Before installing the sensor, apply graphite grease to the threaded part of the sensor.
Removing the diagnostic oxygen sensor
We install the car on a lift or a viewing ditch.
Disconnect the negative battery terminal
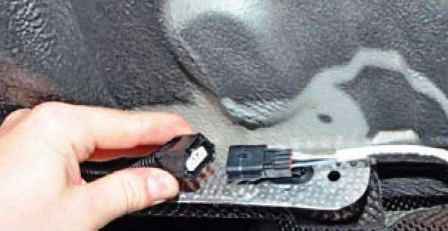
We press the retainer of the engine control system wiring block and disconnect the wiring block from the sensor block.
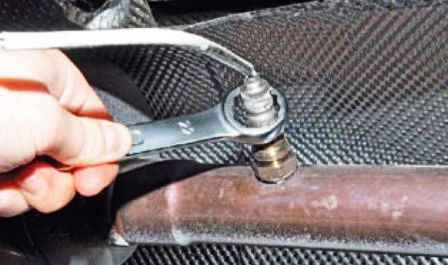
We move the sensor wire block from the holder fixed to the heat shield
We pass the sensor wire block through the ring of the spanner key to the 22nd block of the sensor wires and, putting the key ring on the sensor hexagon, unscrew the sensor from the threaded hole of the pipe.
Install the sensor in reverse order.


