To remove the front door trim, the following tools are required: TORX T20 and T40 keys, a set of screwdrivers.
We prepare the vehicle for the work. We disconnect the negative battery terminal.
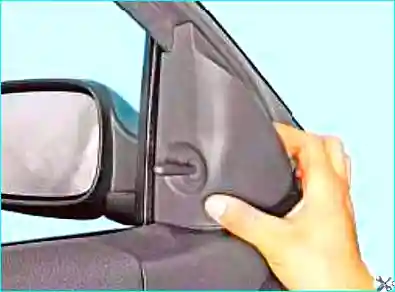
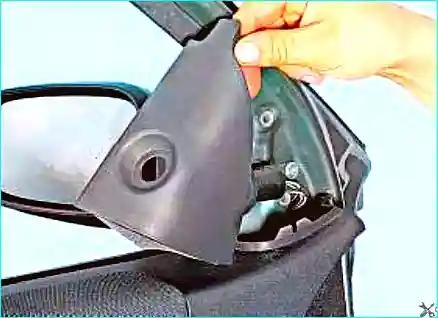
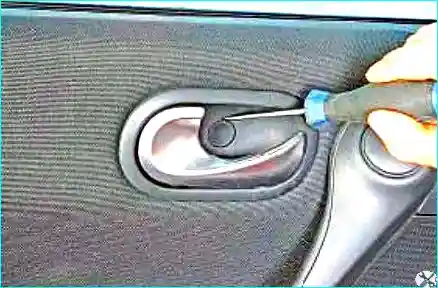
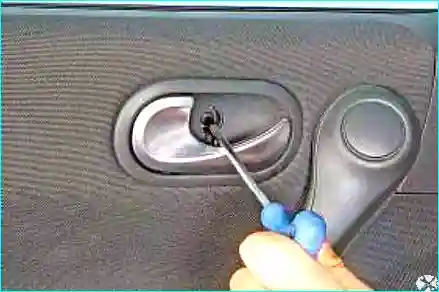
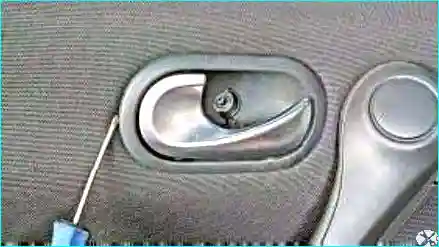
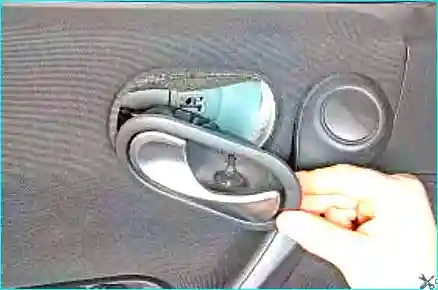
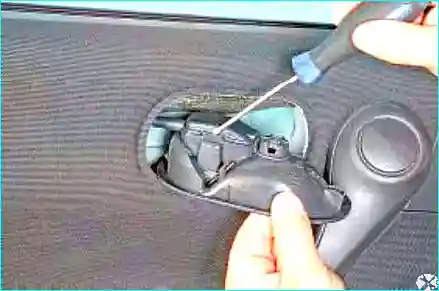
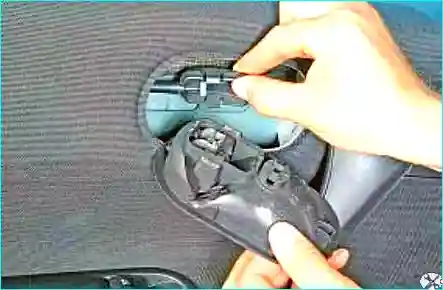
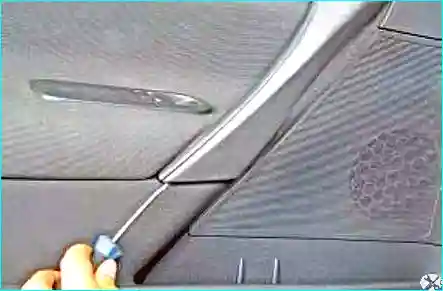
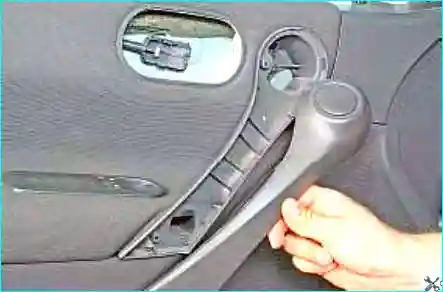
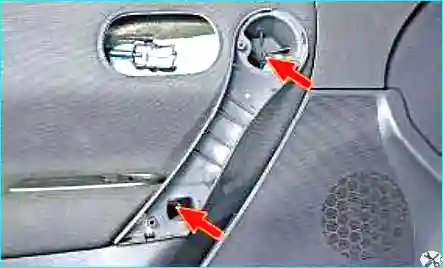
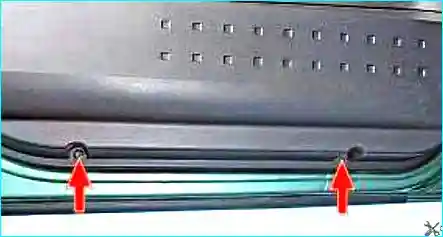
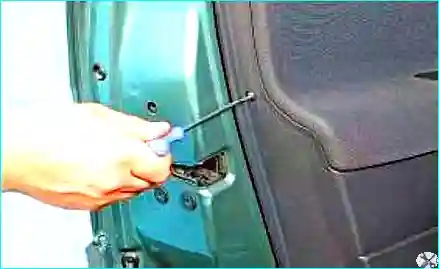
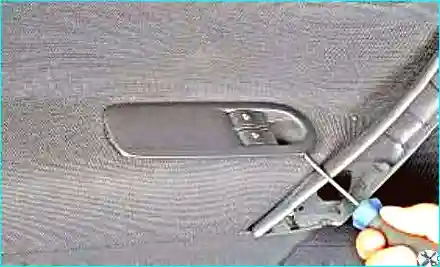
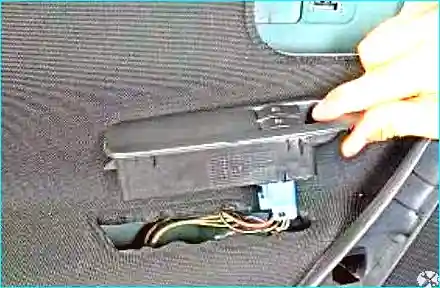
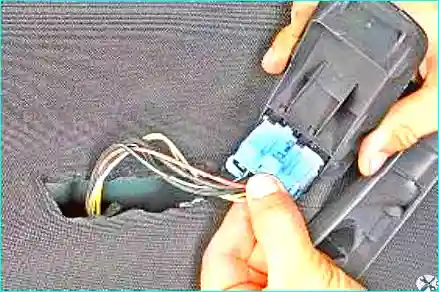
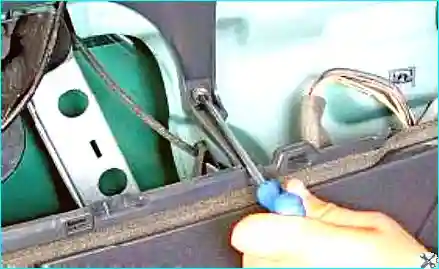
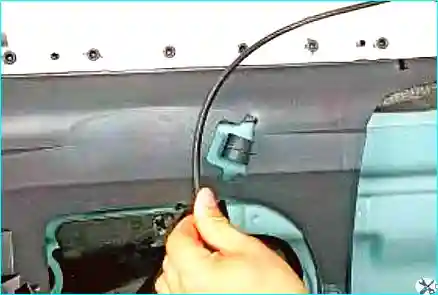
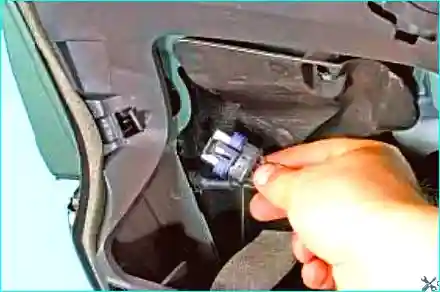
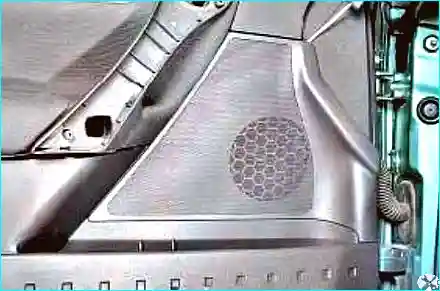
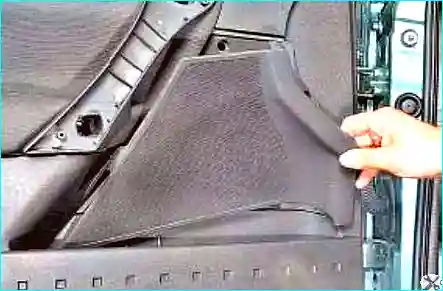
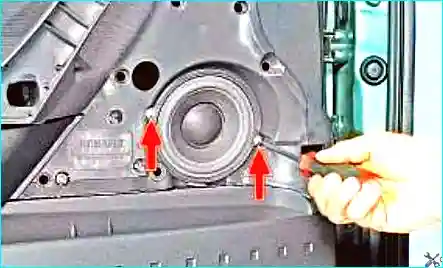
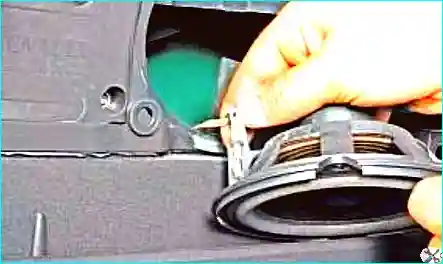
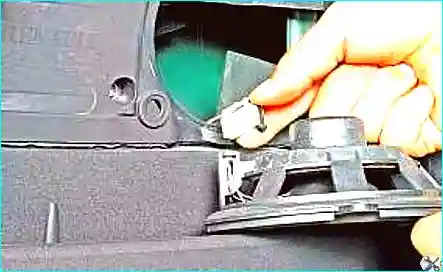
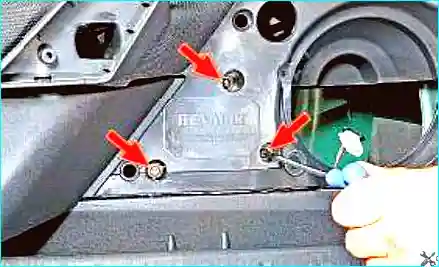
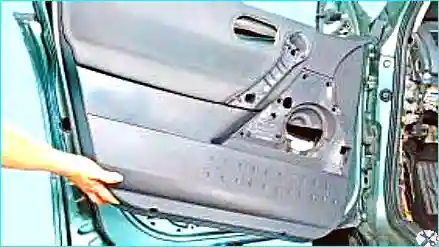
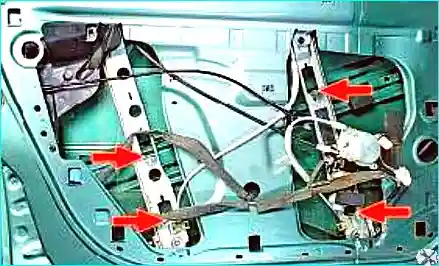
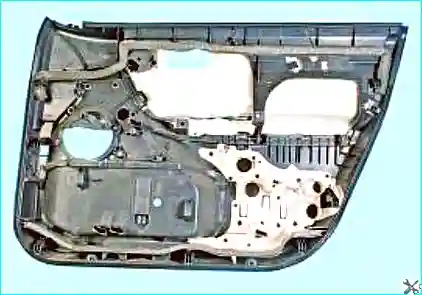
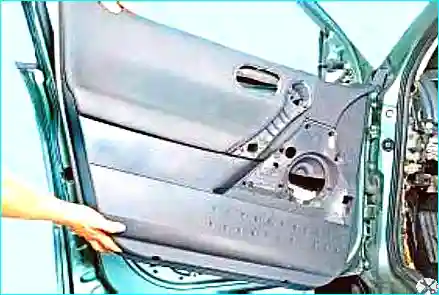
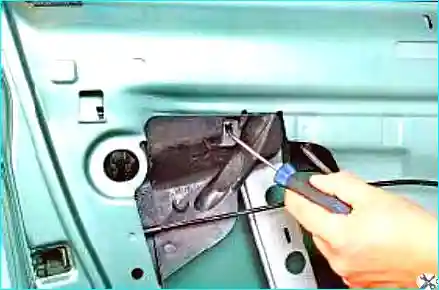
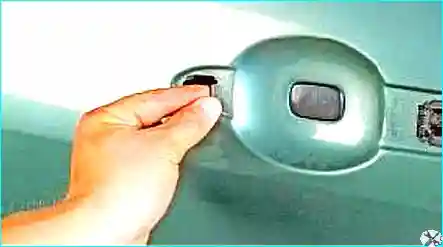
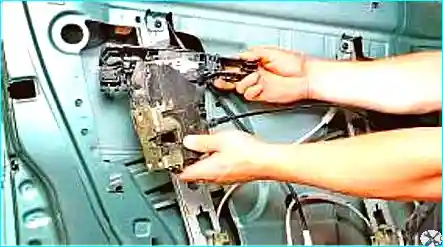
Disconnect the negative battery terminalPrise off the exterior mirror coverRemove it, overcoming the resistance of the retainersPrise off with a screwdriver and move aside the decorative cover of the securing screw of the interior door lock release handleUnscrew the interior handle securing screwPrise off the interior handle with a screwdriverMove the interior handle asidePress the retainers and disconnect the cable end fitting holder of the lock releaseRemove the door lock release handlePrise off the armrest handle trim from both sides with a screwdriverRemove the armrest handle trimUnscrew two screws securing the door trim panel in the armrest handleUnscrew two trim securing screws from belowUnscrew one screw at the rearPrise off the window regulator control unit with a screwdriverMove the window regulator control unit aside by the length of the wiresPress the retainer of the wiring harness connectorDisconnect the connector and finally remove the window regulator control unitTilt the door trim panelUnder the door trim panel, unscrew the screw securing the trim to the inner door panelRemove the front door lock release cable from the holderPress the retainer and disconnect the connector of the lock electric locking drivePrise off the speaker grille with a screwdriverRemove the speaker grilleThe grille securing retainers are shown in the figureUnscrew two speaker securing screwsPress the speaker connector retainerDisconnect the wiring harness connector from the speakerUnscrew the three door trim securing screws located under the speaker grilleDisengage the window regulator mechanism lugs from the door trimLocation of the window regulator mechanism lugs
Lifting the trim upwards, remove it from the door panel.
Refitting: refit the front door trim and all removed parts in the reverse order.
Replacing the front door glass
Tools: screwdrivers and TORX T20 key.
Lower the glass to the bottom position.
Disconnect the negative battery terminal.
Disconnect the negative battery terminal
Remove the front door trim as described above.
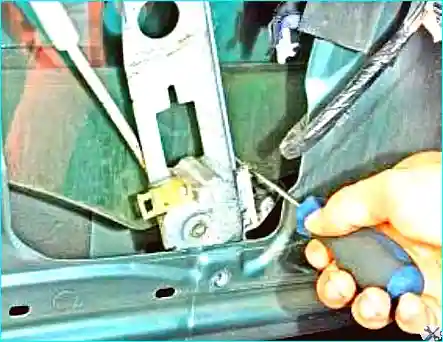
Temporarily connect the battery, connect the window regulator control unit. Press the window regulator control switch to the position in which the glass-to-slider securing retainers are in a position convenient for access to them.
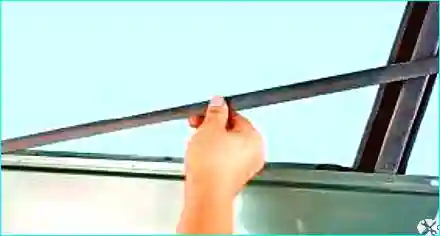
Glass-to-slider securing retainersRemove the inner glass sealRemove the outer glass sealPress the left glass-to-slider securing retainerPress the right glass-to-slider securing retainer
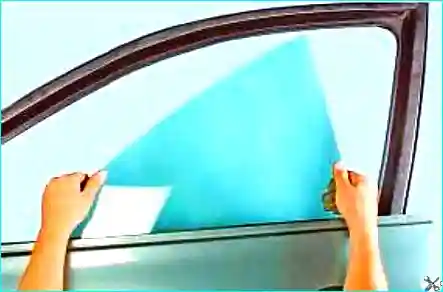
Remove the glass from the door, lifting its rear corner upwards.
Refitting: refit the front door glass and all parts in the reverse order.
Note: removal and refitting of the front door window regulator were covered in the article Window regulator repair.
Replacing the front door lock
Tools: TORX T20 key, set of screwdrivers.
Tilt the front door trim panel upwardsPress the shield retainerRemove the shield
Remove the exterior handle (described below).
Unscrew three screws securing the lock to the door framePress the retainer of the exterior handle securing bracket to the door and push the bracket into the door cavity with a screwdriver
Remove the door lock together with the exterior handle base, withdrawing it through the service opening in the door panel. Withdraw the cable end fitting from the slot in the exterior handle base and disconnect the door lock release cable.
Refitting: refit the door lock and all parts in the reverse order.
Replacing the exterior handle and the front door lock switch
Tools: TORX T20 key, set of screwdrivers, wire hook.
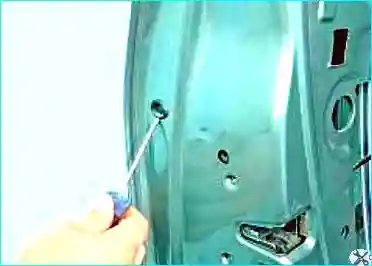
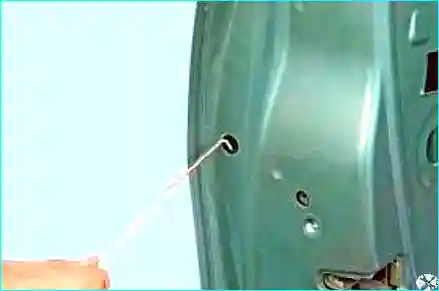
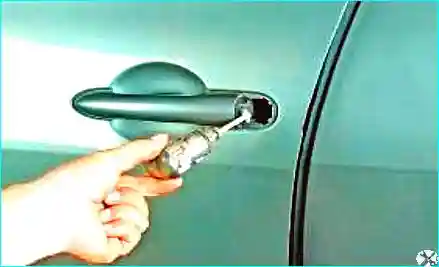
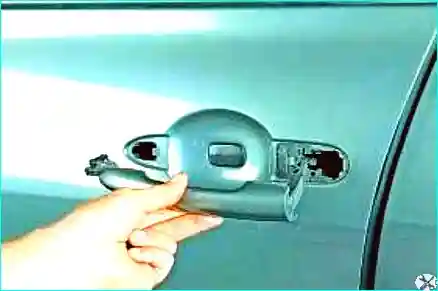
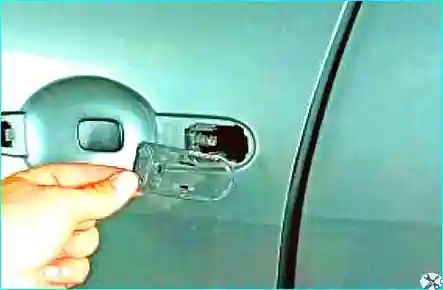
Tilt the front door trim panel upwards, as described abovePress the retainerRemove the shieldRemove the decorative cover of the front door lock switchPrise off with a screwdriver and remove the plug of the opening in the rear part of the front doorInsert the hook made of wire into the openingGuide the hook behind the stop plate of the switch and unlock the stop plate by pulling it towards you (shown on the removed lock)Remove the front door lock switchSlide the exterior handle rearwards in the direction of the arrowRemove the handle from the vehicleRemove the exterior handle seal