Removal of the door parts is required when repairing the door mechanisms, when replacing the door itself, during panel beating work and when painting the doors.
We prepare the vehicle for the work.
Removing the door trim
First we will consider removing the trim of the rear doors.
Tools: a set of screwdrivers, 10 mm spanners, TORX T15, T30.
We disconnect the negative battery terminal.
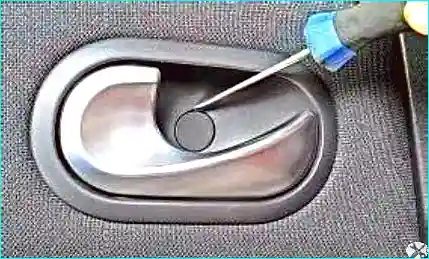
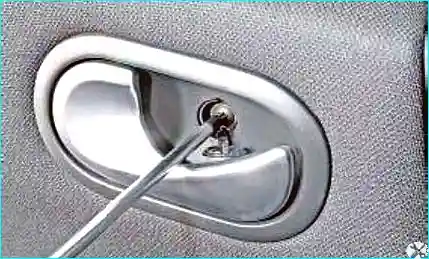
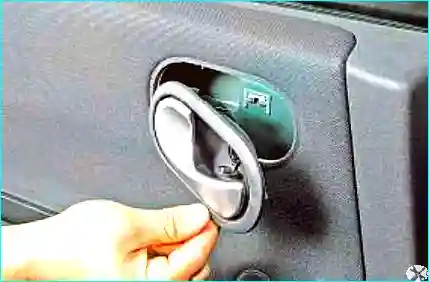
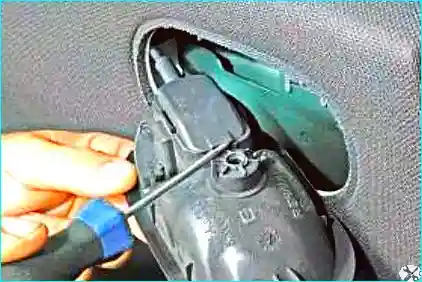
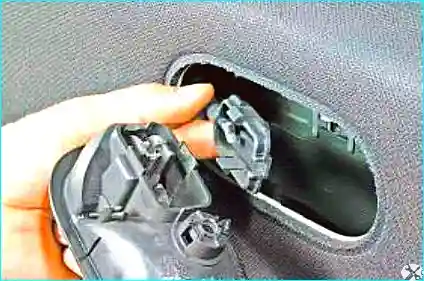
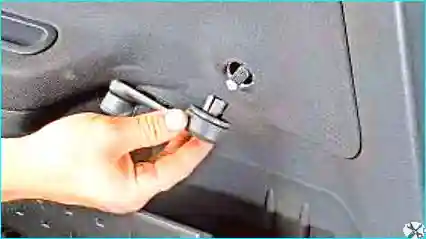
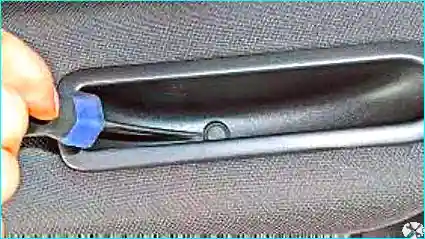
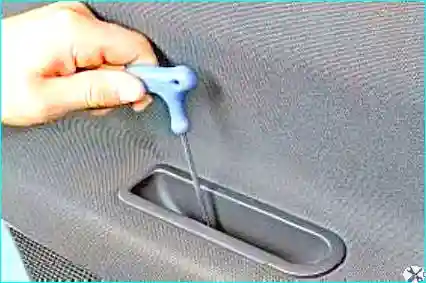
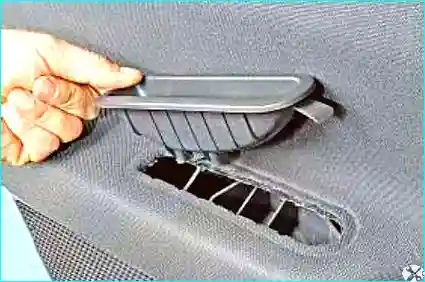
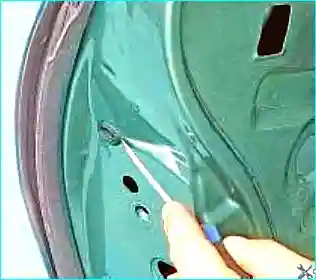
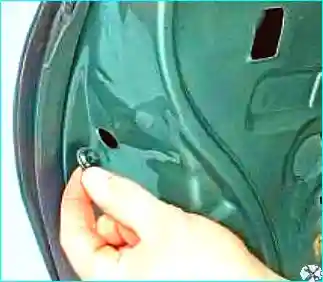
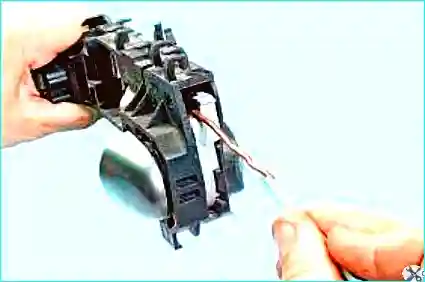
Disconnect the negative battery terminalWith a screwdriver we prise off the plastic cap of the securing screw of the interior lock handle and remove the capUnscrew the screwPressing the retainers, move the interior handle asidePress the cable holder retainerDisconnect the cable end fitting holder of the lock release
Remove the door lock release handle.
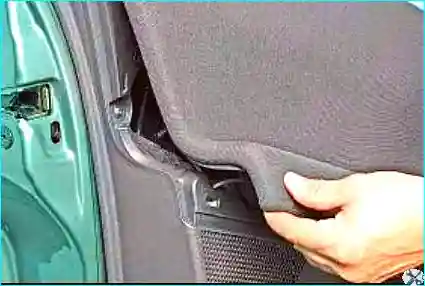
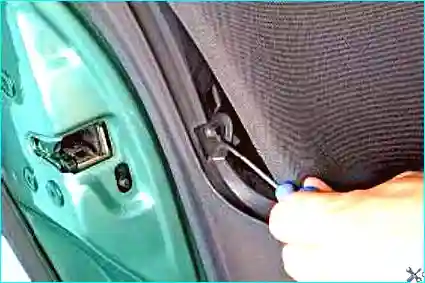
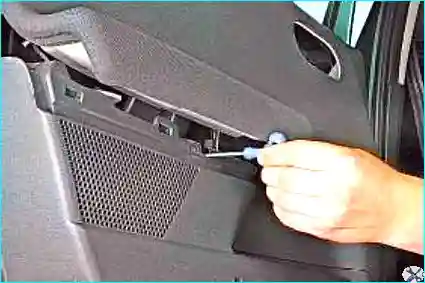
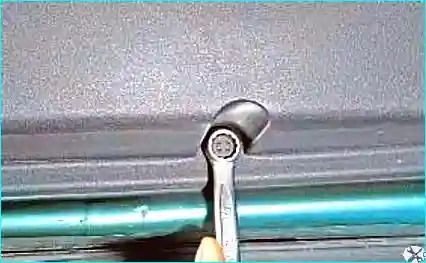
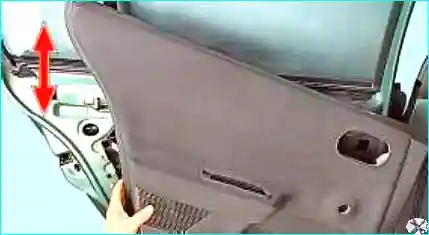
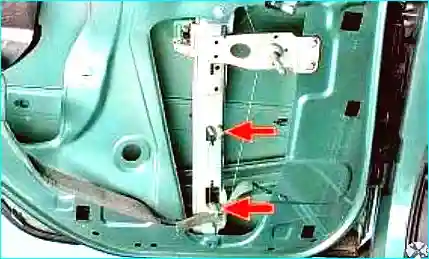
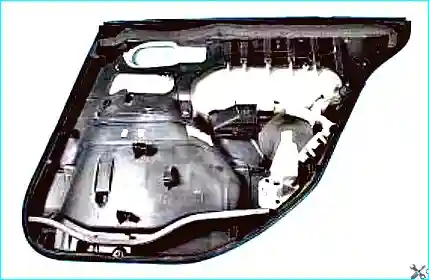
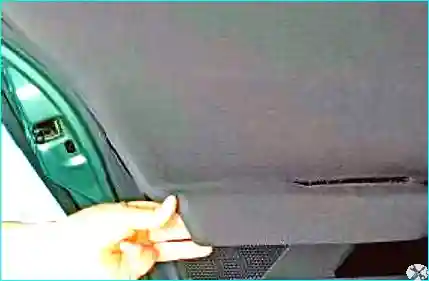
Pressing the retainers, remove the window regulator handlePrise off with a screwdriver and remove the cap of the armrest trim securing screwUnscrew the armrest trim securing screwRemove the armrest trimTilt the door trim panel upwards, pressing the plastic retainersUnscrew the trim securing screw in the rear part of the doorUnscrew the screw in the central part of the doorUnscrew the bolt of the lower trim mountingDisengage the window regulator mechanism hooks from the door trim, lift the trim upwards and remove itLocation of the window regulator mechanism hooks
Refitting: refit the rear door trim in the reverse order.
Replacing the rear door glass
Replacing the fixed rear door glass
Set the drop glass to the lower position.
Remove the rear door trim as described above.
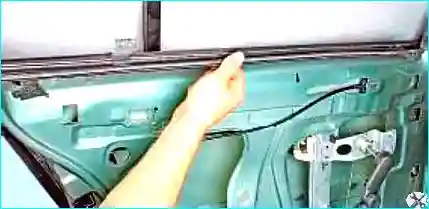
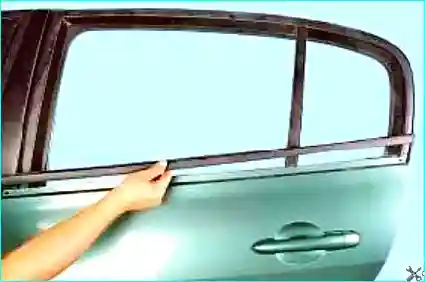
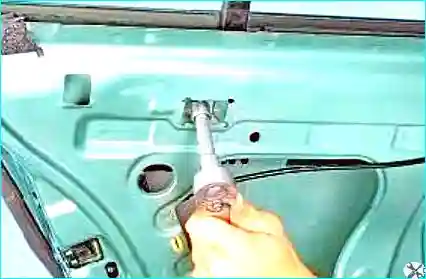
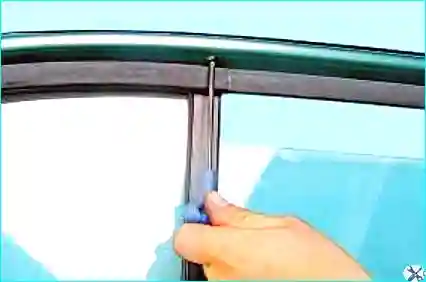
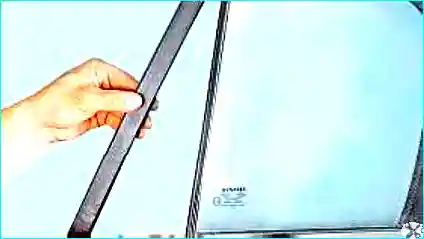
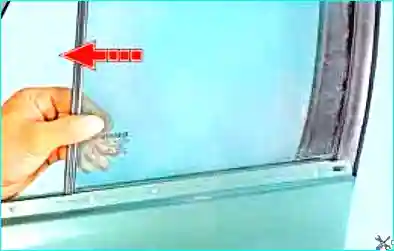
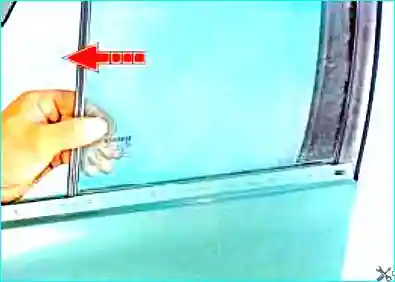
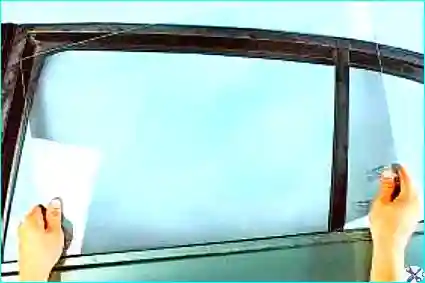
Remove the inner sealRemove the outer sealUnscrew the bolt of the lower mountingUnscrew the screw of the upper mounting of the drop glass guideRemove the guideSlide the fixed glass forwards and remove it from the door
Refitting: refit the fixed rear door glass in the reverse order.
Replacing the drop glass of the rear door
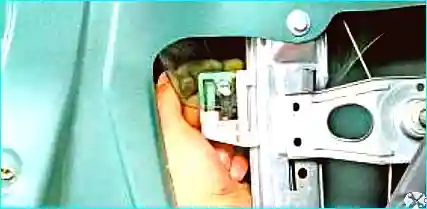
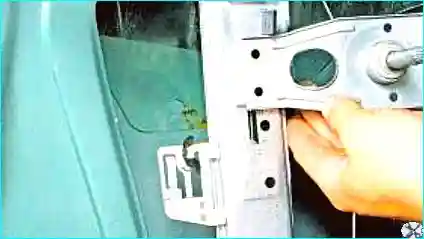
Remove the fixed rear door glass as described abovePress the glass retainerLift the glass upwards, taking it out of the collarsTake the glass out of the door, removing it upwards and outwards
Refitting: refit all parts in the reverse order.
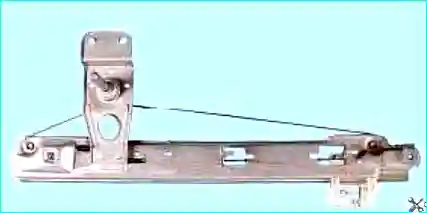
Replacing the rear door window regulator
Note: rear door window regulators are fitted depending on the equipment level with manual control and with an electric drive. The principle of replacing the window regulators is no different. Only if electric rear window regulators are fitted is it necessary to disconnect the connectors from the electric drives of the motor-reducer and the control switch.
Remove the rear door trim as described above.
Disconnect the glass from the window regulator and secure it in the upper position.
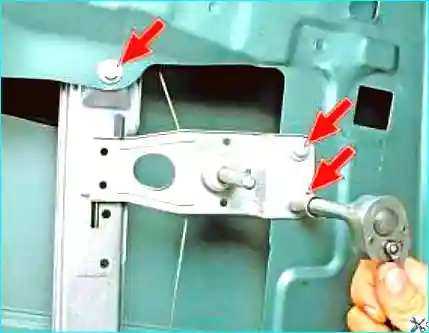
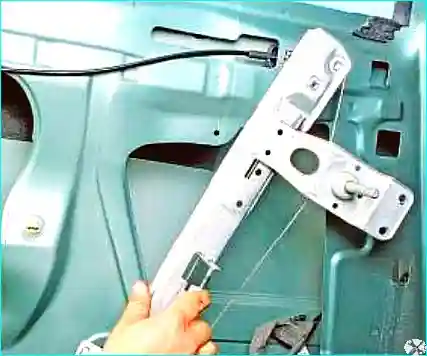
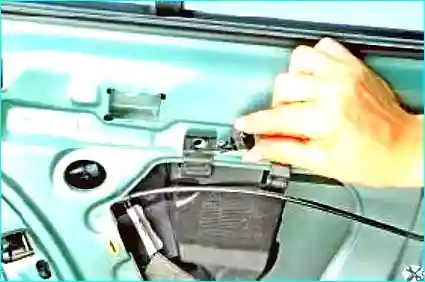
Disconnect the glass from the window regulator and secure it in the upper positionUnscrew three bolts securing the window regulator to the door panelRemove it through the service opening in the door panel
Refitting: refit the window regulator and the removed parts in the reverse order.
Replacing the rear door lock
Remove the rear door trim as described above.
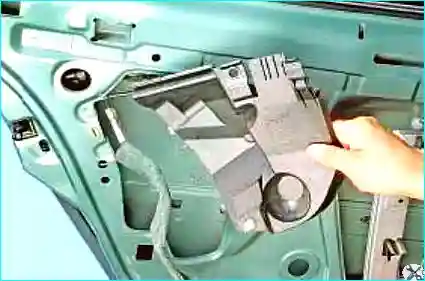
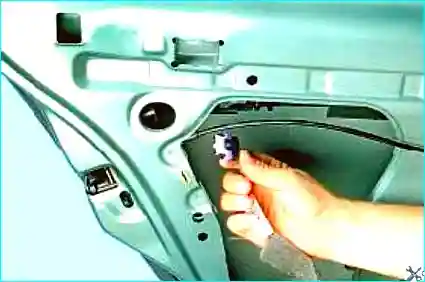
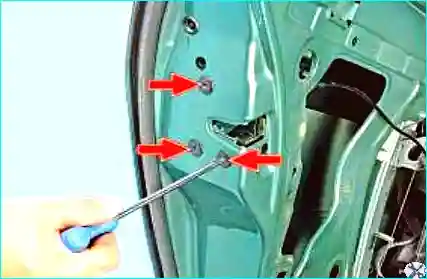
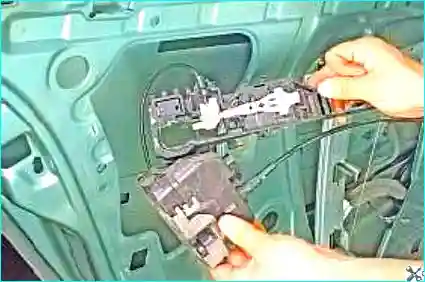
Remove the shield securing pinRemove the shieldPress the retainer of the wiring harness connector of the electric door lock locking driveDisconnect the connector from the connector of the lock locking electric driveUnscrew three screws securing the lock to the door
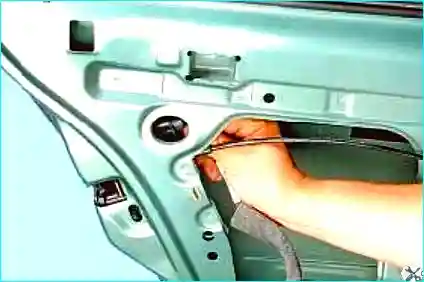
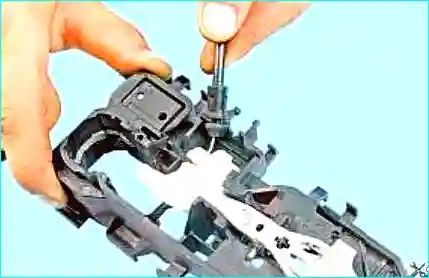
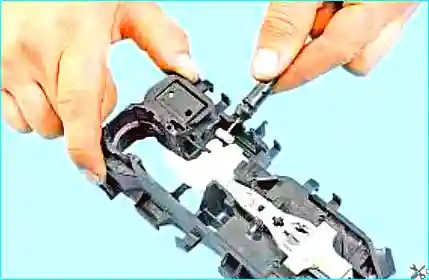
Press the retainer of the exterior handle securing bracket to the door and push the bracket into the door cavity with a screwdriverRemove the door lock together with the exterior handle base, withdrawing it through the opening in the door panelLead the cable out of the slotDisconnect the cable from the base of the exterior handle of the door lock release
Refitting: refit in the reverse order.
Replacing the exterior handle of the rear door lock
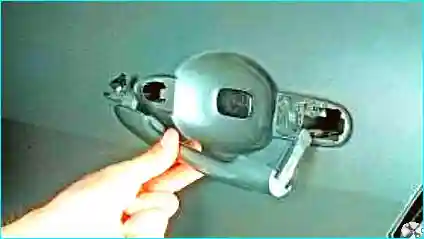
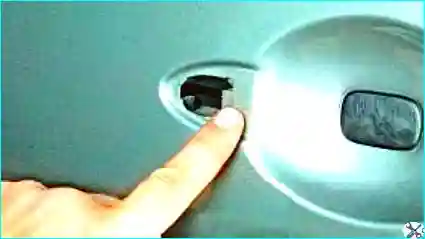
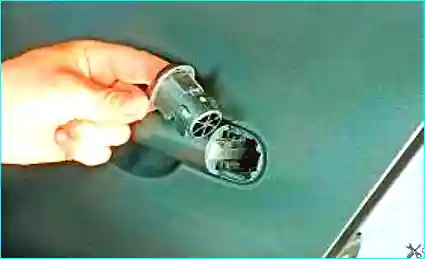
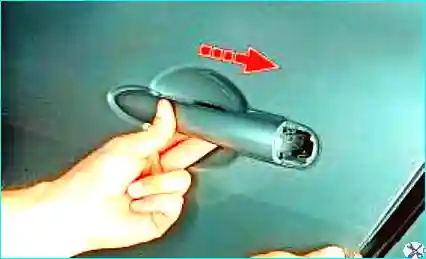
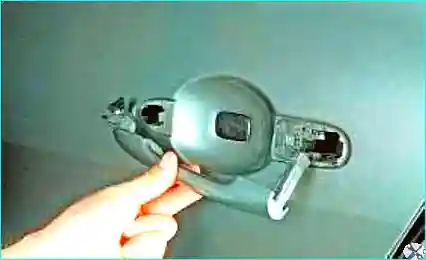
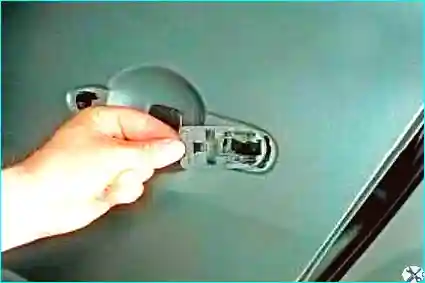
Tilt the rear door trim panel upwardsPrise off the plug with a screwdriverRemove the plug of the opening in the rear part of the rear doorGuide the hook behind the stop plate of the switch and unlock the stop plate by pulling it towards you (shown on the removed lock)Remove the decorative cover of the rear door lockSlide the exterior handle rearwards (in the direction of the arrow)Remove it from the vehicleRemove the exterior handle seal
Refitting: refit the exterior handle in the reverse order.
Adjusting the door lock striker
We adjust the striker if the door is difficult to close or does not close at all.
Loosen the tightening of two striker securing screws
Set the striker so that it is installed parallel to the engagement direction of the lock striker.
Tighten the striker securing screws to a torque of 12.7–20.6 N·m.