


Do not turn the crankshaft in the reverse direction of rotation.
Perform the work on a lift or over an inspection pit.
Disconnect the battery.
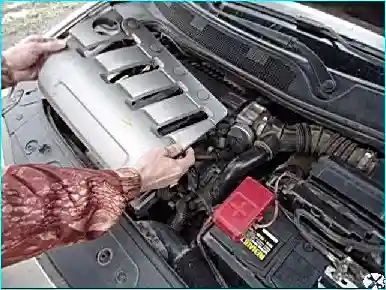
Fig. 1. Remove the upper plastic cover
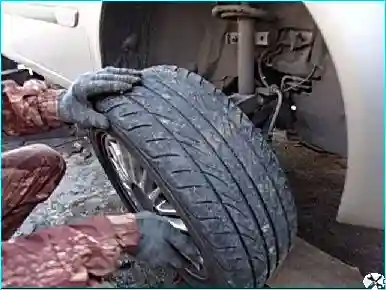
Fig. 2. Remove the right front wheel
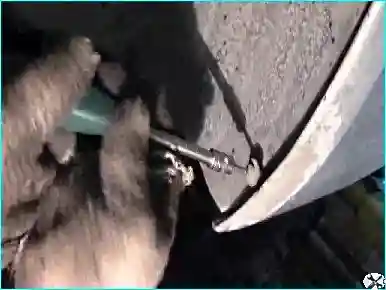
Fig. 3. Unscrew the wheel arch liner retaining screws and remove the clips
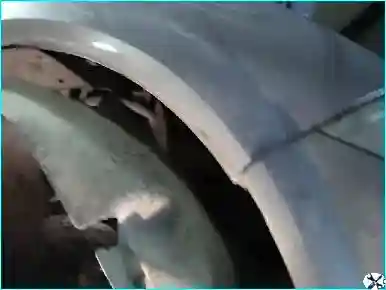
Fig. 4. Remove the wheel arch liner
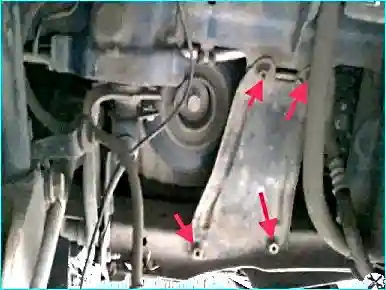
Fig. 5. Unscrew the four reinforcement bolts
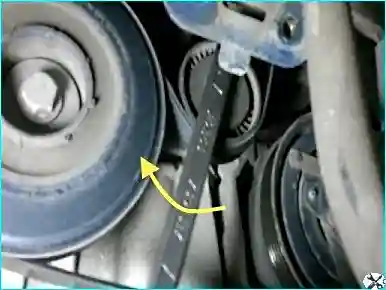
Fig. 6. Using a 16 mm spanner, rotate the tensioner pulley clockwise to release belt tension
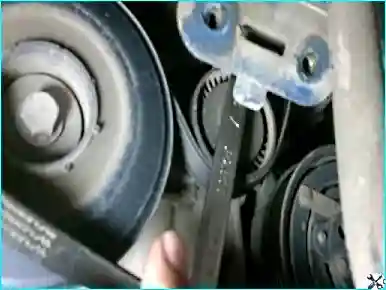
Fig. 7. Remove the belt from the crankshaft pulley
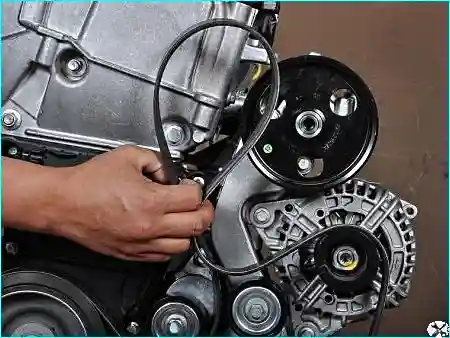
Fig. 8. Remove the belt from the air conditioning compressor pulley and the alternator pulley
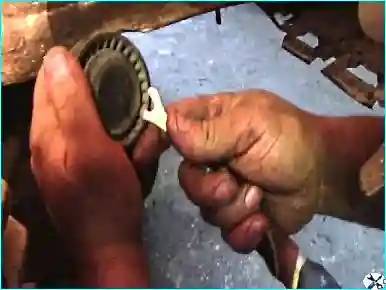
Fig. 9. To replace the tensioner pulley, prise the cover with a screwdriver
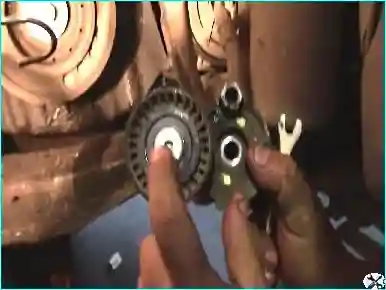
Fig. 10. Unscrew the tensioner pulley retaining screw
Installation
Clean the crankshaft pulley grooves with a brush to remove deposits.
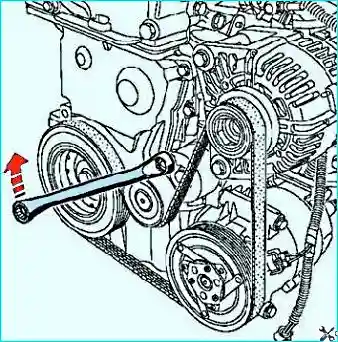
Fig. 11. Rotating the automatic auxiliary drive belt tensioner
Install the tensioner pulley.
Tighten the tensioner pulley retaining bolt to the specified torque (40 N·m).
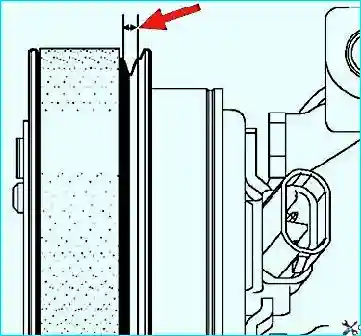
Fig. 12. Free groove on the compressor pulley
The auxiliary drive belt has five grooves, while the air conditioning compressor pulley has six grooves.
When installing the belt, ensure that the groove indicated by the arrow in Figure 12 remains free.
Install the auxiliary drive belt.
To correctly position the belt on the pulleys, rotate the crankshaft two turns.
Install in the reverse order of removal.
Reconnect the battery.
Replacing the auxiliary drive belt on the F4R engine
Removal:
Place the vehicle on a two-post lift.
Disconnect the battery.
Remove the upper engine covers.
Remove the right front wheel.
Remove the right front wheel arch liner.
Remove the right side reinforcement.
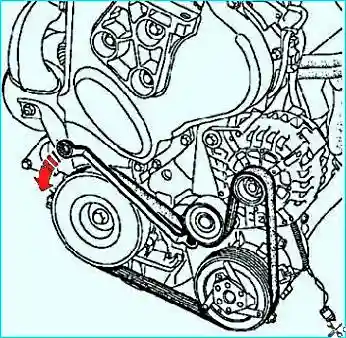
Fig. 13. Rotating the automatic auxiliary drive belt tensioner
Rotate the automatic auxiliary drive belt tensioner clockwise using a 16 mm spanner (Fig. 13).
Install the auxiliary drive belt.
To correctly position the belt on the pulleys, rotate the crankshaft two turns.
Installation is carried out in the reverse order of removal.
Reconnect the battery.


