


Checking the parking brake cable on a Renault Megane 2
Place the vehicle on a lift.
Check the position of the parking brake cable with the reinforcement (Fig. 1).
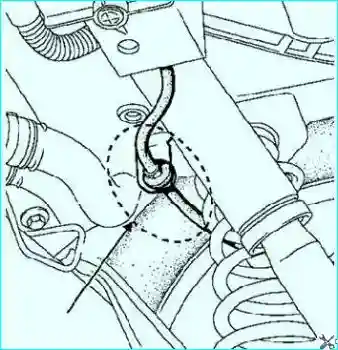
Fig. 1. Checking the parking brake cable with reinforcement
If the parking brake cable with reinforcement is secured, install the strap clamp; if it is not secured, install it.
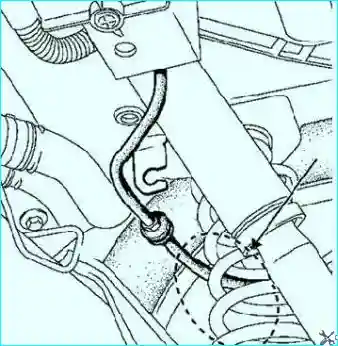
Fig. 2. Inspection area for the unsecured parking brake cable with reinforcement
Inspect the condition of the parking brake cable outer sheath in the area shown in Figure 2.
If the cable sheath is not damaged, secure it to the bracket.
Install the strap clamp.
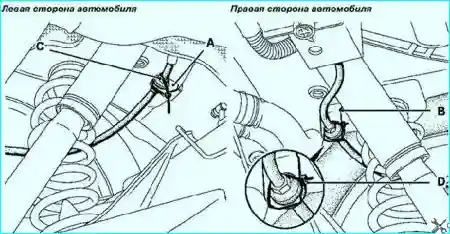
Fig. 3. Installing the strap clamps
If the parking brake cable sheath shows signs of wear, replace the parking brake assembly with reinforcement.
Installing the strap clamp
Install strap clamps C and D on the two brackets A and B of the parking brake cable sheath (Fig. 3).
To check the parking brake, pull the brake lever fully upwards.
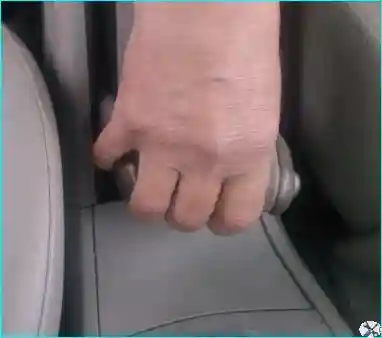
Fig. 4. If the vehicle is not held by the parking brake, it needs to be adjusted
The parking brake adjustment mechanism is located inside the cabin, under the floor tunnel trim.
To adjust the brake:
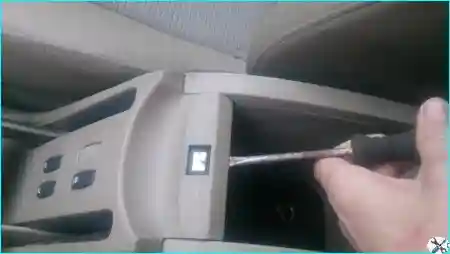
Fig. 5. Prise the adjustment mechanism cover with a flat-blade screwdriver
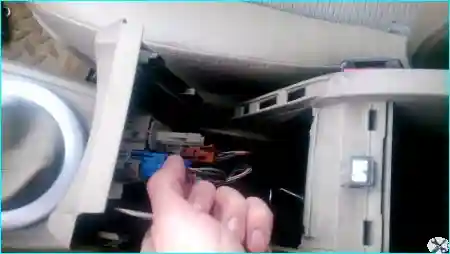
Fig. 6. Remove the harness connectors from the switches and remove the cover
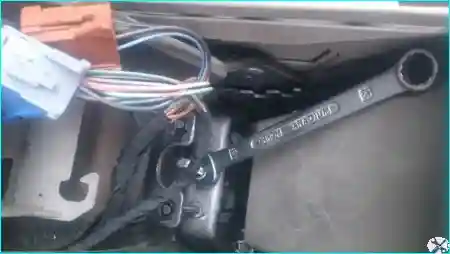
Fig. 7. Turn the adjustment nut with a 13 mm spanner
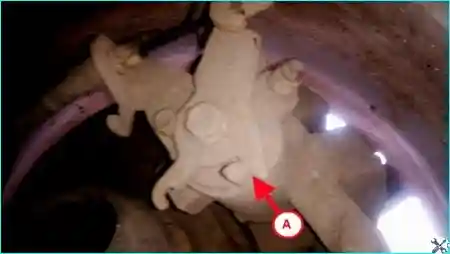
Fig. 8. Adjust to the required clearance A (1 mm) between the expander lever stop and the limiter
Raise the rear wheels slightly and rotate them by hand.
The wheels must rotate smoothly and without jerking. Otherwise, the parking brake or the rear brake mechanisms need to be repaired.
Replacing the parking brake cables
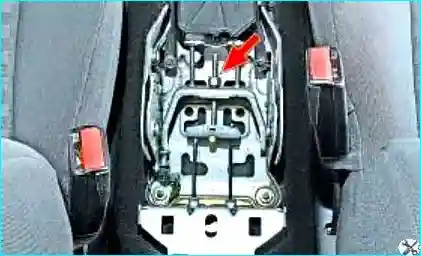
Fig. 9. Loosen the parking brake mechanism adjustment nut
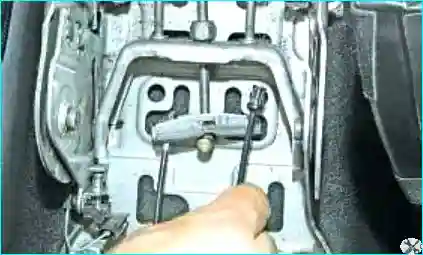
Fig. 10. Remove the cable end from the equaliser slot
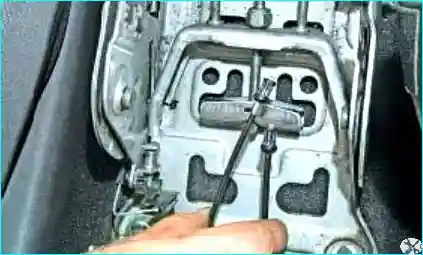
Fig. 11. Also disconnect the second cable end
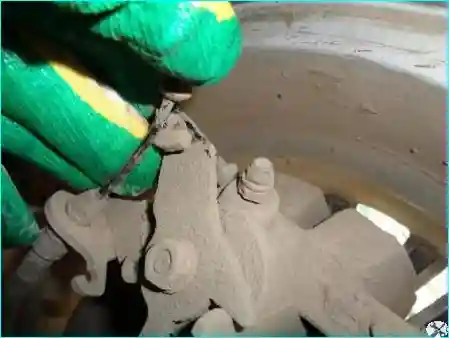
Fig. 12. Raise the rear of the vehicle
Remove the cable end from the expander lever holder.
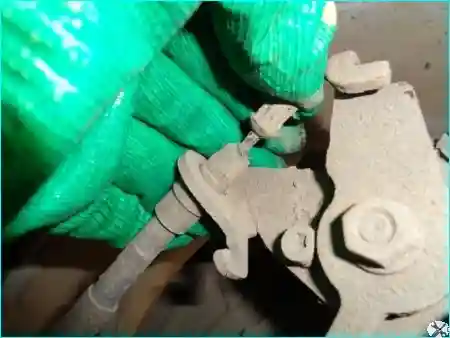
Fig. 13. Remove the sheath end from the bracket holder
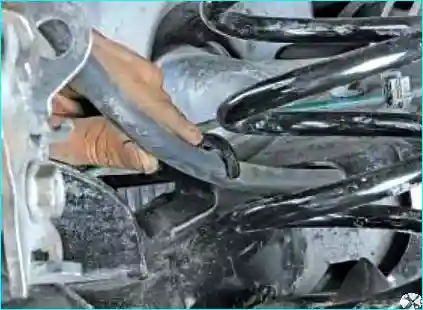
Fig. 14. Remove the cable from the rear suspension trailing arm bracket
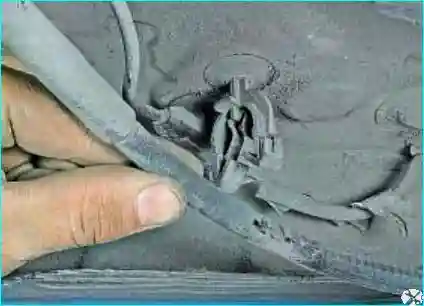
Fig. 15. Remove the cable from the body bracket
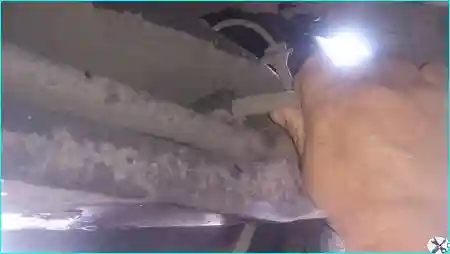
Fig. 16. Remove the cable end from the rear axle beam cavity; also remove the second cable end
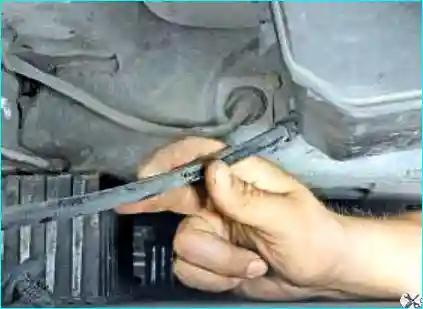
Fig. 17. Remove the cable from the body aperture. Do the same for the other cable
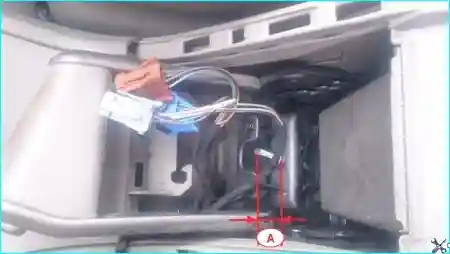
Fig. 18. Install the new cables in the reverse order
After installing the new cables, tighten the adjustment nut to a distance «A» of 21 mm if the cable end is black.
If the cable end is gold-coloured, set this distance to 16 mm.
If necessary, adjust the parking brake.
Install:
- the centre console;
- the centre console retaining screws;
- the centre console mat.
Tighten to the specified torque:
- the parking brake lever retaining bolts (8 N·m);
- the centre console retaining screws (2 N·m).


