


There are two models of the headlamp leveller unit:
- with an instrument illumination brightness regulator for «basic specification»;
- for models with manual climate control operation;
- with an instrument illumination brightness regulator for «maximum specification»;
- for models with automatic climate control operation.
The headlamp leveller switch used is of a single model, regardless of the climate control type.
Removal
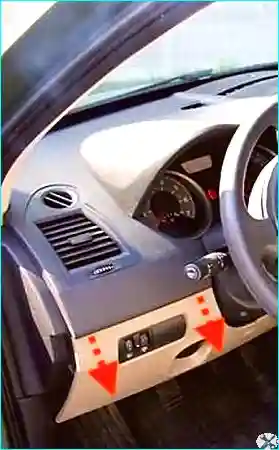
Fig. 1. Removing the lower panel trim
Remove the trim from the lower part of the dashboard on the driver's side (Fig. 1).
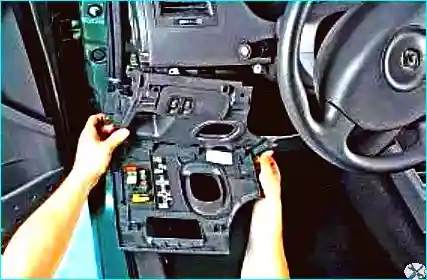
Fig. 2. Disconnect the connector
Pry loose the four retaining clips of the regulator block trim panel (Fig. 3).
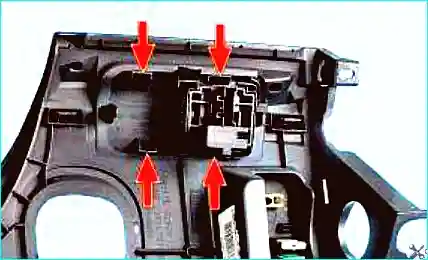
Fig. 3. Remove the trim panel complete with the regulator block
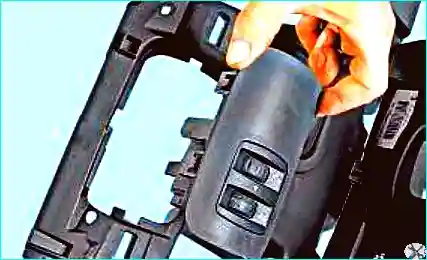
Fig. 4. Release the block clip
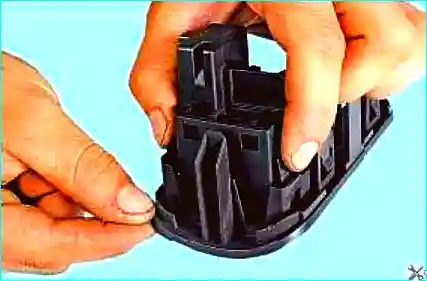
Fig. 5. Remove the trim panel from the regulator block
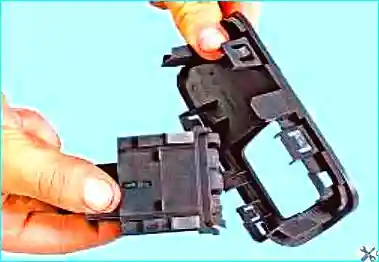
Fig. 6. Regulator block
Removing and installing the headlamp leveller motor
To remove the leveller actuator, you must remove the headlamp unit.
Removal
Remove the headlamp.
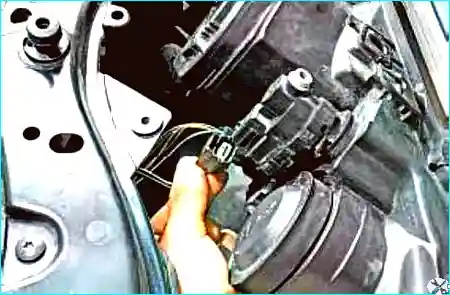
Fig. 7. Disconnect the wiring connector from the headlamp leveller motor
Turn the motor 1/8 of a turn outwards to detach it from the headlamp unit.
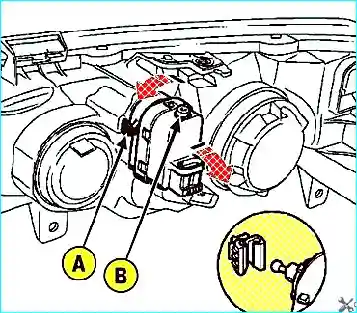
Fig. 8. Removing the headlamp leveller motor: A - tab, B - screw
Gently push the tab «A» to the side to avoid breaking it (Fig. 8).
While gently rocking the actuator, detach the ball joint from the parabolic reflector.
To make separation easier, screw in the screw «B» a few turns (see Fig. 8).
Installation
Holding the bulb by its base, push the parabolic reflector back inside the headlamp unit.
Snap the ball joint into the headlamp retainer.
Insert the motor into the headlamp unit.
Turn the motor 1/8 of a turn to lock it into the headlamp unit.
Connect the connector.
Fit the cover.
Adjust the headlamps.


