Replacement of Renault Megane II mufflers and pipes
General information about the exhaust system
We repair the exhaust system because of burn-through of system elements or if the system elements are clogged with soot and combustion products.
Precautions: we prepare the vehicle for the work. We place the vehicle on a lift or over an inspection pit.
Replacing the exhaust system suspension cushions
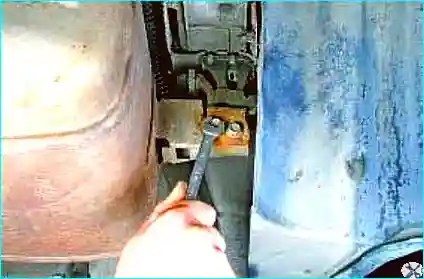
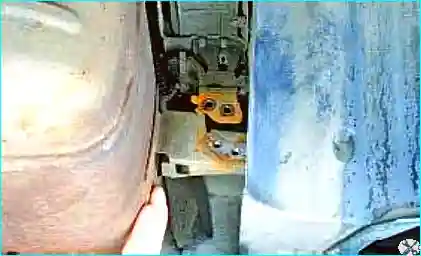
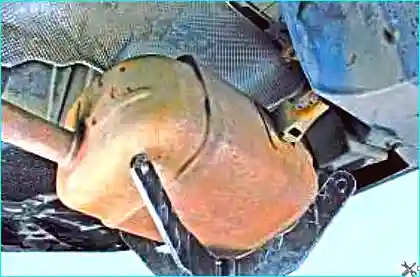
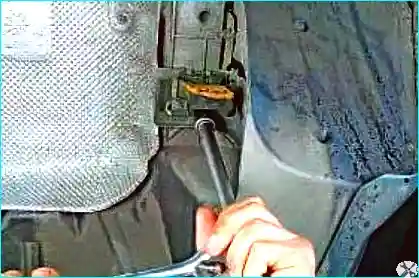
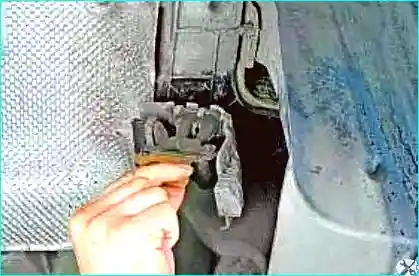
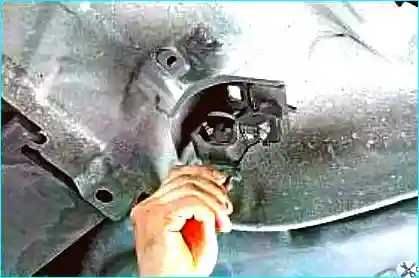
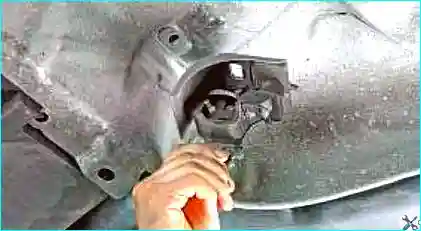
We unscrew two bolts securing the main silencer bracket to the suspension cushionWe lower the main silencerWe place a support under the silencerWe unscrew the bolt securing the cushion to the bodyWe remove the suspension cushionWe also remove the cushion of the additional silencer pipe
Refitting: we refit the cushions in the reverse order.
Replacing the catalytic converter
Important! The exhaust system elements are connected with special crimp sleeves, which are available commercially.
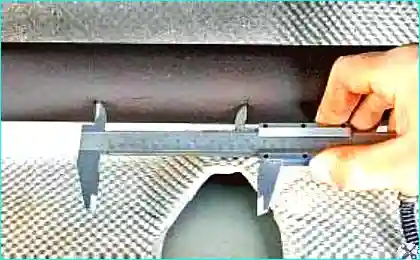
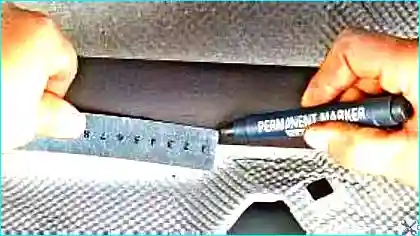
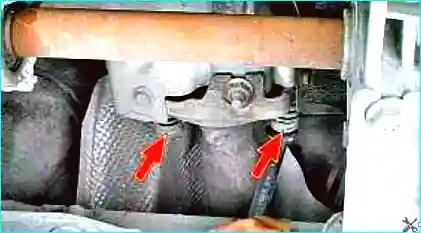
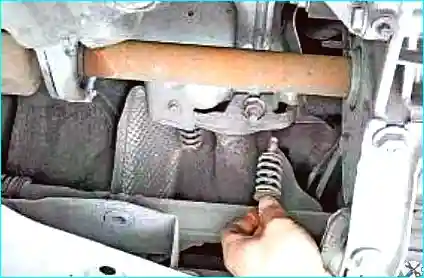
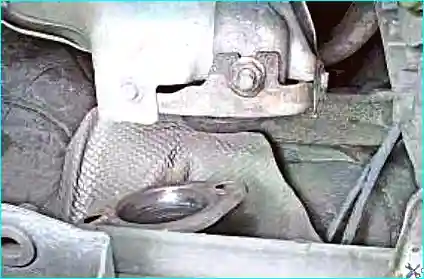
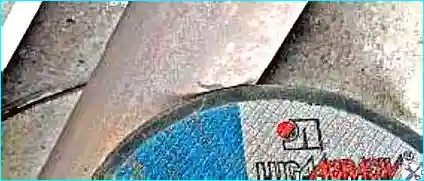
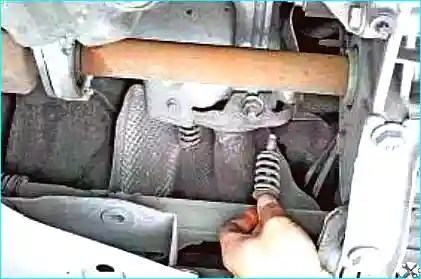
We measure the distance between the marks (it must be 80 mm)We mark the middle between the marks and apply an additional mark with a felt-tip penWe saw the pipe at the mark appliedUnscrew the bolts securing the catalytic converter pipe to the exhaust manifoldWe withdraw the bolts with the springsWe separate the main silencer pipe and the catalytic converter
Refitting: we refit the parts in the reverse order.
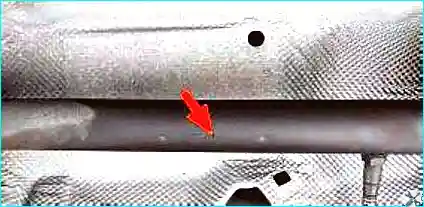
Replacing the main silencer: to replace the main silencer we saw the system between the marks located near the left spring of the rear suspension.
Cutting point for replacing the main silencer
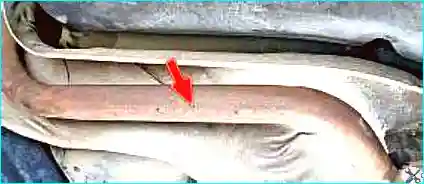
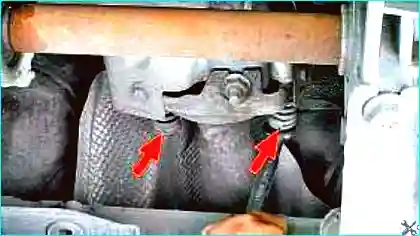
Replacing the additional silencer: to replace the additional silencer we saw the system in two places:
between the catalytic converter and the additional silencer;
near the left spring of the rear suspension.
Cut between the catalytic converter and the additional silencerCut near the left spring of the rear suspension
Removing and refitting the exhaust manifold
Precautions: we disconnect the negative battery terminal.
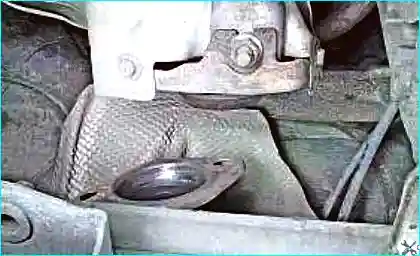
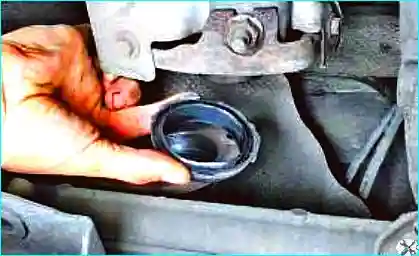
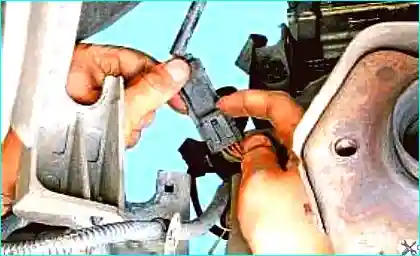
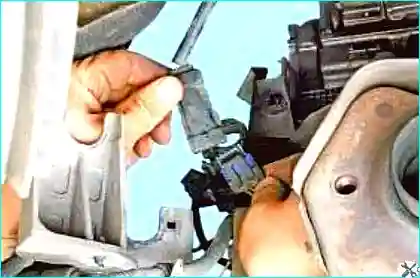
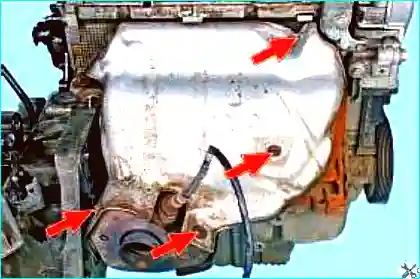
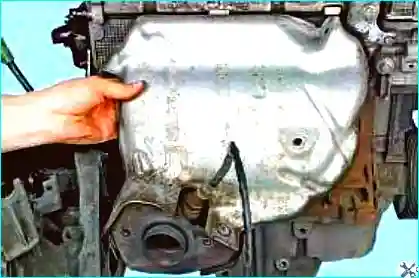
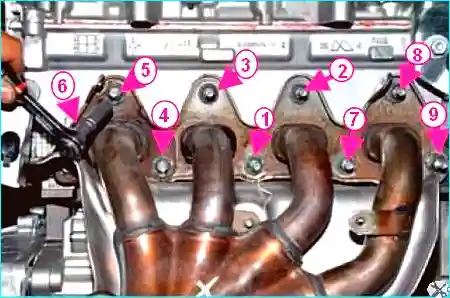
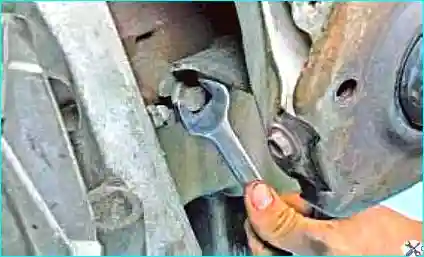
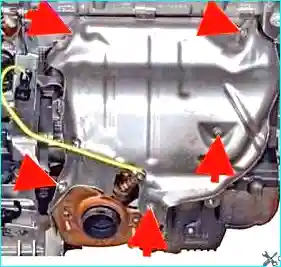
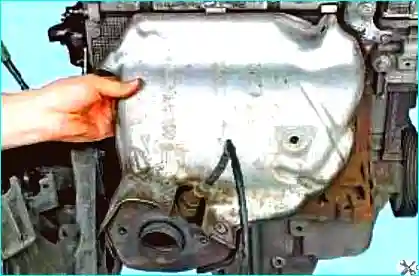
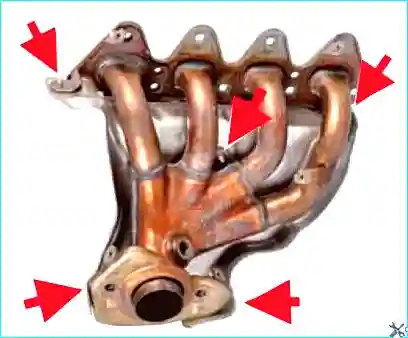
We unscrew the bolts securing the catalytic converter pipe to the exhaust manifoldWe withdraw the bolts securing the catalytic converter pipeWe separate the main silencer pipe and the catalytic converterRemove the sealing bushWe press the retainer of the wiring harness connector of the oxygen sensorWe separate the connectorsWe unscrew the bolts securing the upper heat shieldWe remove the upper heat shieldWe unscrew the exhaust manifold securing nutsWhen refitting we tighten according to the sequence in the photo
We unscrew the nut securing the exhaust manifold bracket.
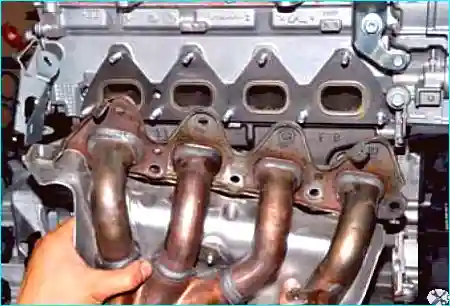
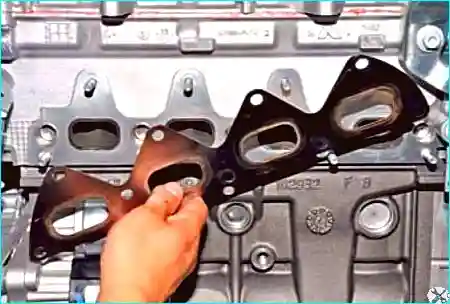
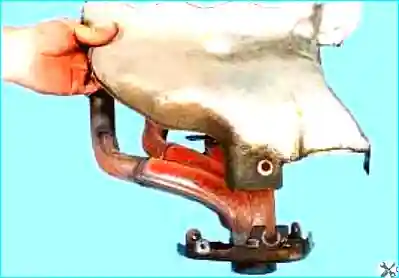
We remove the exhaust manifoldWe remove the sealing gasket from the studs
Refitting: refitting is carried out in the reverse order. Always replace the sealing gasket.
Removing and refitting the heat shields
Main silencer heat shield
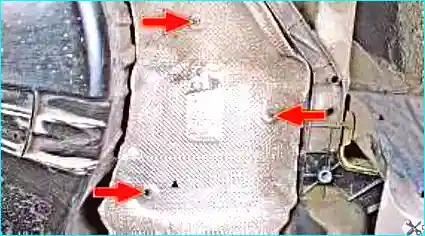
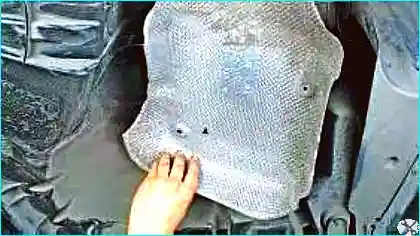
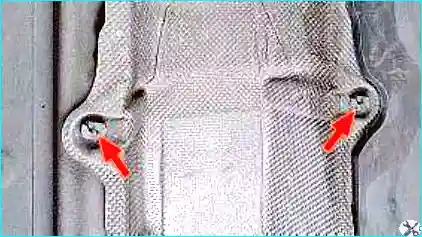
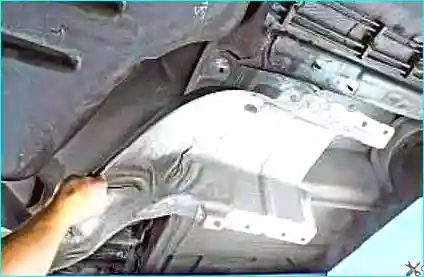
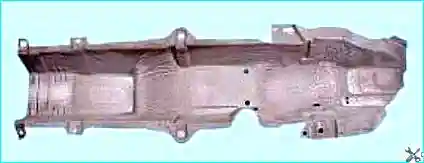
To remove the main silencer heat shieldWe unscrew three heat shield securing screwsWe remove the main silencer heat shield
Additional silencer heat shield
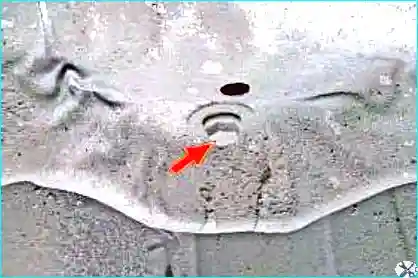
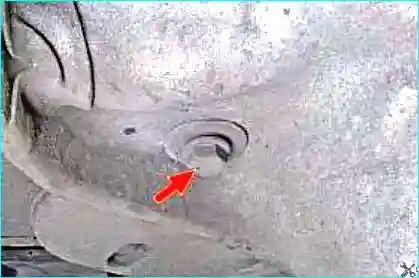
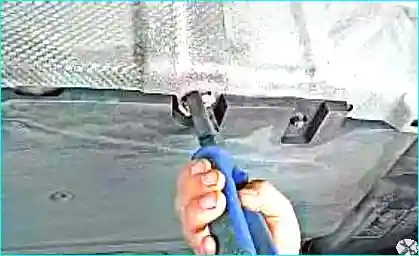
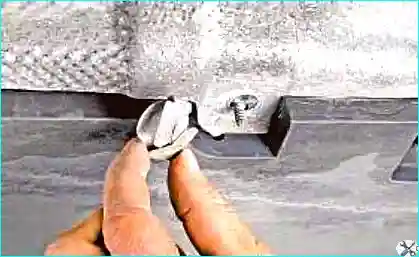
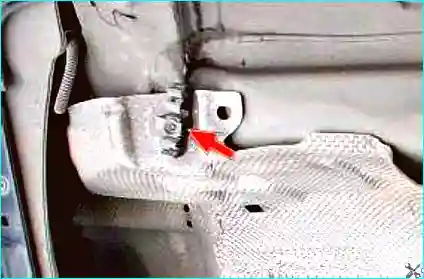
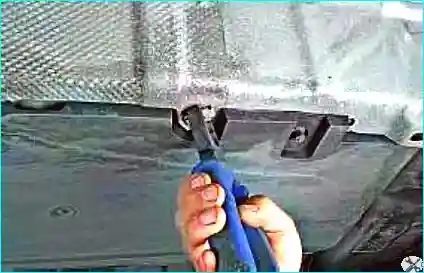
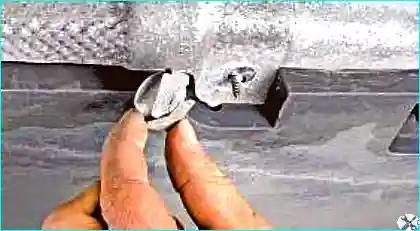
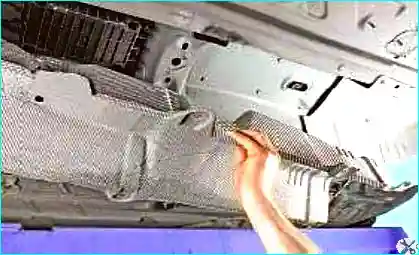
To remove the additional silencer heat shieldWe remove the suspension cushion of the additional silencer pipeWe unscrew the rear heat shield securing boltWe unscrew the front heat shield securing boltWith the help of pliers we unscrew the retainersWe remove the retainers securing the central heat shield with the additional silencer pipe heat shieldThis is how the retainers are locatedWe disengage the central heat shield from the studs and remove the additional silencer pipe heat shield
Central heat shield
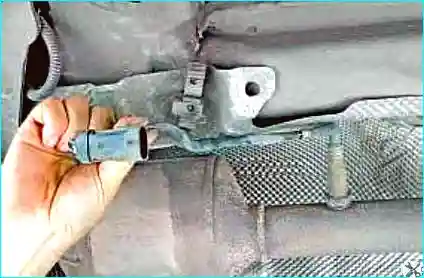
To remove the central heat shieldWe withdraw the wiring harness of the diagnostic oxygen sensor from the holderRemove the holderWith the help of pliers we unscrew the retainersWe remove the retainers securing the central heat shieldRemove the central heat shield
Upper and lower heat shields
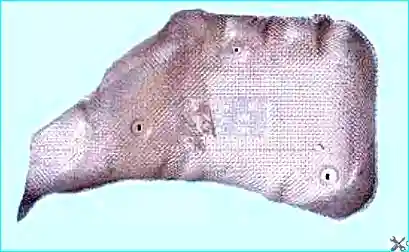
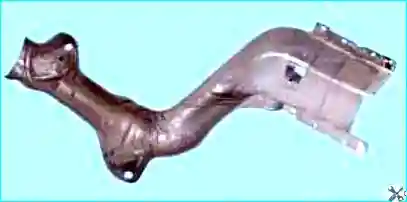
We unscrew the bolts securing the upper heat shieldWe remove the upper heat shieldWe unscrew the bolts securing the lower heat shieldWe remove the lower heat shield
Refitting: we refit the heat shields in the reverse order.
Recommendation: when replacing exhaust system elements, always use new sealing gaskets and crimp sleeves. Check the tightness of all connections after refitting.