


Alternative method of replacing the coolant
According to the instructions, to replace the coolant the bumper must be removed in order to gain access to the lower radiator hose. Let us consider an alternative variant of draining the coolant.
Advantage of this method: the front bumper does not need to be removed, which considerably simplifies and speeds up the coolant replacement process.
Preparatory work
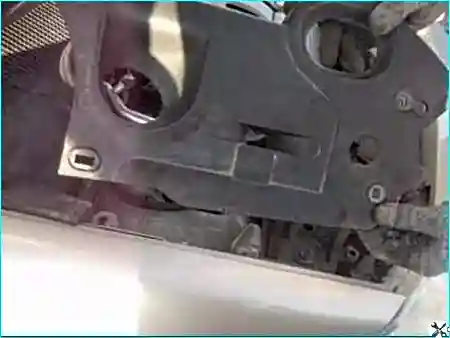
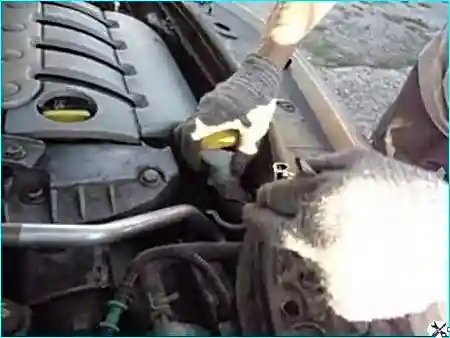
Precautions: we raise the right front side of the vehicle and remove the right front wheel.
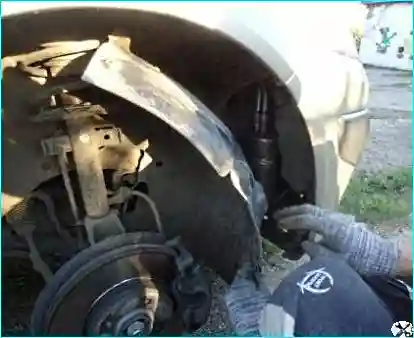
Removing the arch liner: we unscrew two screws of the side mounting of the front arch liner to the bumper, remove the clips and remove the front half of the right arch liner.
Draining the coolant
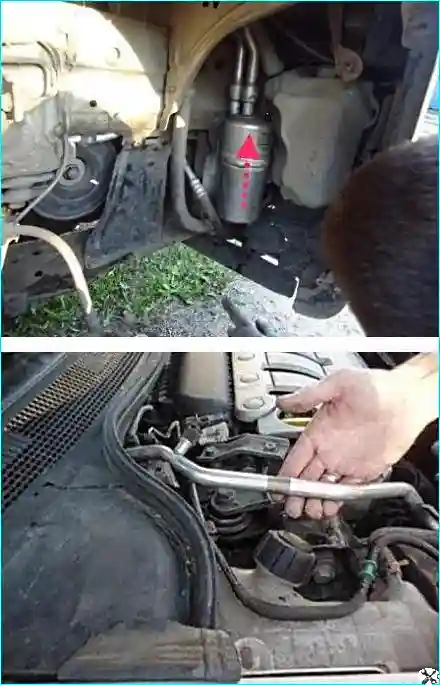
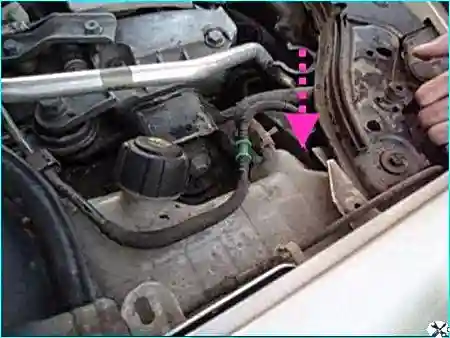
Draining the fluid: we lower the end of the hose into a suitable container for draining about 6 litres and drain the coolant.
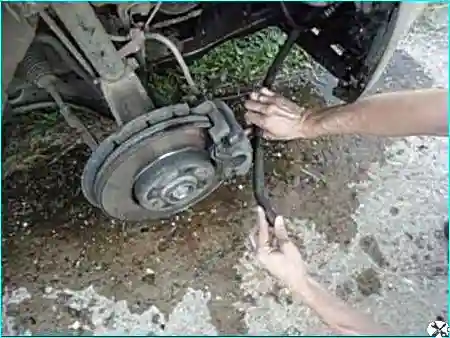
Flushing the system: after the fluid has been completely drained, we flush the engine cooling system with water.
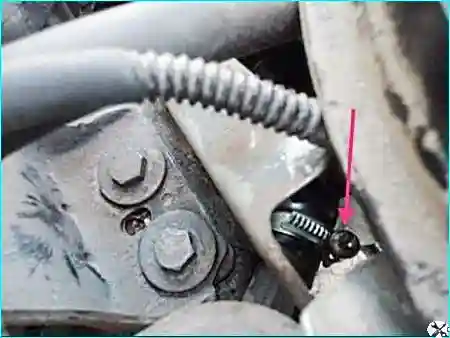
Removing air from the system
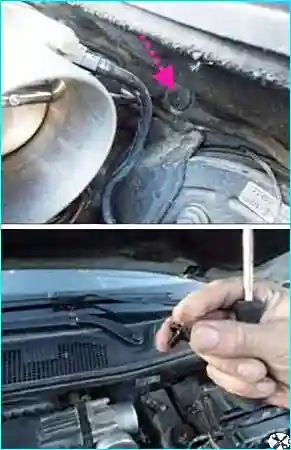
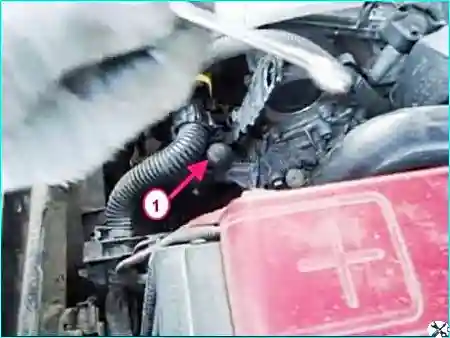
Important! Before filling with antifreeze the air bleed plugs must be unscrewed in order to remove air locks from the system.
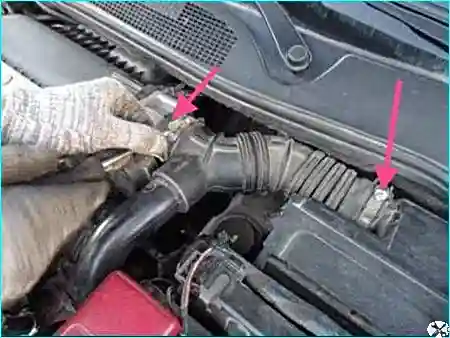
Note: depending on the recirculation system, a crankcase gas recirculation hose may be fitted on the hose — this must also be disconnected.
Filling with new coolant
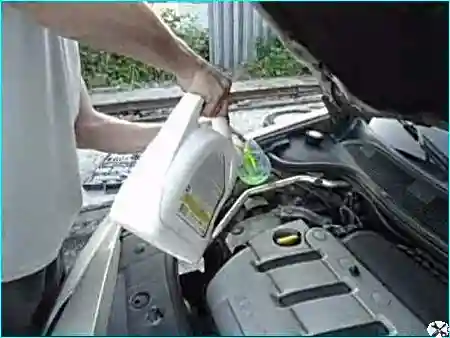
Filling process: we pour antifreeze until the air bubbles come out through the open plugs. As soon as the air bubbles have come out, we immediately screw the plugs in.
Fluid level: after removing the air, we top up the antifreeze so that its level is above the min mark on the expansion tank (approximately halfway between min and max).
Refitting: we refit all the parts in the reverse sequence.
Check after replacement: after replacing the coolant, start the engine and warm it up to operating temperature. Make sure the radiator fan switches on and the upper radiator hose becomes hot. After the engine has cooled down, check the fluid level and top up if necessary.


