If the force on the brake pedal during braking has increased compared to normal, you need to check the operation of the vacuum booster
With the engine off, press the brake pedal five or six times.
Holding the pedal down, start the engine.
The brake pedal should move forward. If it didn't:
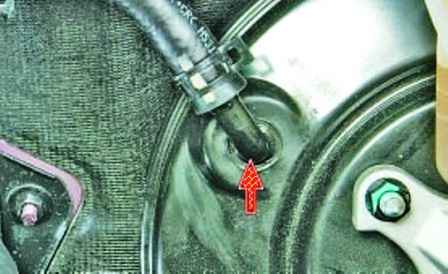
- check the tightness of the vacuum hose on the fitting of the vacuum brake booster
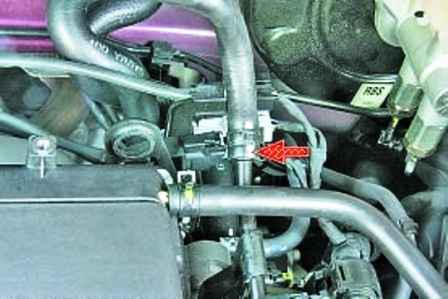
- check the tightness of the vacuum hose on the intermediate tube
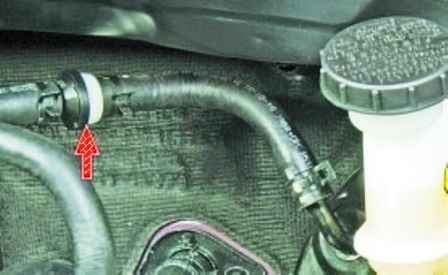
To check the check valve of the vacuum booster you need:
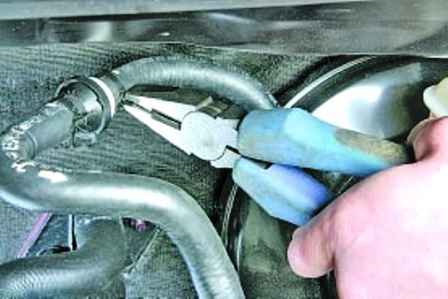
- compress the bent ends of the vacuum hose clamp from the side of the vacuum booster to the check valve fitting and slide the clamp along the hose
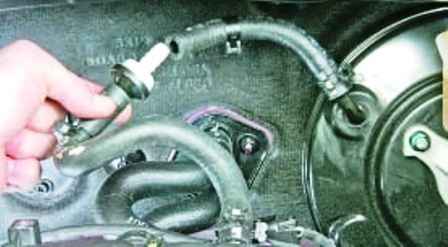
- remove the check valve fitting from the vacuum hose
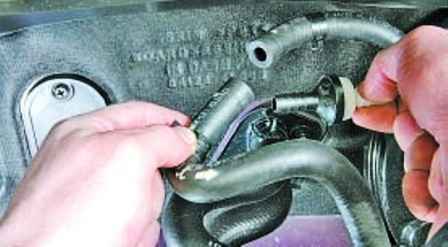
- also remove the check valve fitting from the vacuum booster hose from the side of the intermediate tube
We firmly insert the bulb into the hose from the side of the vacuum brake booster and squeeze the rubber bulb.
Air must flow freely through the non-return valve.
Release the compressed pear. If the pear is not straightened, the check valve is working.
If the check valve allows air to flow in both directions, the vacuum hose needs to be replaced
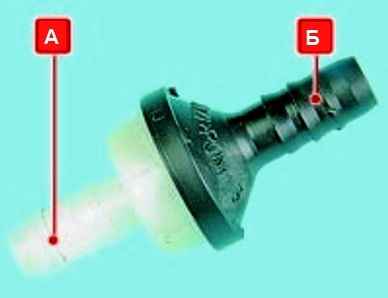
When installing the check valve, you need to pay attention to the fact that the white fitting "A" is installed in the vacuum hose from the side of the vacuum booster, and the black fitting "B" is installed on the side of the intermediate tube.
Replacing the vacuum booster
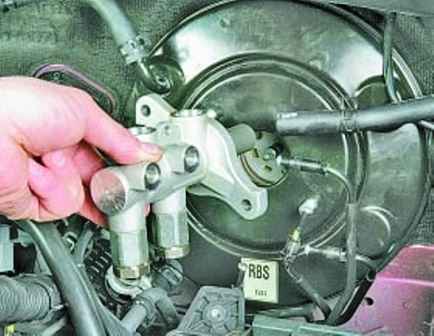
Remove the brake master cylinder as described in the article – How to replace the brake master cylinder Hyundai Solaris brakes
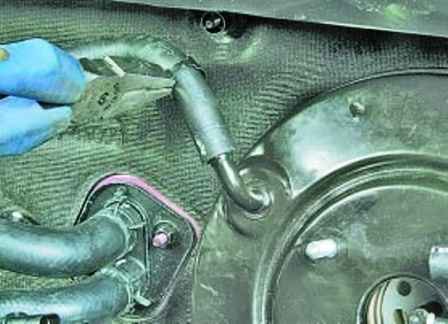
Squeeze the antennae of the vacuum hose clamp to the vacuum booster fitting and slide the clamp along the hose
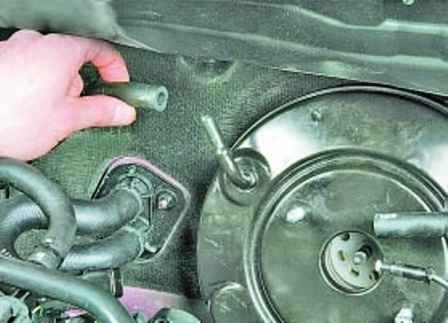
Disconnect the hose from the fitting of the vacuum booster
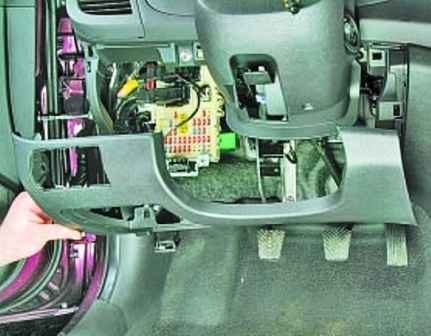
Remove the lower lining of the instrument panel, described in the article on removing the instrument panel
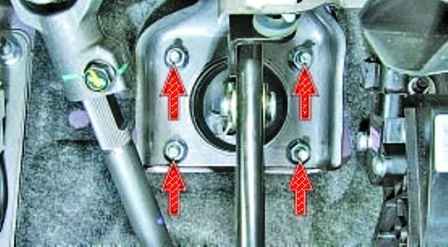
We unscrew the four nuts securing the brake pedal bracket to the body and the studs of the vacuum brake booster
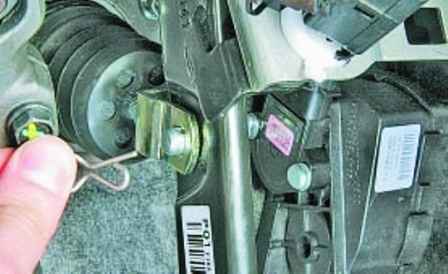
Remove the outer cotter pin from the pin of the vacuum booster pusher fork
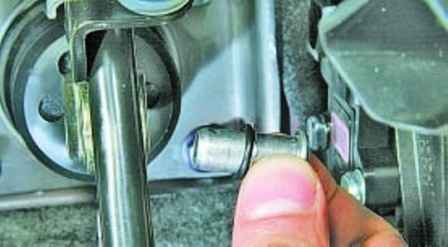
Use a screwdriver to pry off and remove the finger from the holes of the fork of the stem and pedal
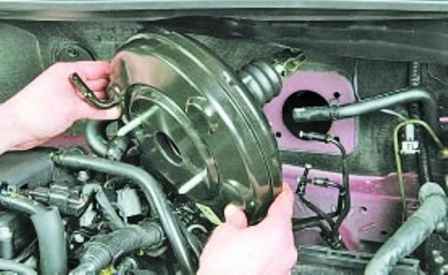
We shift the vacuum booster towards the front of the car until the mounting studs come out of the holes in the body and remove the vacuum booster
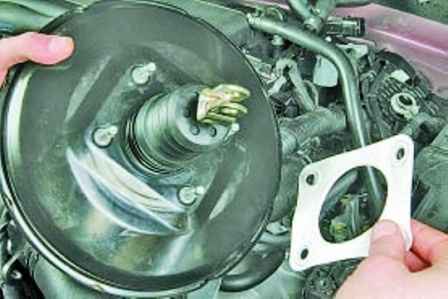
We rearrange the gasket, if it is in good condition, to a new vacuum booster
Install all parts in reverse order.
Tighten the vacuum booster mounting nuts with a torque of 14 Nm
Tighten the nuts of the main brake cylinder with a torque of 25 Nm
If the pipes were disconnected from the brake master cylinder, then add brake fluid and bleed the brake system.


