In this article, we will consider replacing the release bearing and clutch fork, as well as replacing the clutch master cylinder
In the previous article, we looked at replacing clutch discs
Replacing the bearing and the clutch release fork
If there is increased noise when you press the clutch pedal with the engine running, then most likely the defect is due to the failure of the release bearing
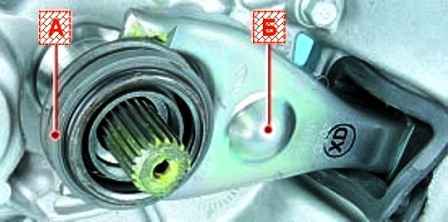
The bearing "A" of the clutch release assembly with the clutch is mounted on the guide sleeve and connected to the fork "B"
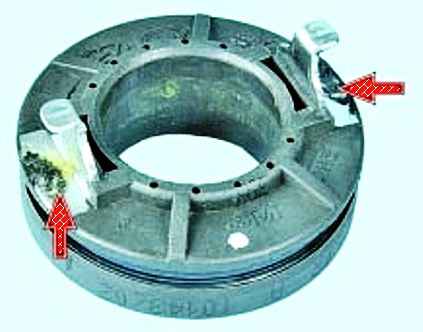
The fork with its trunnions is inserted all the way into the grooves of the bearing clutch and rests on a ball bearing screwed into the clutch housing.
The fork is fixed by a corrugated rubber boot, which is inserted into the window of the clutch housing
Remove the gearbox
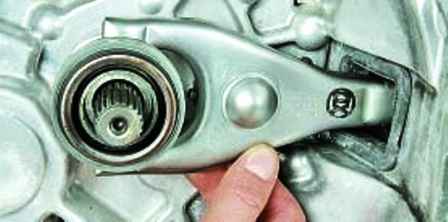
Move the clutch bearing forward along the guide sleeve
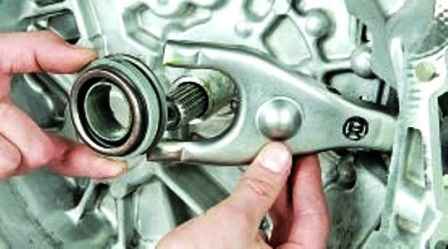
Remove the plug from the grooves of the bearing coupling and remove the bearing
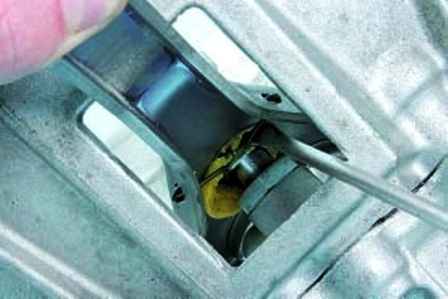
Pry off the retainer of the fork on the ball joint with a screwdriver and disengage the ends of the retainer from engagement with the clutch release fork
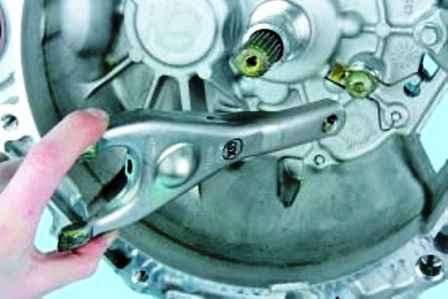
Remove the clutch release fork from the clutch housing
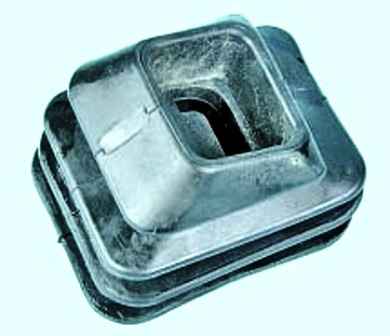
If necessary, remove the dirt cover
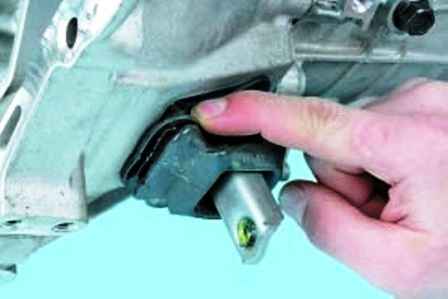
The rubber boot can be replaced without removing the clutch fork.
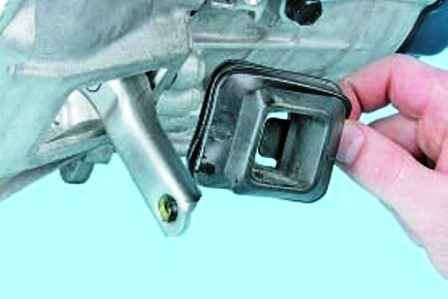
To do this, pry the edge of the cover with your finger and take it out
Lubricate with a thin layer of grease the outer surface of the guide sleeve, the splines of the input shaft of the gearbox, the ball bearing of the clutch fork
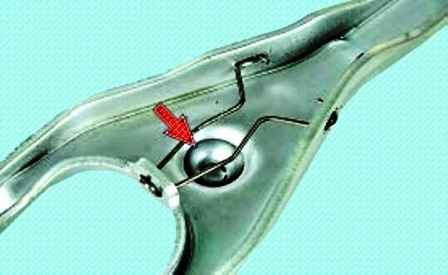
Lubricate the surfaces of the fork in contact with the ball joint
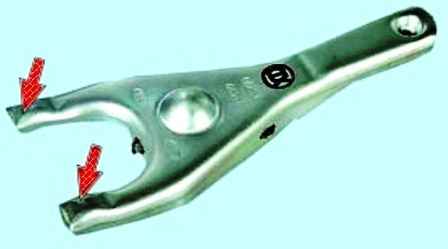
Lubricate the surfaces of the fork in contact with the clutch
Install the clutch release fork, mudguard and new release bearing assembly with clutch.
Replacing the clutch master cylinder
To work, you will need tools: a key for 10, 12, a container for draining brake fluid
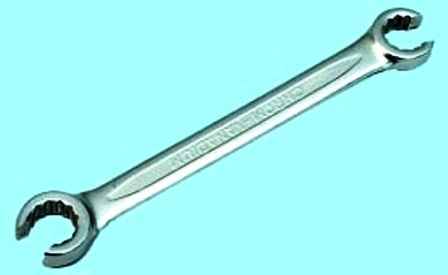
Special wrench for pipeline nuts
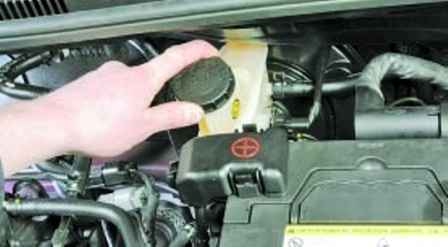
Opening the master cylinder reservoir
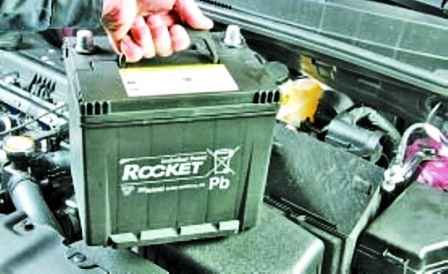
Remove the battery
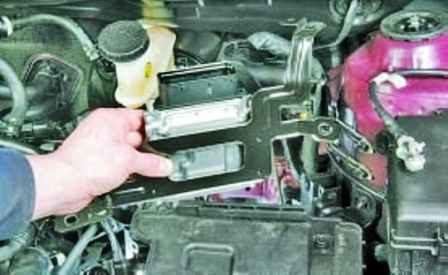
Remove the engine control unit assembly with the bracket
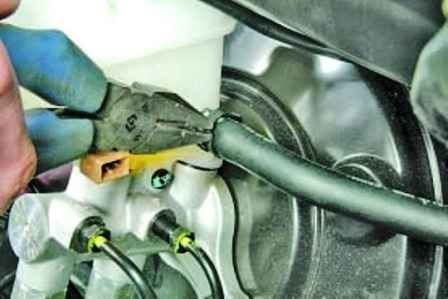
Using pliers we compress the bent ears of the clamp for fastening the hose for supplying the working fluid from the reservoir of the main brake cylinder
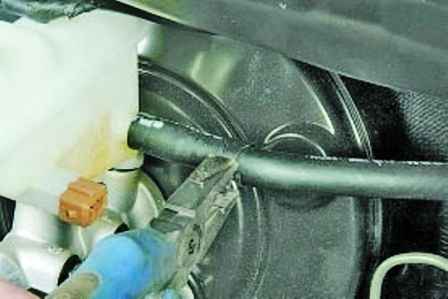
Slide the clamp along the hose
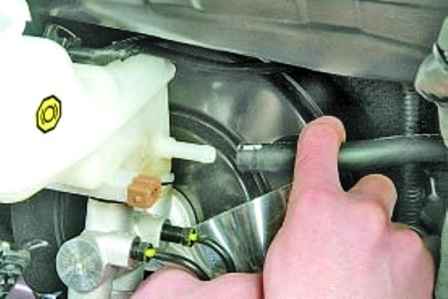
Disconnect the hose from the fitting of the master brake cylinder reservoir and drain the brake fluid into the prepared container
The tank is divided into three separate sections, two for the brakes and one section for the clutch
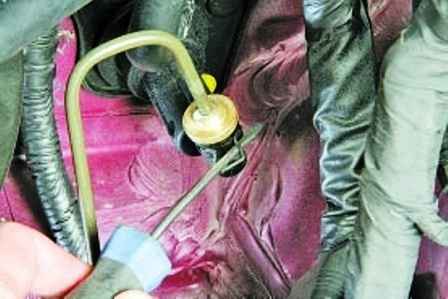
Remove the spring retainer by prying with a screwdriver
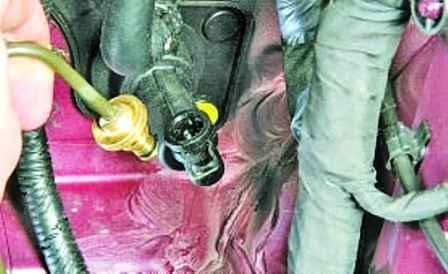
Remove the tip of the tube
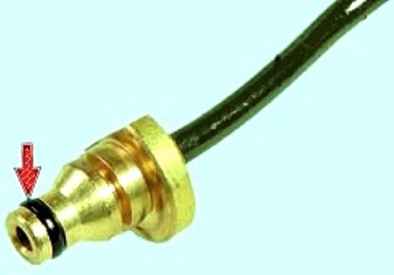
The connection of the tubes to the master cylinder is sealed with a rubber ring
Replace these rings each time you disconnect
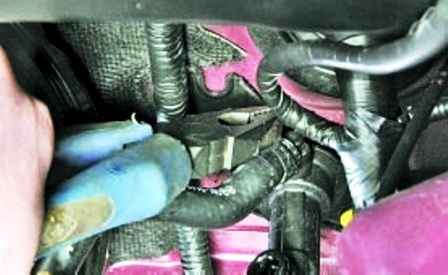
We compress the bent ears of the clamp for fastening the hose for supplying the working fluid to the master cylinder of the clutch release drive
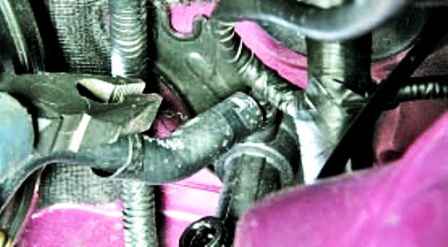
And slide the clamp along the hose
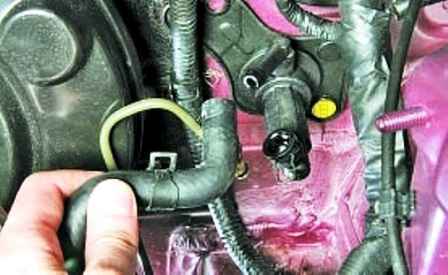
Disconnect the hose from the coupling of the clutch master cylinder and remove it
Further operations are shown on removed nodes
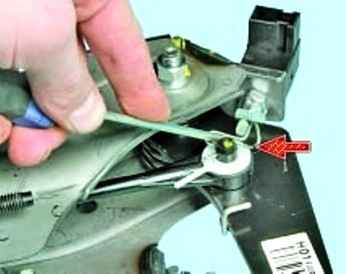
In the car interior, under the instrument panel, we pry the retainer
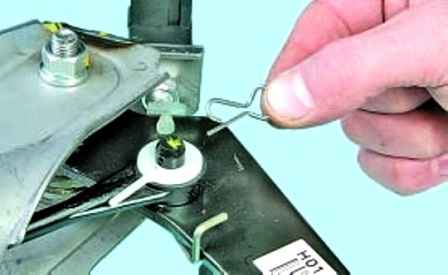
Remove it from the hole of the axis of attachment of the tip of the rod of the master cylinder of the clutch release
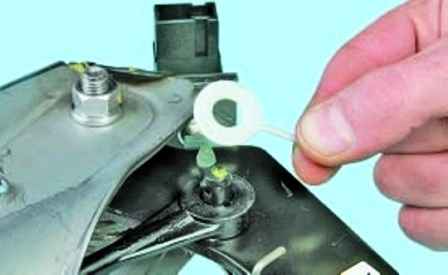
Remove the washer
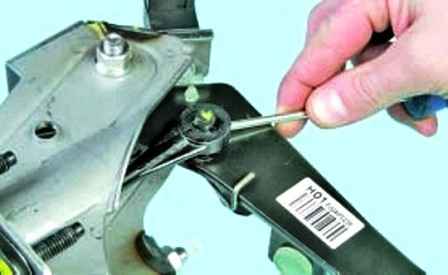
Pry off the stem tip with a screwdriver
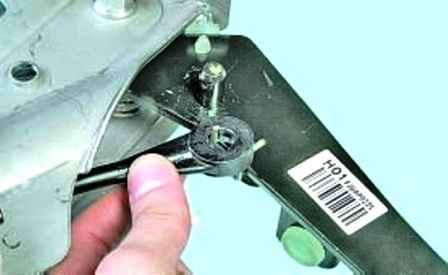
And remove the tip of the rod of the master cylinder of the clutch release drive from the pedal axis
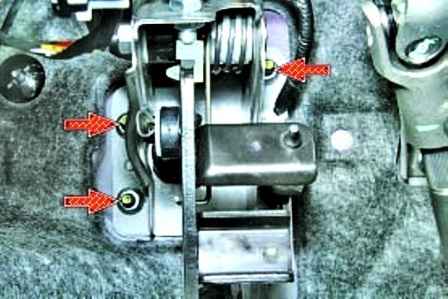
We unscrew the three nuts securing the clutch master cylinder to the pedal bracket and remove them
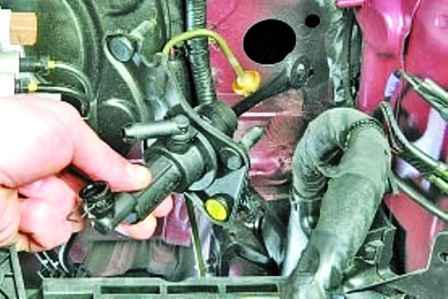
Remove the clutch master cylinder from the engine compartment
Install all the parts in reverse order and pump the clutch
Replacing the working clutch of the clutch release actuator
Usually, the clutch slave cylinder is replaced when the clutch is not fully disengaged, most often this occurs when the sealing cuffs that are in the cylinder are worn, as a result of which a working fluid leak appears.
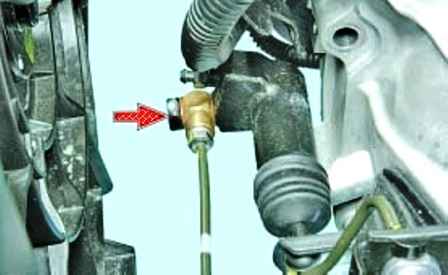
Unscrew the bolt fitting
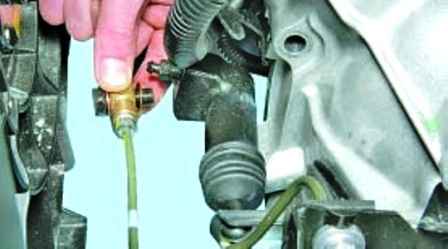
We take it away from the working cylinder. We muffle the fitting hole so that the brake fluid does not flow out
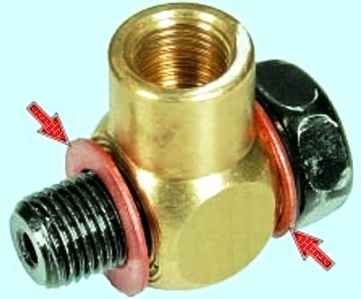
Two copper washers are mounted on the fitting
When assembling, we replace the washers with new ones
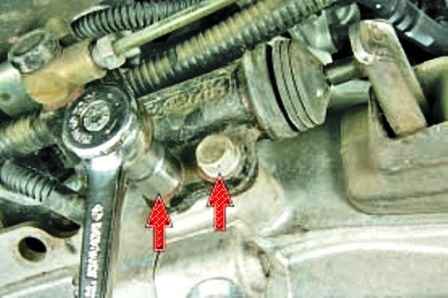
We unscrew the two bolts securing the slave cylinder to the clutch housing
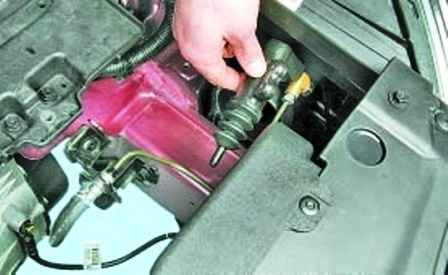
Remove the slave cylinder
Install all the parts in the reverse order and bleed the clutch
Replacing the clutch hydraulic hose and tube
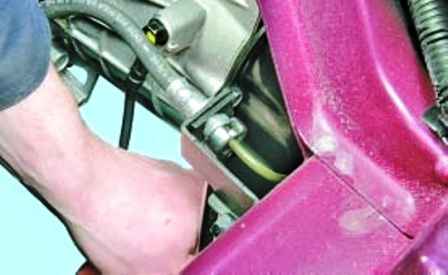
Unscrew the nut that secures the tube to the hose end
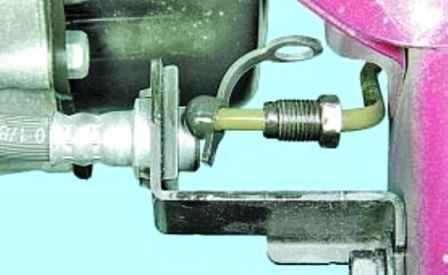
We take the tube aside and turn it off so that the liquid does not flow out
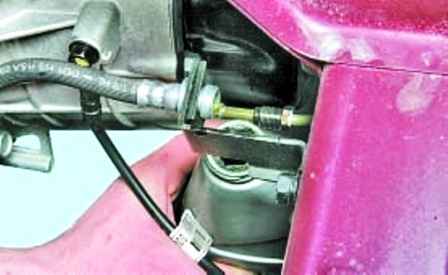
Pour the liquid into the prepared container
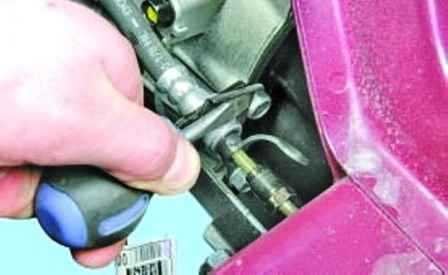
Pry off the fixing bracket with a screwdriver
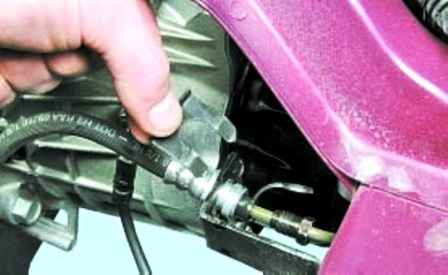
Remove the fixing bracket
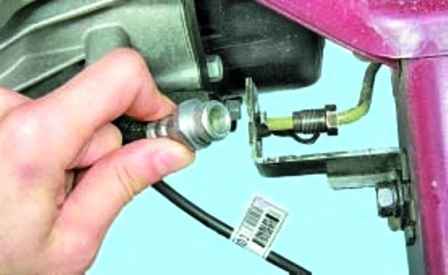
Remove the hose tip from the bracket
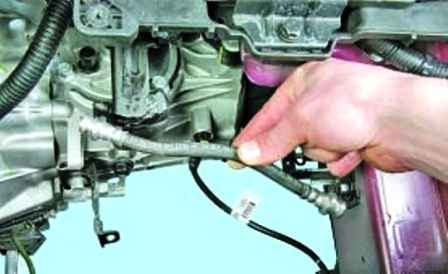
Also disconnect the second hose end and remove it
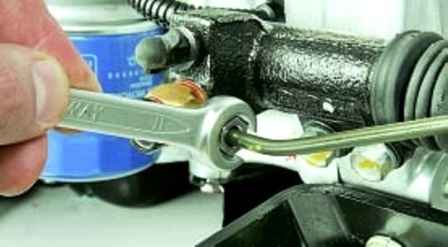
To replace the hydraulic drive tube, unscrew the nut that fastens it to the fitting of the working cylinder
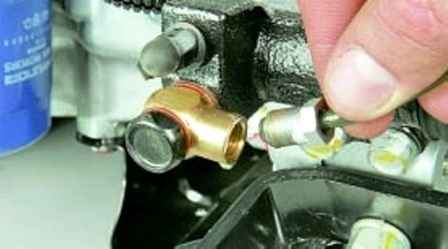
And disconnect the handset
Install parts in reverse order
Removing and installing the clutch pedal
We remove the clutch pedal to eliminate play when the plastic bushings are worn, or if other defects appear.
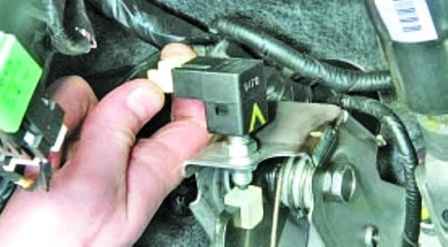
We press the latches and disconnect the wire block from the clutch pedal start sensor
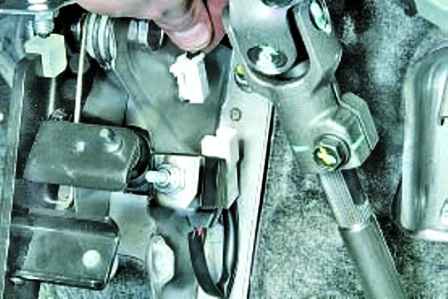
We press the lock with a screwdriver and disconnect the shoe from the pedal end travel sensor

In the car, under the instrument panel, pry off the spring clip with a screwdriver

Remove it from the hole of the axis of attachment of the tip of the rod of the master cylinder of the clutch release

Remove the washer

Pry off the stem tip with a screwdriver

Remove the rod end of the clutch release master cylinder from the pedal axis
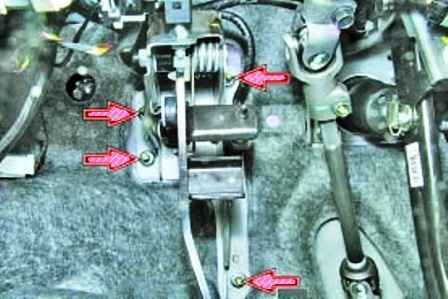
Unscrew the four nuts securing the clutch pedal to the body
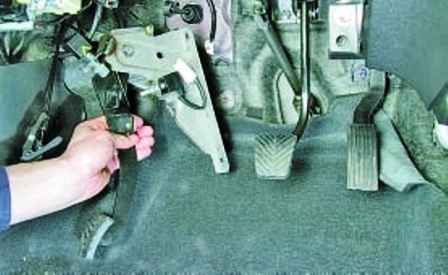
Remove the clutch pedal
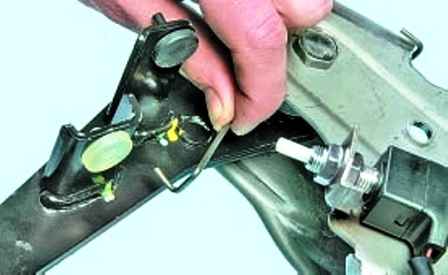
We disengage the bent end of the return spring from engagement with the clutch pedal
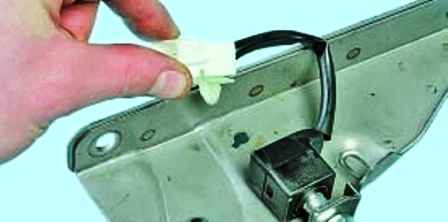
We press the clamps of the fastening of the clutch pedal wiring harness block and disconnect the block from the clutch pedal bracket
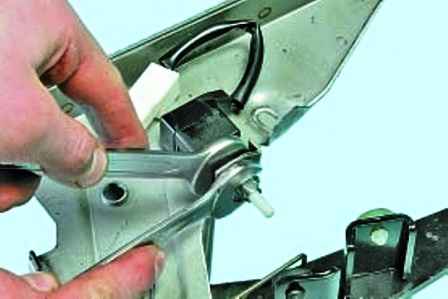
Unscrew the nut that secures the clutch pedal end travel sensor
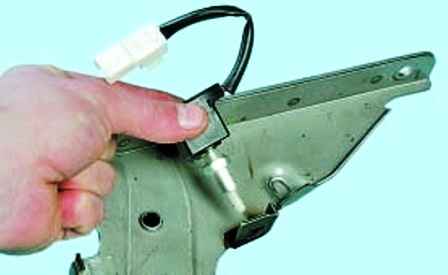
Remove the sensor
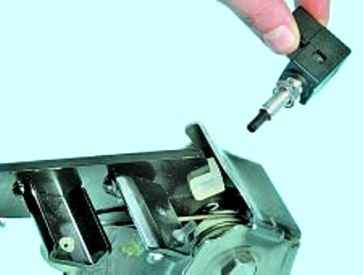
We also remove the clutch pedal start sensor
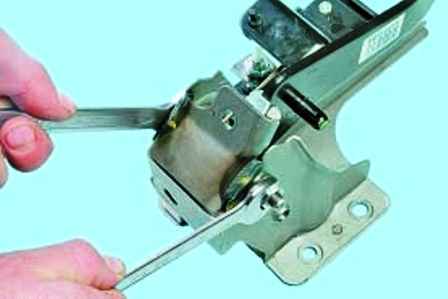
We unscrew the nut securing the clutch pedal axle, holding the axle from turning with the second key
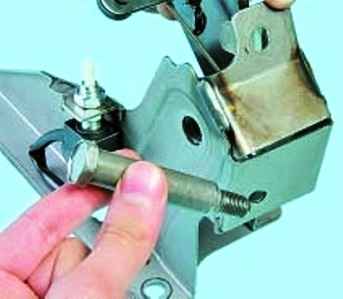
Remove the axle from the holes of the pedal and bracket
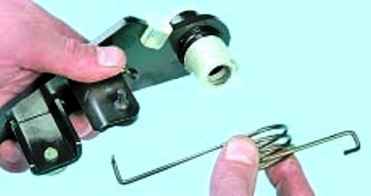
Remove the return spring from the pedal
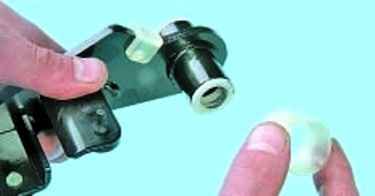
Remove the spacer
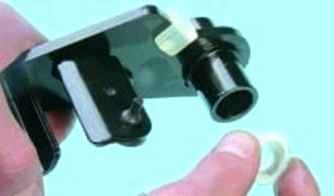
Remove the plastic bushings from the pedal holes
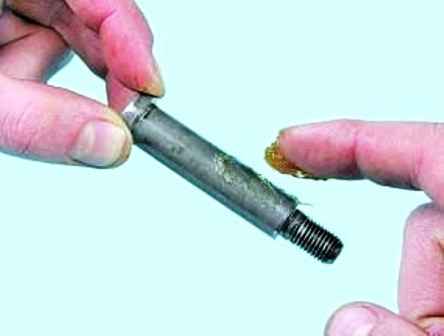
Lubricate the axle and bushings with grease and assemble in the reverse order


