The evaporator is removable for replacement in case of failure.
The evaporator is installed in the interior heating and air conditioning unit.
The evaporator is made of aluminum tubes with external fins.
Passing through the evaporator tubes, the boiling refrigerant actively absorbs heat from the air blowing over the outer surface of the tubes.
The air is cooled and supplied to the passenger compartment.
Preparing the car for work.
We remove the heater as described in the article - Removing and installing the Renault Duster heater
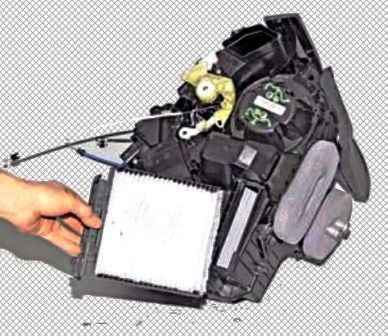
Remove the cabin filter from the heater housing
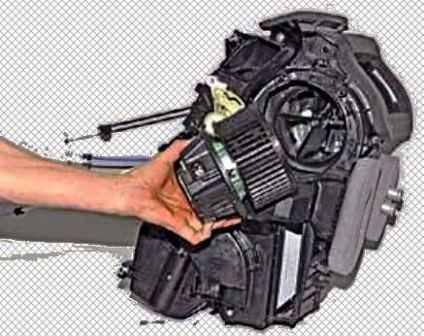
Remove the heater fan
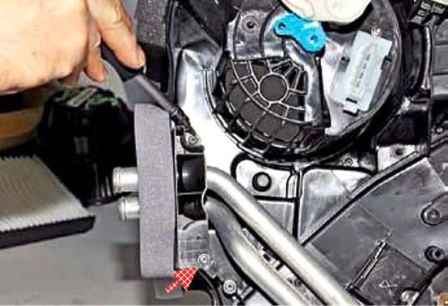
Using a Torx T-20 wrench, unscrew two self-tapping screws
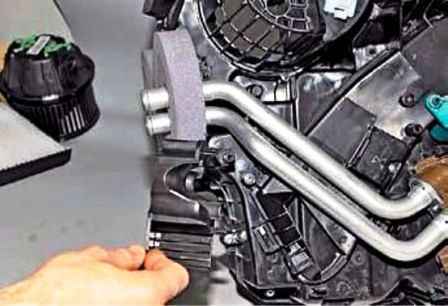
Remove the radiator tube holder
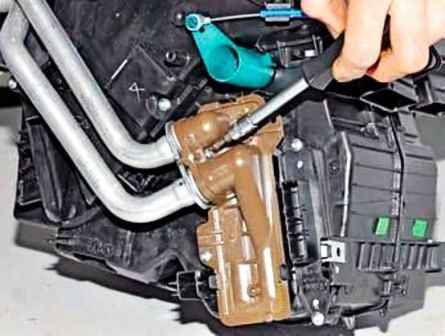
Use the TorxT-20 key to unscrew the screw
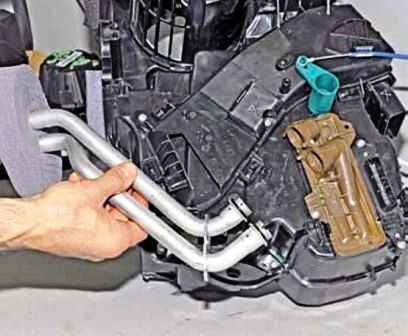
Remove the heater radiator tubes
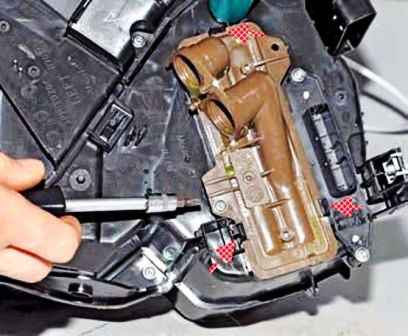
Use the TorxT-20 key to unscrew the self-tapping screw and wring out the three latches
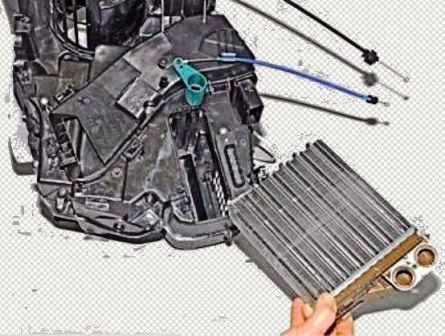
Remove the heater core
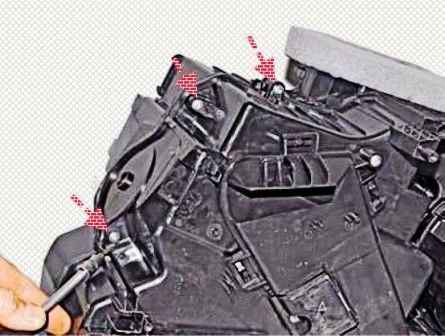
Use the TorxT-20 key to unscrew the three screws at the bottom of the heater
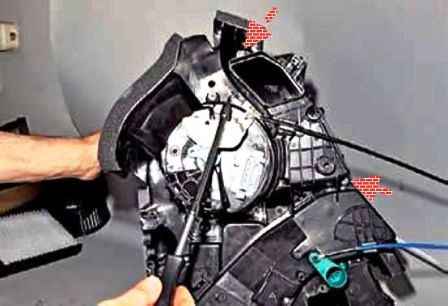
Unscrew the two screws on the left side of the heater with the same tool
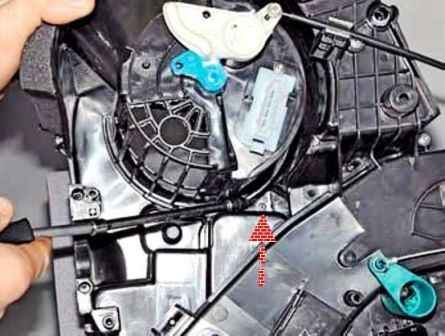
We unscrew the self-tapping screw located in the recess below the additional resistor of the heater fan
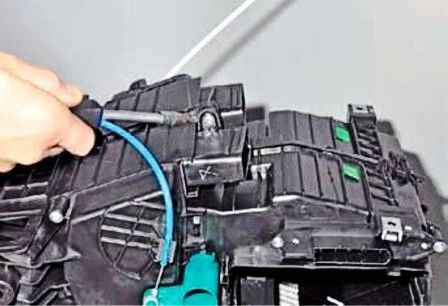
Unscrew the screw in front of the heater
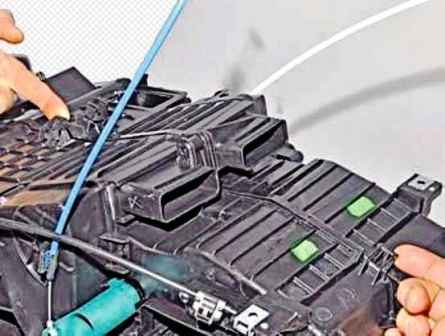
Press the two latches in the front
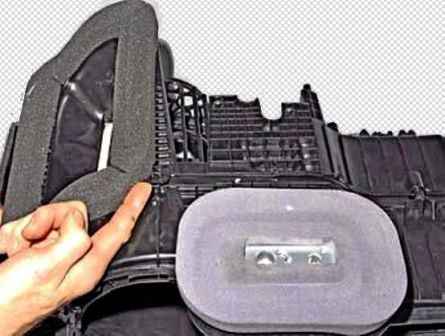
We press one latch at the back of the heater
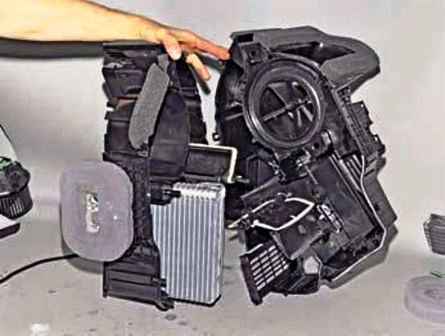
Disconnecting the left and right parts of the heater body
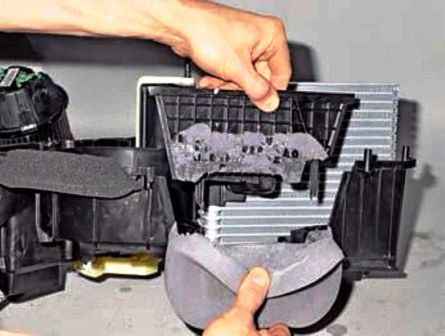
Having peeled off the foam seal, remove the evaporator shield
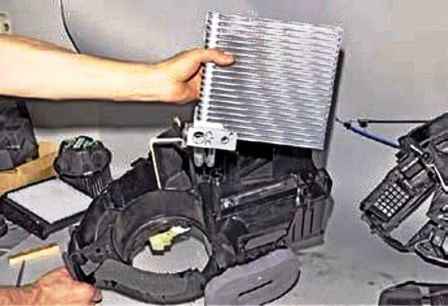
Remove the evaporator from the right side of the heater body
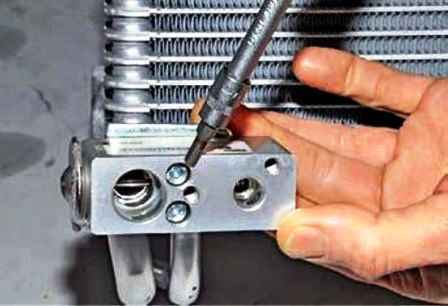
Unscrew the two screws with a 4 hexagon
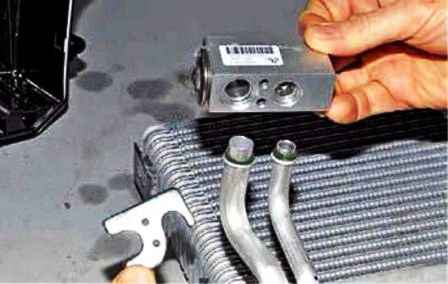
Remove the plate and reducer
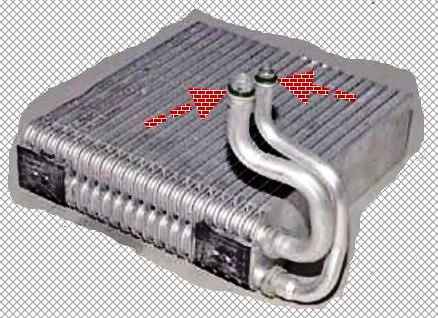
The evaporator tubes are sealed in the reducer with rubber rings
If the rings are deformed, then replace them
Install the evaporator in reverse order. Charging the air conditioning system.
Air conditioner evaporator maintenance
In the evaporator, when the air conditioner is running, moisture from the air condenses, and dampness quickly breeds fungus spores, molds and dangerous microbes.
All this can cause respiratory diseases in humans.
A particularly large number of microorganisms accumulate on wet surfaces of the evaporator if a cabin filter is not installed.
To reduce the risk to health, it is recommended to clean the vaporizer once a year.
To perform the work, you will need a product for cleaning the car air conditioner with an extension hose, a compressor.
To prevent damage to the radiator, do not apply air pressure higher than 3-4 bar during the following operation.
Purge the radiator of the cooling system and the condenser from the side of the engine compartment with compressed air from the compressor.
Through the grilles of the radiator and bumper, we wash the condenser from the outside with water under minimal pressure so as not to damage its cells.
Blow the condenser again with compressed air.
This procedure only works if performed regularly.
In some cases, it is necessary to repeat the procedure several times, especially if the condenser has not been cleaned for a long time.
To make it easier to work, you can remove the front bumper.
If the condenser is very dirty (when, for example, it is clogged with hardened dirt), the radiator of the cooling system can be removed.
It is allowed to wash the dirt from the condenser cells with a soft paint brush.
We vigorously shake the bottle with the preparation for cleaning the air conditioner and, holding the bottle vertically, we process the evaporator with foam through the condensate drain tube.
People and pets must be kept out of the vehicle during the following operation!
Starting the engine.
Turn on the air conditioning system, set the maximum speed of rotation of the electric fan of the air conditioner and close all windows.
We leave the car interior and close all doors for 10 minutes.
After 10 minutes, turn off the engine and ventilate the interior.


