Usually the heater is removed to replace the evaporator or to repair the heater.
Before completing the task, we discharge the air conditioning system, for this:
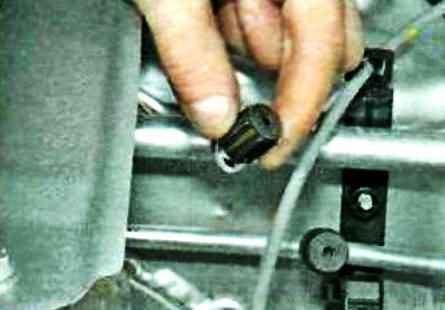
Unscrew the screw cap of any of the two service valves
Work must be done with safety glasses
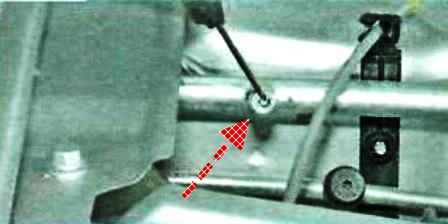
Gently press with a thin screwdriver with a long sting on the tip of the valve spool and bleed the refrigerant from the system.
Discharge refrigerant outdoors or in a well-ventilated area. You need to release the refrigerant in a thin stream.
Bleeding off the refrigerant may splash some of the oil mixed with it.
We drain the liquid from the engine cooling system (article - Checking and replacing the Renault Duster engine coolant)
Remove the air intake with resonator assembly
We remove the lining of the floor tunnel (article - Removing the lining of the Renault Duster car floor tunnel)
Removing the instrument panel (article - How to remove the Renault Duster instrument panel)
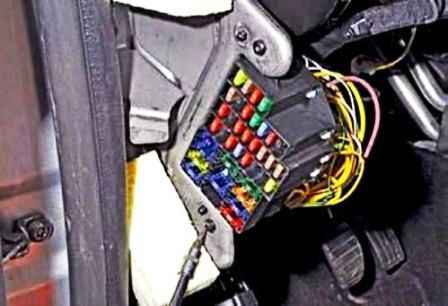
In the car, use the Torx T-20 key to unscrew the two screws securing the mounting block
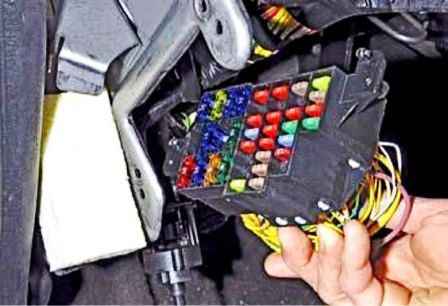
Remove the fuse mounting block and leave it hanging on the wires
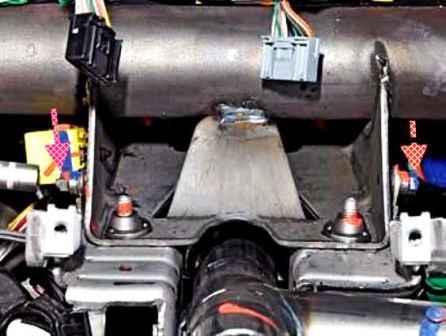
With a 10 head, unscrew the two nuts
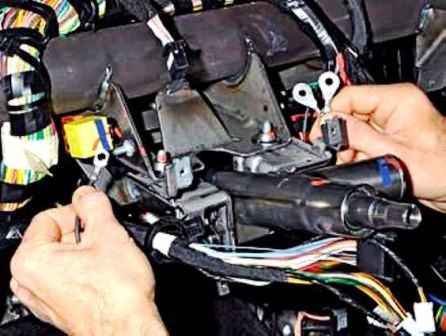
Remove the lugs of the mass wires from the studs
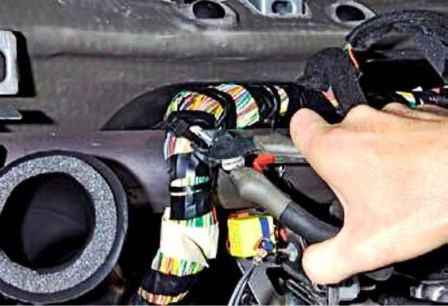
With side cutters, we bite the clamp securing the wiring harness to the cross beam
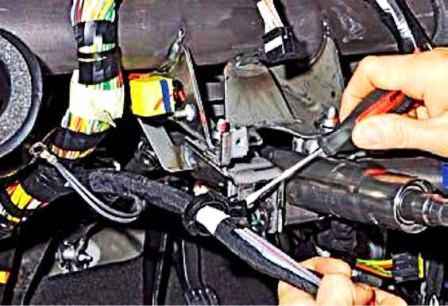
Prying off with a screwdriver, remove the wire harness holder from the steering column bracket
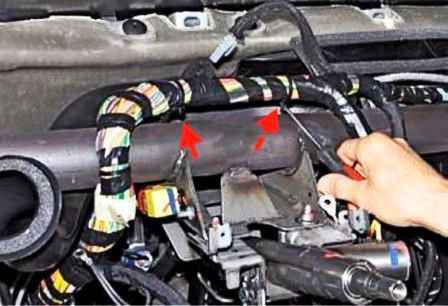
Prying off with a screwdriver, remove the two wire harness holders from the cross beam.
Remove the cross beam bracket
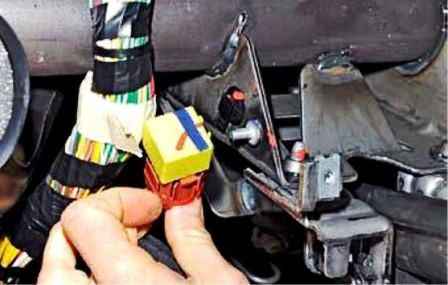
Remove the tailgate glass heating relay from the holder on the cross member
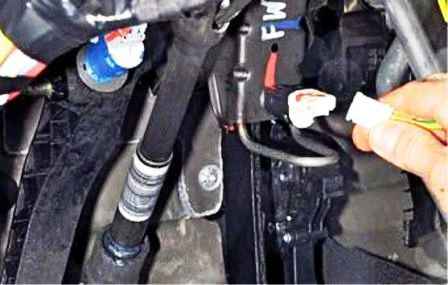
Pressing the lock of the wire block, disconnect the block from the brake light switch
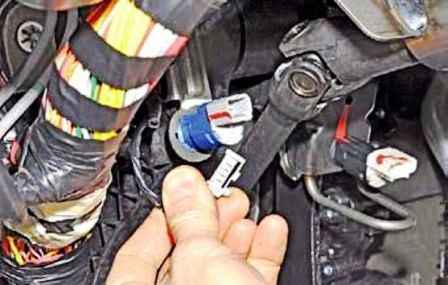
By pressing the lock of the wire block, we disconnect the block from the clutch pedal position sensor
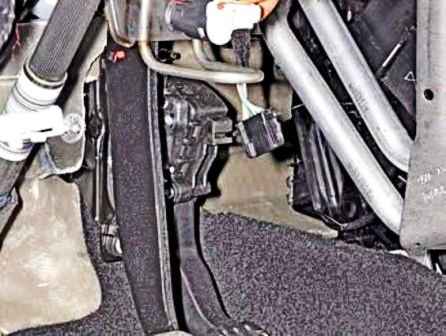
Pressing the lock of the wire block, disconnect the block from the connector of the gas pedal module
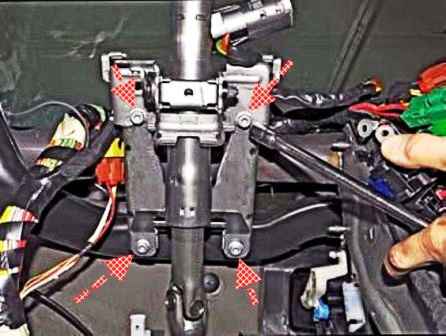
With a head of 13, unscrew the four bolts securing the steering column
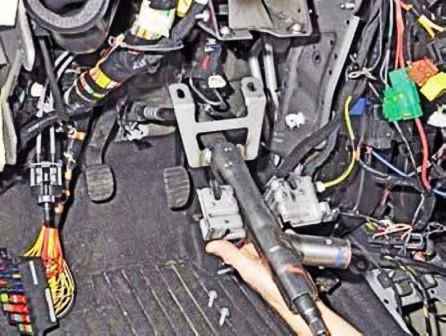
Lower the steering column to the floor
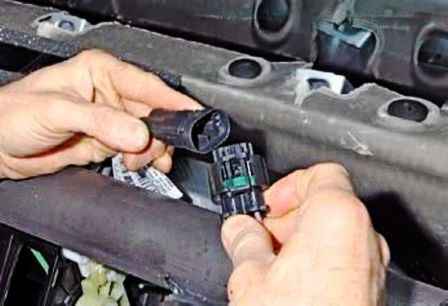
By pressing the lock of the wire block, we disconnect the blocks of the heater fan wiring harness
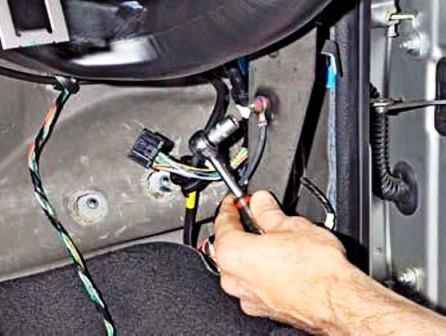
Unscrew the nut with a 10 head
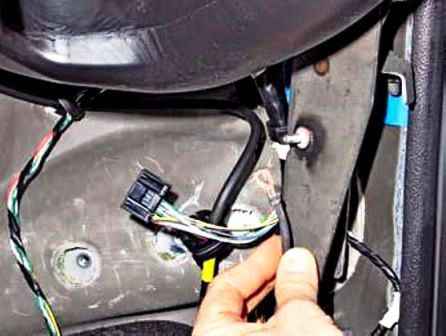
Remove the ground wire tip from the stud
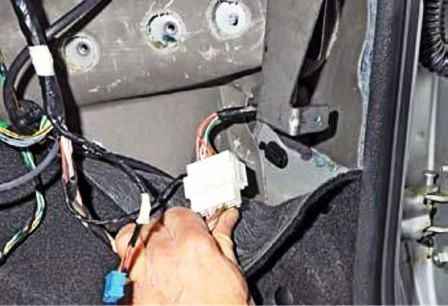
Bending the edge of the carpet, we take out from under it the pads of the wiring harnesses of the right front door
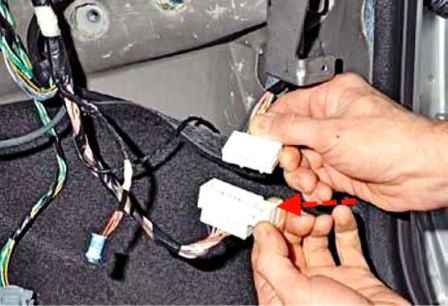
Sliding the pad lock (shown by the arrow), we disconnect the wire pads
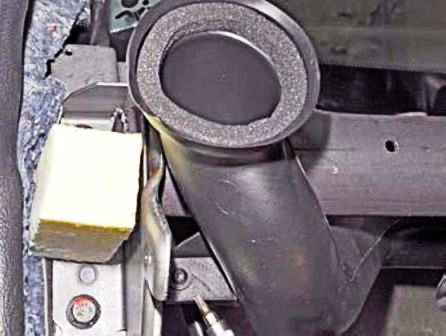
Using a Torx T-20 wrench, unscrew the air duct fastening screw
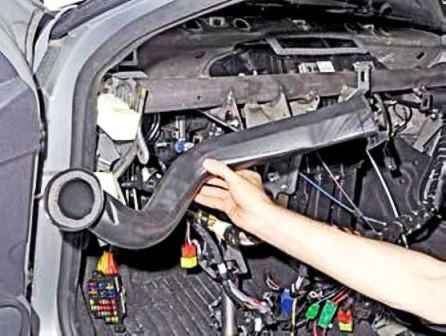
And remove the left air duct
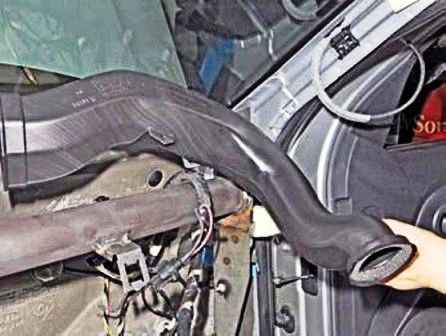
We also remove the right air duct
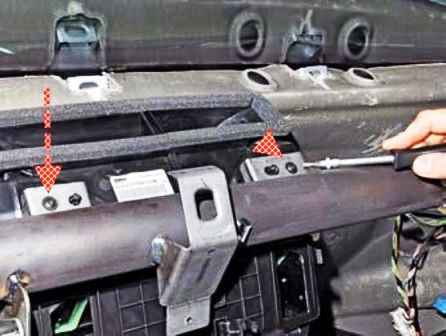
Using a Torx T-20 wrench, unscrew the two screws securing the heater to the transverse beam
With a 13 head, unscrew the two bolts securing the cross beam on the left side.
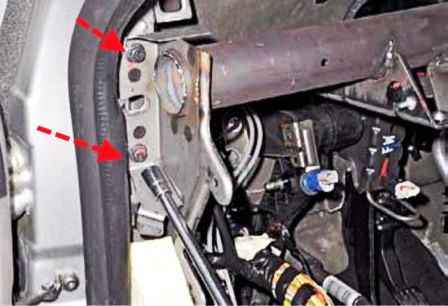
We also unscrew the two bolts of the cross beam on the right side
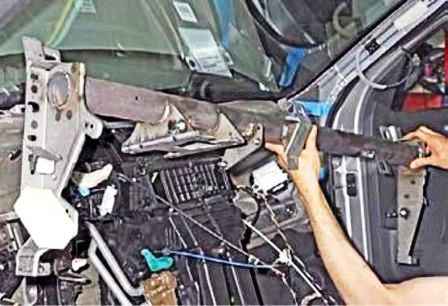
Removing the cross beam
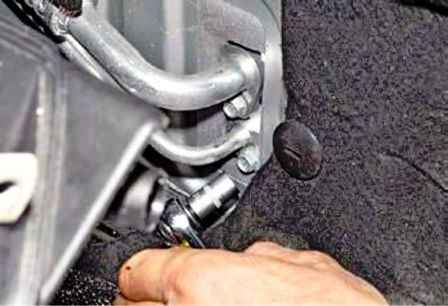
In the engine compartment with a 10 head, unscrew the two bolts securing the air conditioning pipes to the gearbox
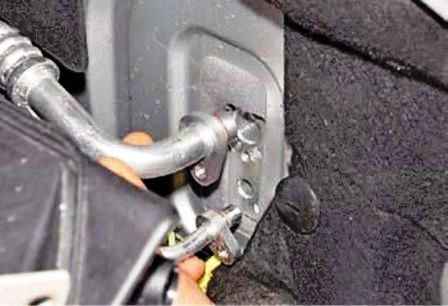
Disconnect the tubes from the reducer
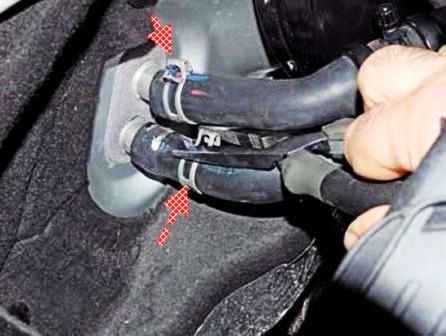
Squeezing the ends of the clamps with pliers, we move the clamps along the hoses
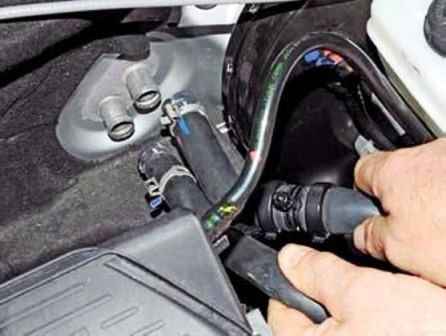
Disconnect the heater inlet and outlet hoses from the heater radiator tubes
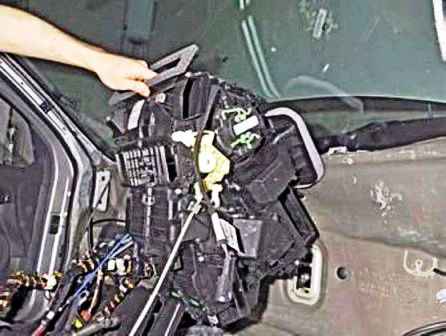
Removing the heater from the car
Install the heater in reverse order.


