


We remove the rear final drive for repair or replacement.
We install the car on an inspection pit or a lift.
We prepare the spanners: 16, 17, sockets 13, 16, 18, a wheel bolt spanner, a mounting spatula, a hammer.
We drain the oil from the rear final drive.

We remove the hose from the breather of the pipe of the electromagnetic coupling.
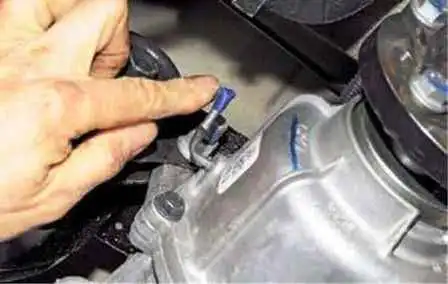
We close the opening of the pipe by wrapping it with a piece of insulating tape.
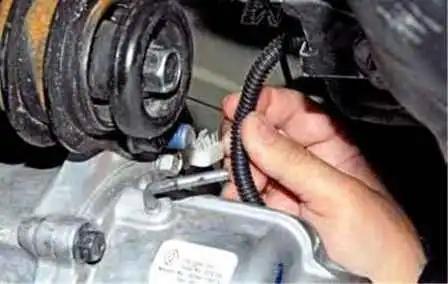
We take the wiring harness out of the plastic holder installed on the bracket of the front mounts of the final drive.
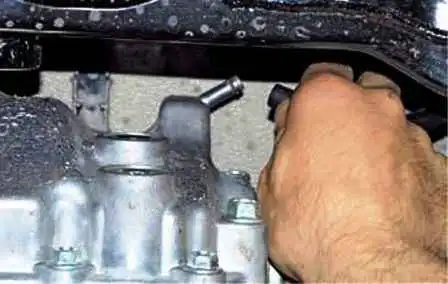
We remove the breather hose from the pipe of the rear final drive.
We place an adjustable stop under the rear final drive.
We separate the connectors of the wiring harness of the electromagnetic coupling.
We disconnect the flange of the yoke of the joint of the rear propeller shaft from the flange of the electromagnetic coupling.
We remove the rear wheel drives (article — Removing and repairing the rear wheel drives).
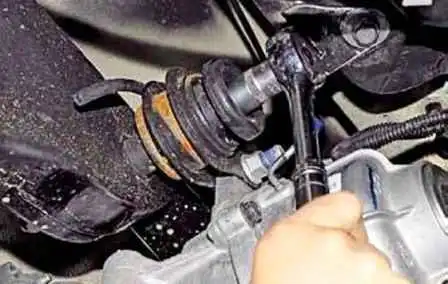
With an 18 mm socket we unscrew the nut securing the front mount to the rear subframe, holding the bolt against turning with a 17 mm socket.
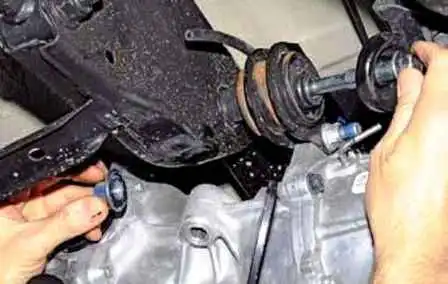
We take out of the mount the bolt with the enlarged washer.
We also take out the bolt from the other front mount.
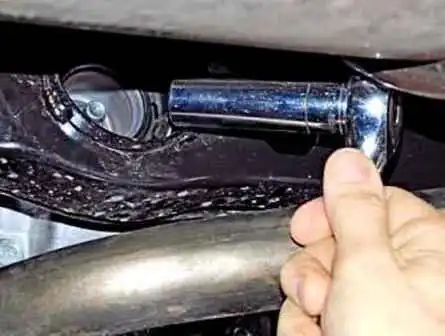
With an 18 mm socket we unscrew the nut of the stud securing the final drive to the rear mount.
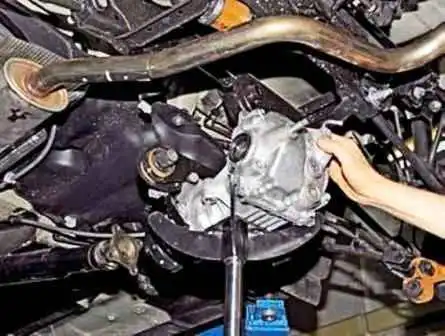
We shift the final drive forward, bringing the stud out of the opening in the rear mount, and lower the final drive onto the adjustable stop.
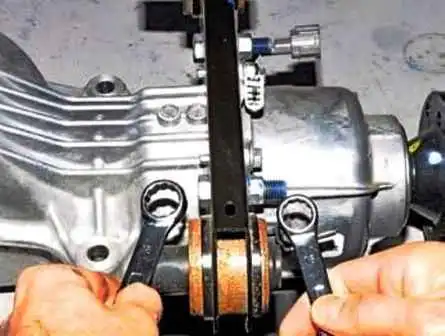
With a 16 mm ring spanner we unscrew two nuts securing the bracket of the front mounts, holding the bolts with an 18 mm spanner.
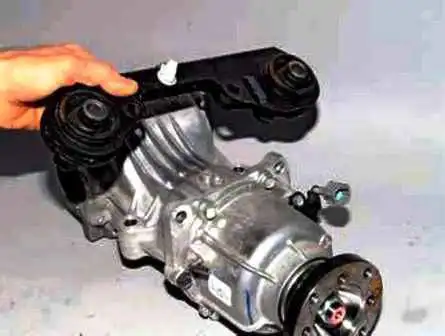
We remove the bracket with the mounts.
We install the rear final drive in the reverse order.
Tightening torques of the final drive fasteners:
- nut of the stud securing the final drive to the rear mount — 65 N·m;
- nut of the bolt securing the bracket of the front mounts of the rear final drive to the final drive casing — 65 N·m;
- nut of the bolt securing the front mount of the rear final drive to the rear suspension subframe — 65 N·m.
We pour oil into the final drive.
Replacing the rear wheel drive oil seal
We drain the oil from the final drive.
We remove the wheel drive (article — Removing and repairing the rear wheel drives).
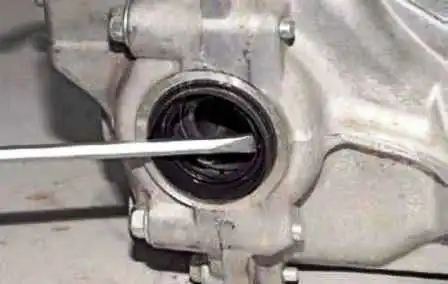
We prise up the drive oil seal with a screwdriver and take it out of the seat in the final drive casing.
We apply a thin layer of transmission oil to the working edge of the new oil seal and, with a mandrel, press the oil seal into the seat of the rear final drive casing.
We install all the parts in the reverse order and pour oil into the final drive.


