We replace gaskets in case of leakage of liquids, and after removing the cover and cylinder head
Replacing the cylinder head cover gasket
We prepare the car and remove the negative battery terminal and the decorative engine cover
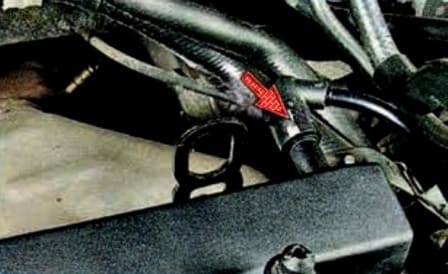
Disconnect the crankcase ventilation hose from the cylinder head cover
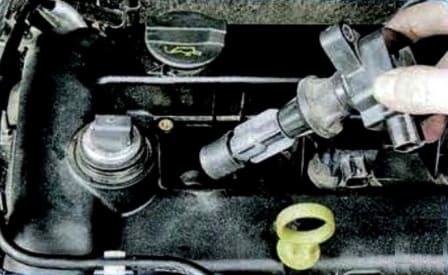
Remove ignition coils
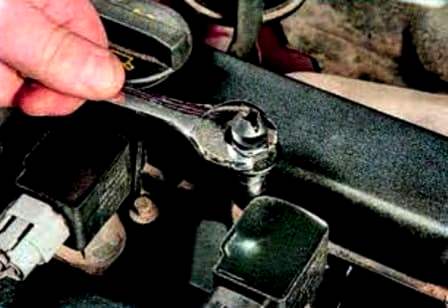

We unscrew and remove from the studs the ball posts of the decorative cover
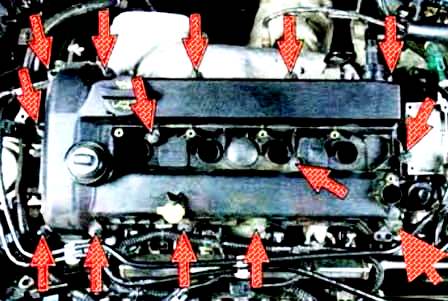
We unscrew eleven studs and three bolts securing the cylinder head cover
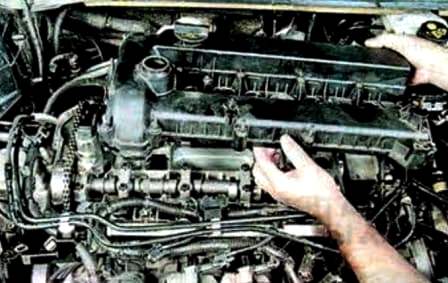
Remove the cylinder head cover
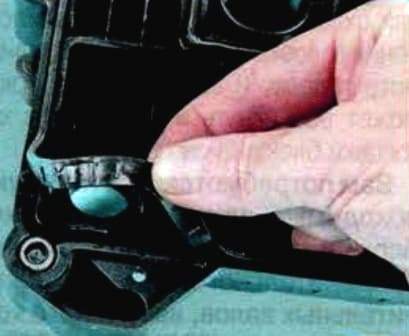
We take out the old gasket from the grooves of the cylinder head cover and the four gaskets of the candle wells
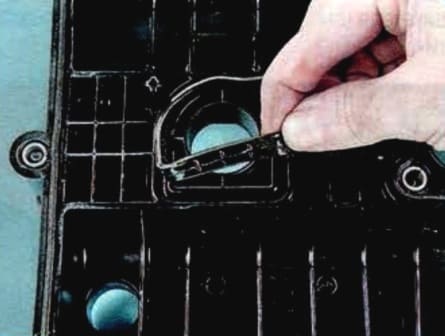
When replacing the cylinder head cover gasket, the dephaser solenoid valve gasket installed in the cylinder head cover must be replaced
Install the block head cover and all removed parts in reverse order
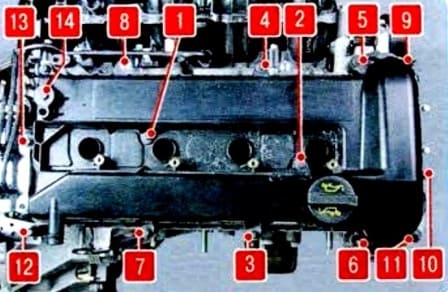
We tighten the cover fastening bolts in the order shown in the figure in two stages:
- First stage - pre-tightening with a torque of 3 Nm (0.3 kgf.m);
- Second stage - final tightening with a torque of 9 Nm (0.9 kgf.m)
Replacing the cylinder head gasket
We prepare the car for the task and install it on a lift or a viewing ditch
Reducing the pressure in the engine power system, as described in the article "How to check the compression in the Mazda 6 engine cylinders"
Drain the liquid from the engine cooling system
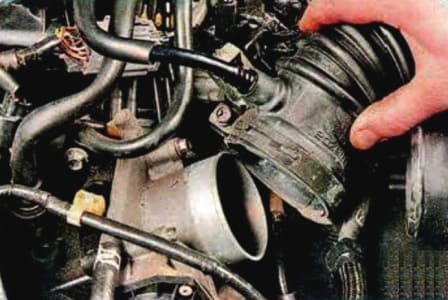
Remove the air supply sleeve
Remove the cylinder head cover as described above
Remove the timing chain
Remove the camshafts
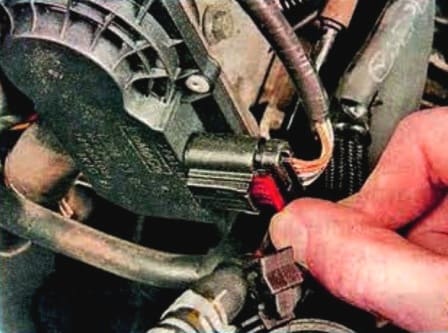
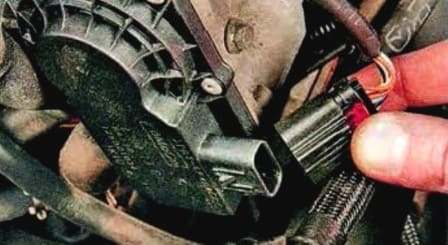
We move the latch and disconnect the wire block from the cover of the throttle assembly
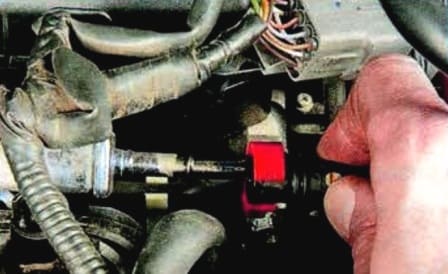
Disconnect the fuel line from the fuel rail
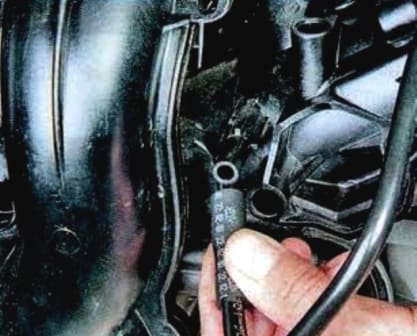
Disconnect the adsorber purge hose from the fitting on the intake manifold
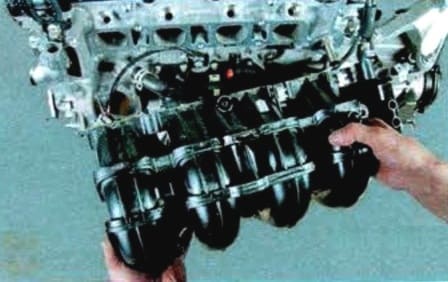
Remove the intake manifold assembly with the throttle assembly
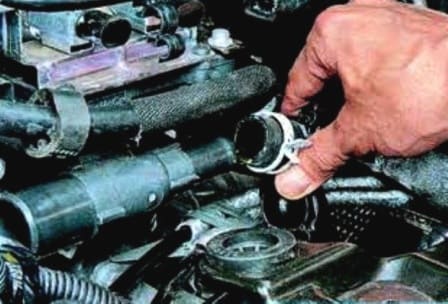
Disconnect the hose to the radiator of the interior heater and the inlet hose of the radiator of the engine cooling system from the coolant distributor
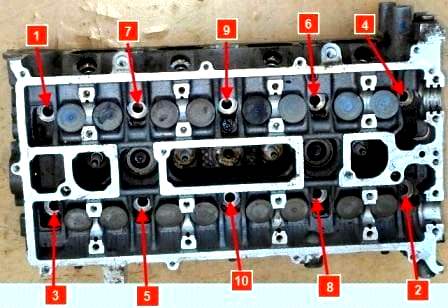
Loosen the ten bolts of the cylinder head in the order shown in the figure, and then finally unscrew the bolts of the head and remove them together with the washers
The cylinder head bolts can only be removed when the engine is cold
Remove the side head and the gasket installed under it
Clean the mating surfaces of the head and block
Checking the block head for warping
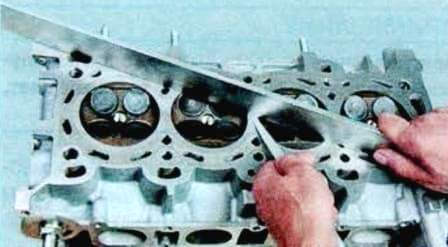
Put the ruler with an edge on the surface of the head, first in the middle along, and then across and diagonally
We measure the gap between the surface of the head and the ruler with a probe
Replace the block head if the gap is greater than 0.1 mm
Install the cylinder head in reverse order, taking into account the following:
- - remove oil or coolant from the threaded holes of the head mounting bolts that got there when the head was removed;
- - set a new gasket;
- lubricate the bolts with engine oil
We tighten the bolts on a cold 2.0 liter engine in the order shown in the figure in three stages:
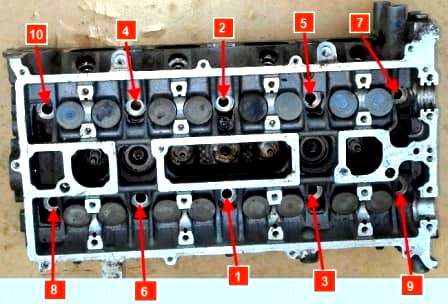
- First stage - torque 15 Nm (1.5 kgf.m);
- Second stage - with a torque of 30 Nm (3 kgf.m);
- Third stage - screw it to a 90º angle
Tighten the bolts on the 2.5L engine in reverse order to the 2.0L engine, in four steps:
- 1st - torque 5 Nm (0.5 kgf.m);
- 2nd - torque 15 Nm (1.5 kgf.m);
- 3rd - torque 45 Nm (4.5 kgf.m);
- 4th - turn to 90º
Install all parts and assemblies in reverse order
After installing the camshafts and the timing chain, we check and, if necessary, adjust the clearances in the valve drive
Adjust the tension of the timing chain


