Remove the fuel tank for replacement or for flushing
It is advisable to remove the tank when it is empty or when there is a minimum amount of fuel left.
We install the car on a lift or a viewing ditch
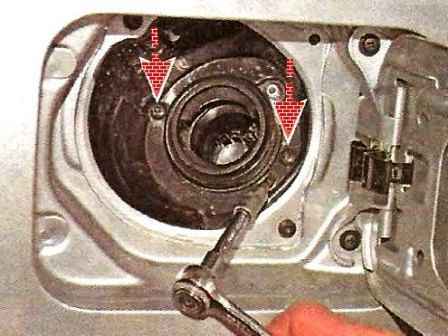
Using a Torx T-20 wrench, we unscrew the two self-tapping screws for fastening the filler neck
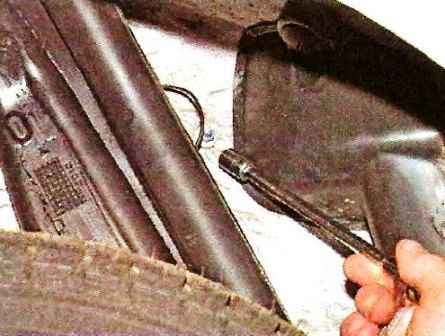
In the arch of the right rear wheel with a head of 10, unscrew the nut securing the ground wire
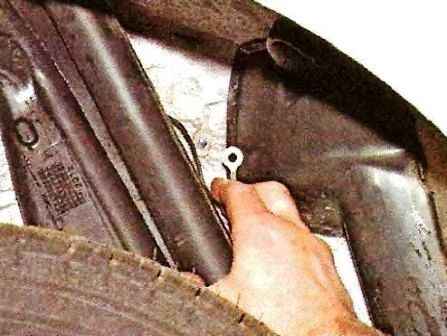
Remove the wire end from the stud
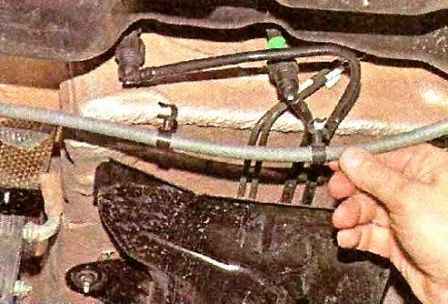
From the bottom of the car, we disconnect the holders attached to the left parking brake cable from the pipes for supplying fuel vapor to the adsorber and supplying fuel to the ramp
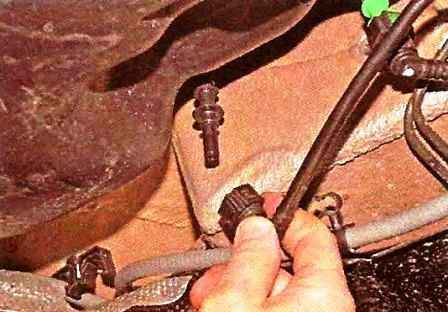
We squeeze the clamps of the tip of the fuel vapor supply pipe to the adsorber, disconnect the tip from the fuel tank pipe
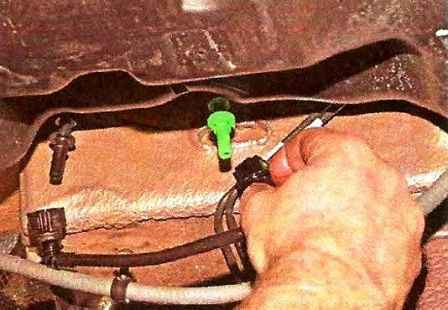
We also disconnect the tip of the fuel supply pipe to the rail from the other tube of the fuel tank
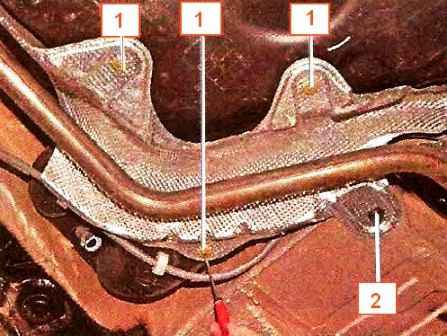
With a Phillips screwdriver, unscrew the screws of the three caps 1, and with pliers the nut 2 fastening the heat shield of the fuel tank
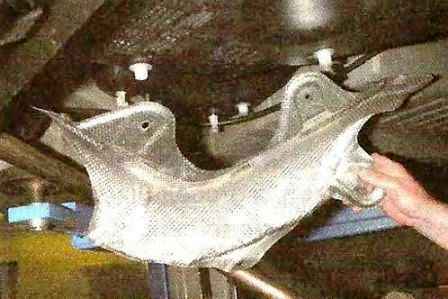
Remove the caps and remove the heat shield
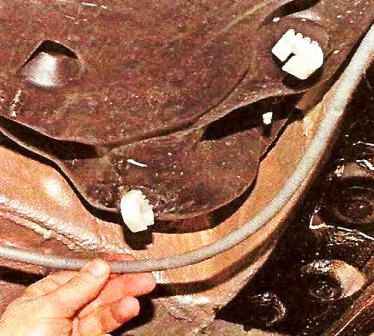
We remove the parking brake cables from the holders on the fuel tank
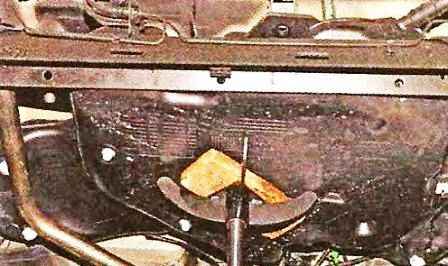
We substitute an adjustable stop under the fuel tank, placing a wooden block under it so as not to damage the tank.
Remove the suspension cushions of the silencer parts and disconnect the exhaust pipe from the exhaust manifold (see the article - Removing the Nissan Almera exhaust manifold with the K4M engine)
We take the exhaust system to the left side of the car and place the stop under the exhaust pipe
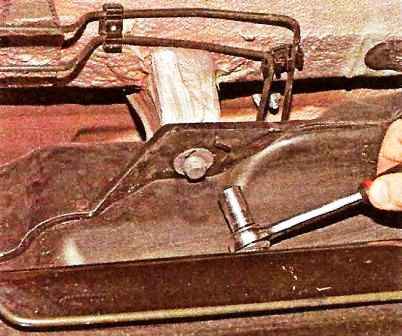
With a 13 head, we unscrew the bolt of the rear fastening of the fuel tank
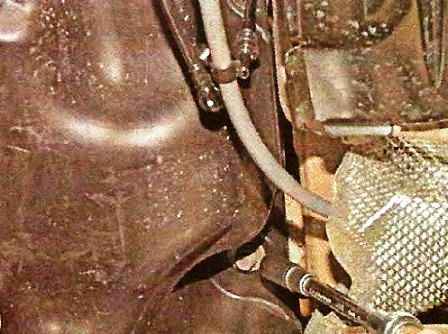
Using a 13-head with an extension, unscrew the bolt of the front fastening of the fuel tank
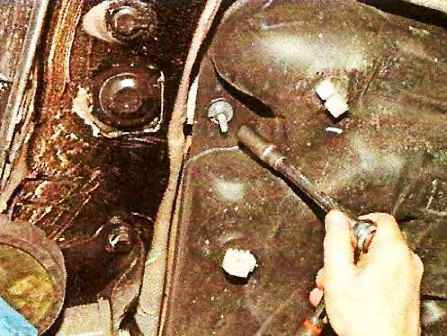
With a high head at 13, we unscrew the two nuts of the side fastening of the fuel tank
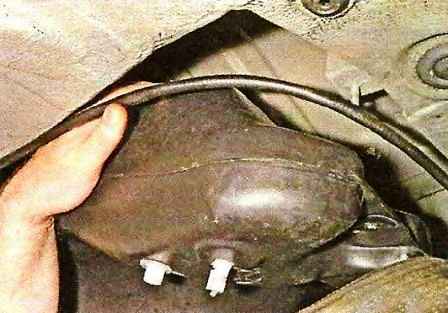
Slightly lowering the fuel tank, we start the parking brake cables behind it
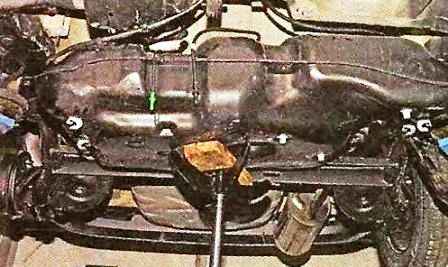
We lower the fuel tank on an adjustable stop and remove it
Install the fuel tank in reverse order.
Pour fuel into the tank, turn on the ignition and check the tightness of the connections.


