


Place the vehicle on a lift.
To perform this work, you will need 7 mm spanners, TORX T-30, a 10 mm socket, pliers, screwdrivers and a container for draining the coolant.
Disconnect the cables from the battery terminals, starting with the negative terminal.
Remove:
- the upper engine covers;
- the front wheels;
- the engine sump guard;
- the wheel arch liners.
Disconnect:
- the wiring connector from the fog lamps (if fitted);
- the fluid supply pipes to the headlamp washers (if fitted).
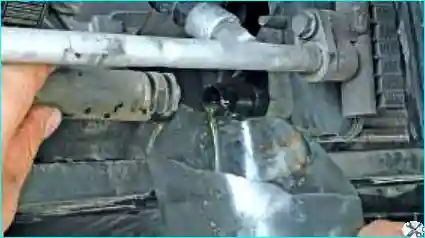
Fig. 1. Drain the coolant. Article – Coolant replacement method on a Renault Megane 2
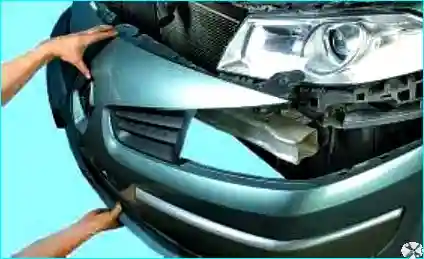
Fig. 2. Remove the front bumper – article - How to remove and install the front bumper on a Renault Megane 2
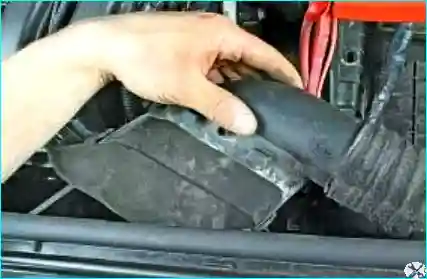
Fig. 3. Disconnect the air intake hose from the upper crossmember of the radiator frame
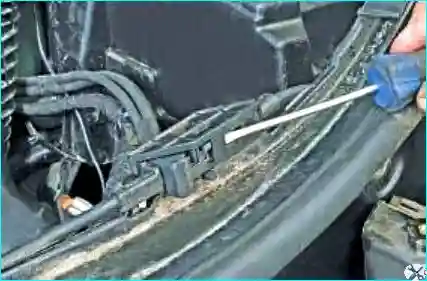
Fig. 4. Prise the bonnet cable bracket cover with a screwdriver
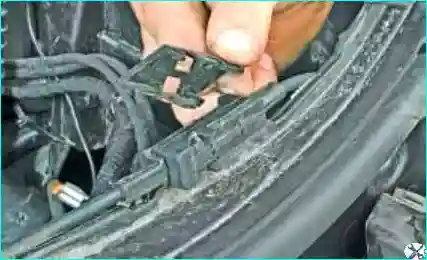
Fig. 5. Remove the bracket cover
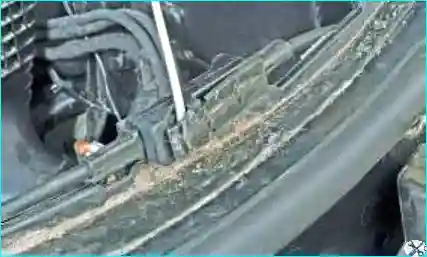
Fig. 6. Prise the bonnet cable bracket with a screwdriver
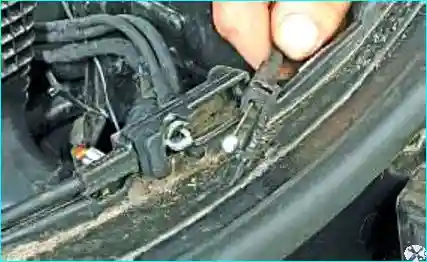
Fig. 7. Move the bracket with the cable aside
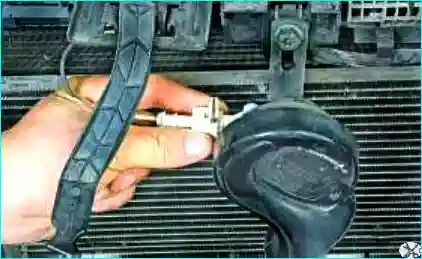
Fig. 8. Release the horn connector clip
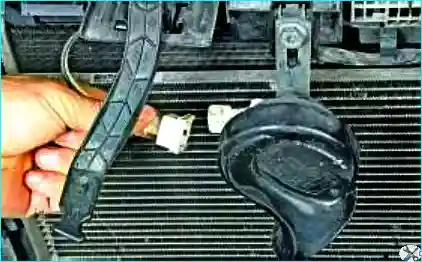
Fig. 9. Disconnect the horn connector
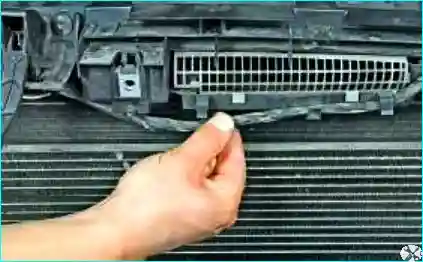
Fig. 10. Disconnect the wiring harness from the bracket on the upper crossmember of the radiator frame
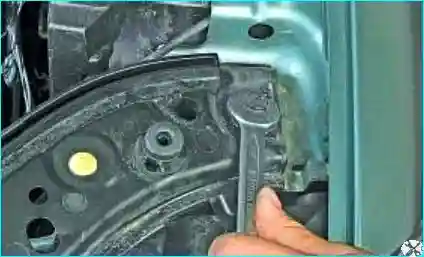
Fig. 11. Unscrew the left and right crossmember bolts
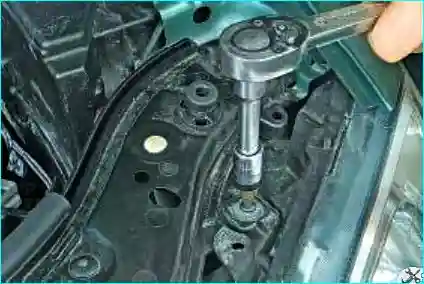
Fig. 12. Unscrew the left and right screws securing the radiator frame crossmember to the headlamp unit brackets
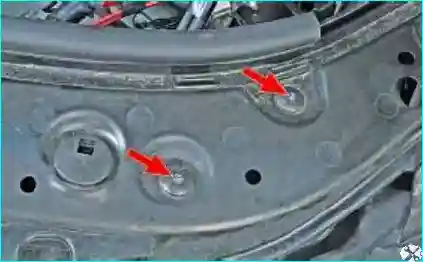
Fig. 13. Unscrew the two crossmember screws on the left and right sides of the radiator frame
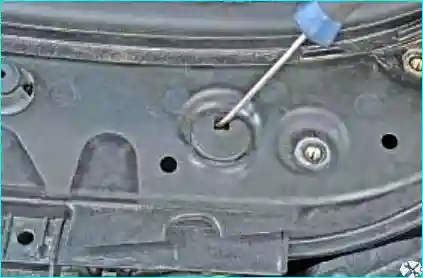
Fig. 14. Release the radiator retaining clips
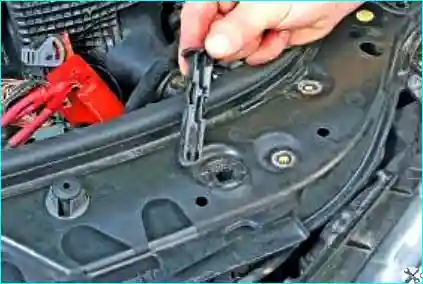
Fig. 15. Remove the radiator retaining clips
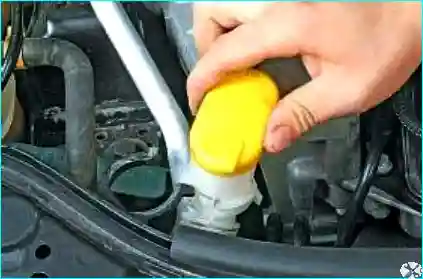
Fig. 16. Disconnect the windscreen washer reservoir neck from the bracket
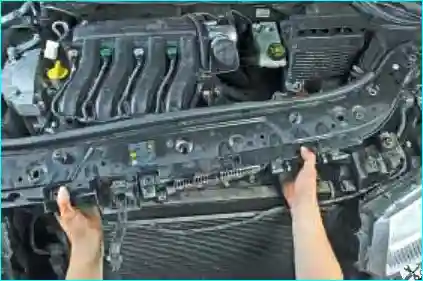
Fig. 17. Move the upper crossmember of the radiator frame aside
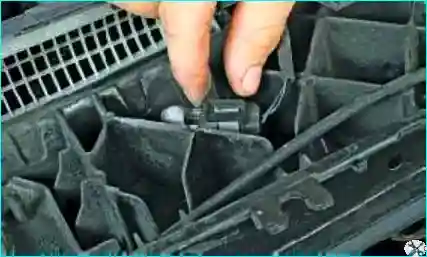
Fig. 18. From the rear of the radiator frame, release the connector clip
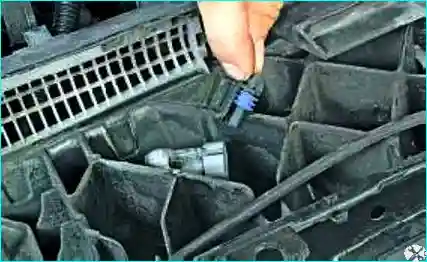
Fig. 19. Disconnect the bonnet switch connector
Remove the upper crossmember of the radiator frame.
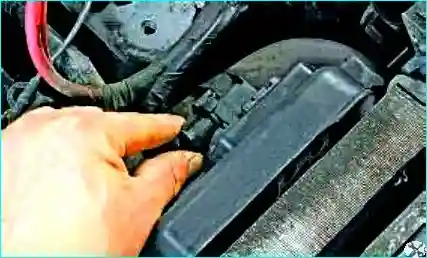
Fig. 20. Release the wiring harness connector clip
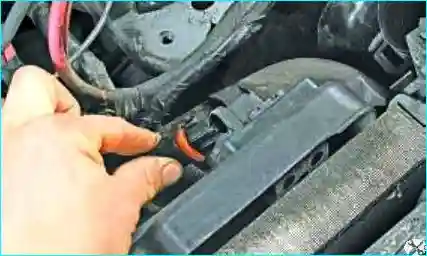
Fig. 21. Disconnect the additional resistor connector
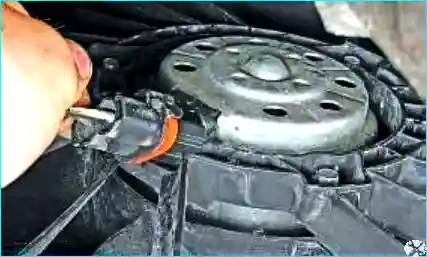
Fig. 22. Release the connector clip and disconnect the electric fan connector
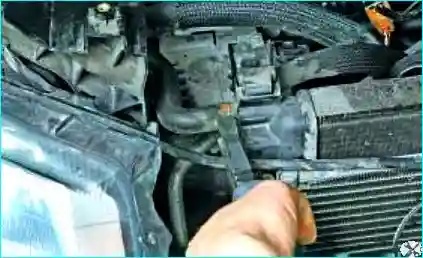
Fig. 23. Compress the bent tabs of the clip and slide the clip along the expansion tank return hose
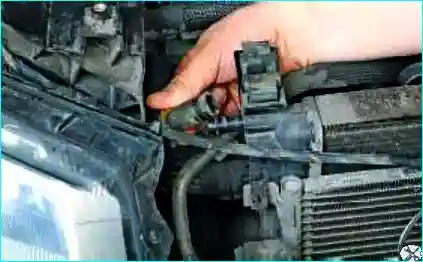
Fig. 24. Disconnect the hose from the radiator connection
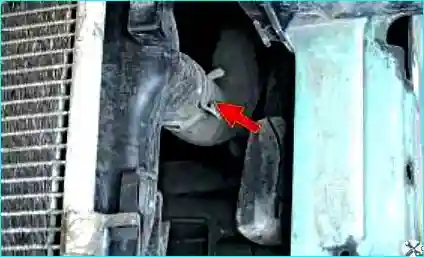
Fig. 25. Compress the bent tabs of the clip and slide the clip along the radiator supply hose
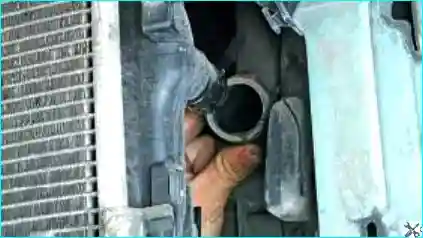
Fig. 26. Disconnect the hose from the radiator connection. Also disconnect the radiator return hose
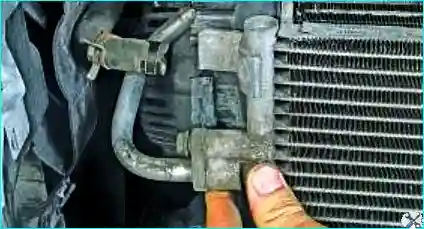
Fig. 27. Remove the condenser brackets from the lugs of the cooling system radiator
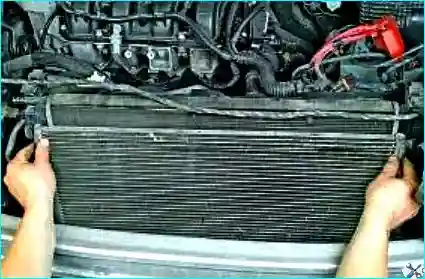
Fig. 28. Move the condenser aside and secure it with wire to the front bumper reinforcement
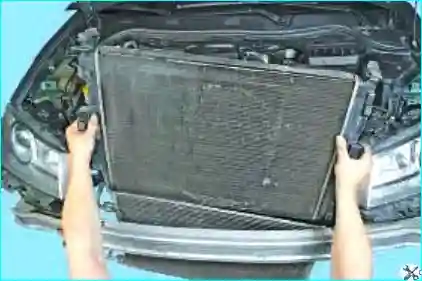
Fig. 29. Remove the radiator from the engine bay
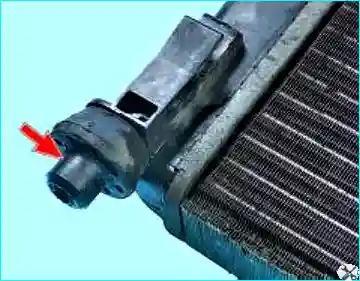
Fig. 30. Inspect the lower rubber mounts; replace any that are hardened
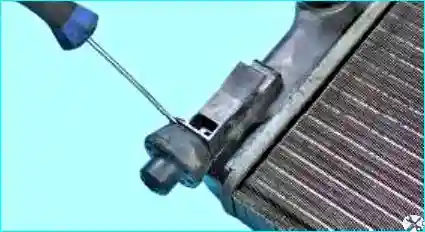
Fig. 31. To replace the rubber mounts, prise them with a screwdriver
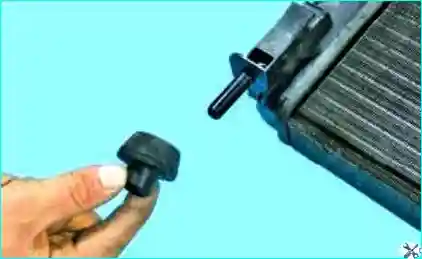
Fig. 32. Remove the mount
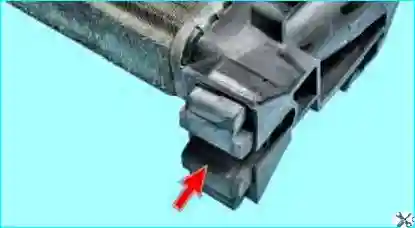
Fig. 33. Inspect the upper mounts of the radiator brackets
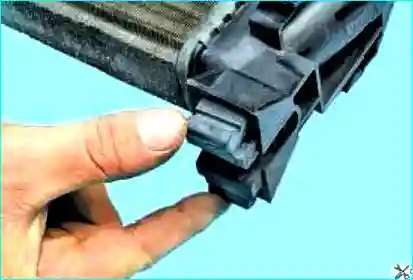
Fig. 34. To replace the upper mounts, compress the bent tabs
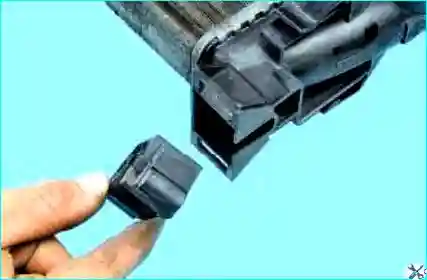
Fig. 35. Remove the upper mount from the holder
Clean the radiator externally with a water jet and dry it.
If cracks appear on the plastic end tanks, replace the radiator.
Check the radiator for leaks by blanking off three of its connections, applying air at a pressure of 1 kgf/cm² to the remaining one, and immersing it in water.
Leaks are indicated by escaping air bubbles.
Install the radiator in the reverse order.
Apply a thin layer of sealant to the connections before installation.
Tighten the charge air cooler hose clip to the specified torque (5.5 N·m).
Use spring-type hose clip pliers (Mot1202-01) for installing the clips.
Take care not to damage the cooling fins of the heat exchangers (radiator, condenser).
Connect the cables to the battery terminals, starting with the positive terminal.
Fill with coolant and bleed the cooling system.


