We replace the sump gasket when oil leakage is detected, when the leak is not eliminated by tightening the sump bolts.
Preparatory work
- - install the car on a lift or a viewing ditch;
- - prepare the necessary tools;
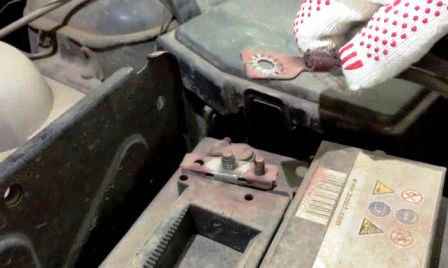
- - disconnect the negative battery terminal.
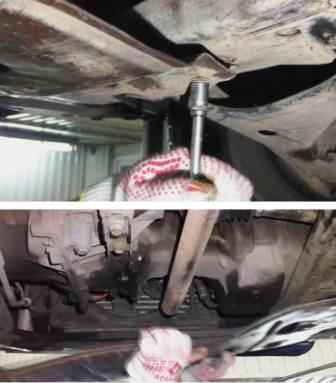
Removing the engine crankcase protection (described in the article - How to remove the protection and mudguards of the Renault Sandero engine)
We tie up the engine radiator (if necessary, depending on the radiator fasteners)

Using a Torx T30 wrench, unscrew the three bolts securing the front bumper to the subframe
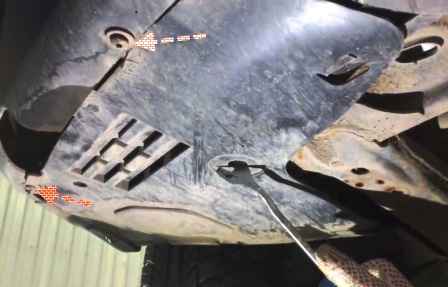
Unscrew and remove the lower mudguards (described in the article - How to remove the protection and mudguards of the Renault Sandero engine)
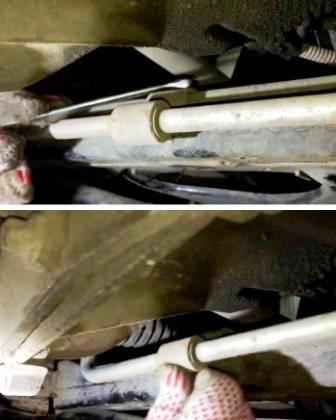
Using a 10 key, we unscrew the bolt securing the power steering tube to the subframe
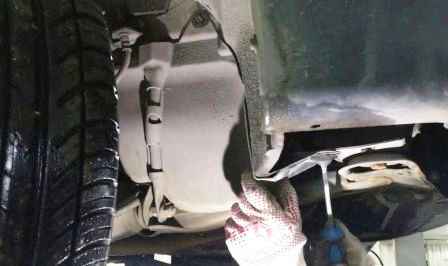
Remove the upper part of the mudguard on the left side
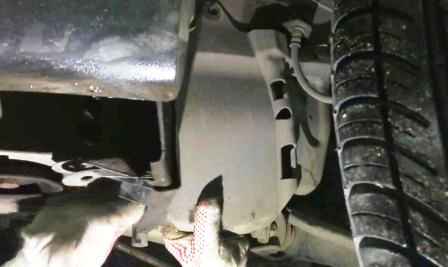
Remove the upper part of the mudguard on the right side
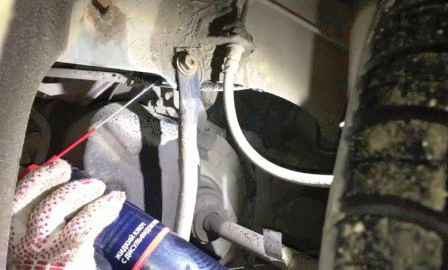
Clean and wet the upper bolts of the connecting rods with a penetrating lubricant
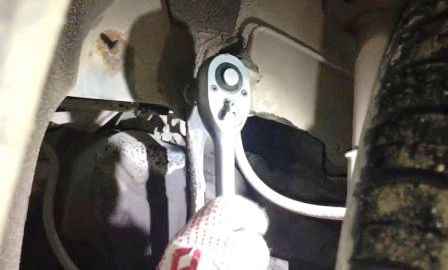
Using a 13 wrench or a head, we unscrew the side bolts for fastening the connecting rods
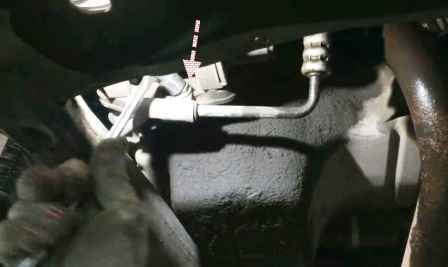
Using a 13 key, we unscrew the bolt for fastening the power steering pipeline holder, which simultaneously serves to fasten the air conditioning compressor mounting bracket
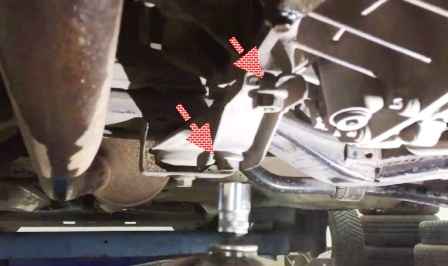
With a head of 18, we unscrew the two bolts securing the bracket for the rear support of the power unit
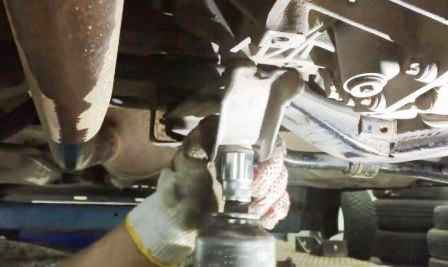
Remove the bracket
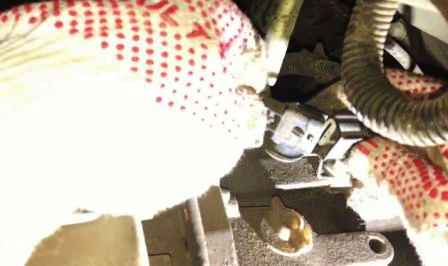
Disconnect the oxygen sensor wire block if the sensor is located on the exhaust pipe (if the sensor is located on the exhaust manifold, you do not need to disconnect the block)
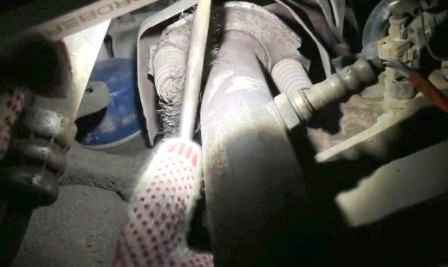
Using a metal brush, we clean the nuts securing the intake pipe
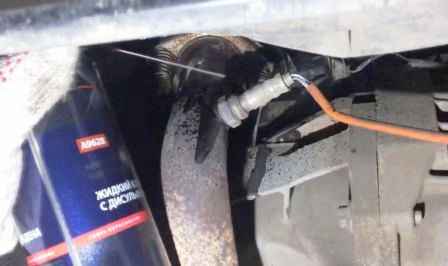
Wet the intake pipe mounting nuts with WD-40 penetrating lubricant or similar
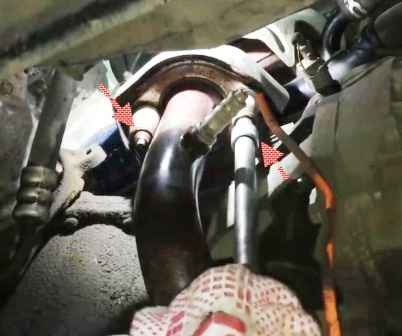
With a 10 head, unscrew the nuts securing the intake pipe
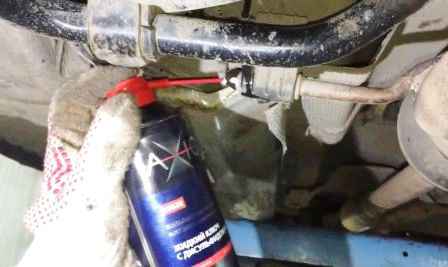
Wet the suspension cushion of the exhaust system with penetrating liquid
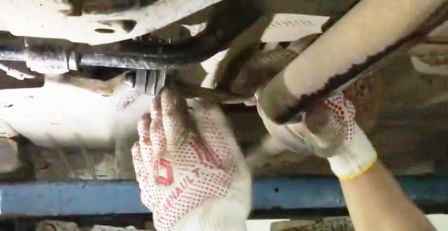
Remove the exhaust system bracket from the pillow
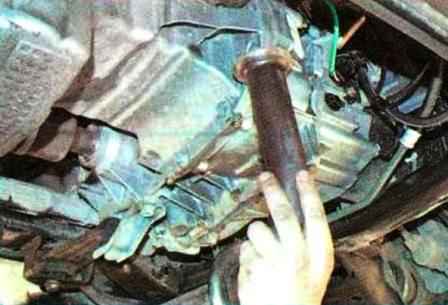
We take the downpipe down
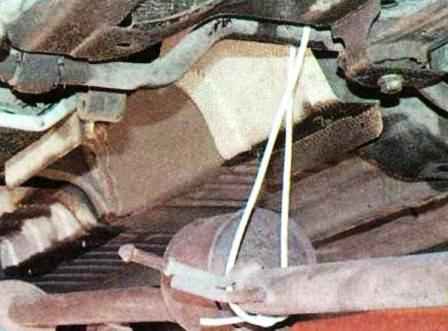
We tie the muffler system with wire or rope
For the convenience of further work, unscrew the steering mechanism from the subframe, for this:
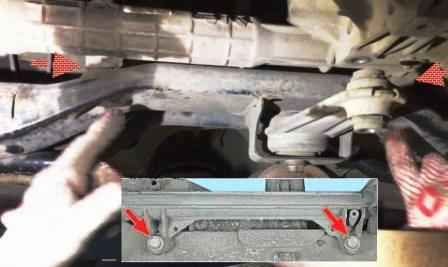
With a head of 18, we unscrew the two bolts securing the steering mechanism to the subframe
Removing the bolts
Wet the four bolts of the subframe with penetrating liquid
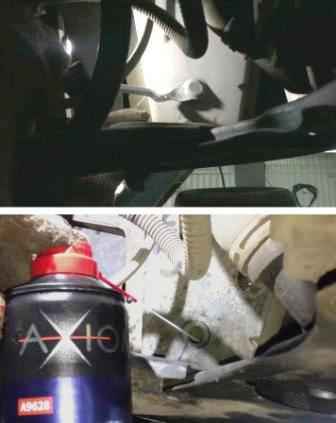
On the left side of the mount, remove the plug, and through the hole we moisten the bolt with a penetrating liquid
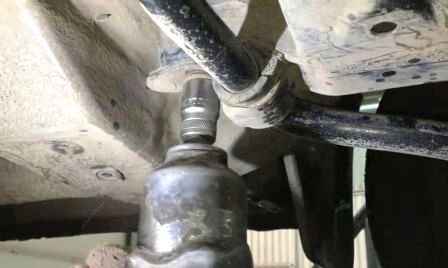
We unscrew the four bolts of the subframe
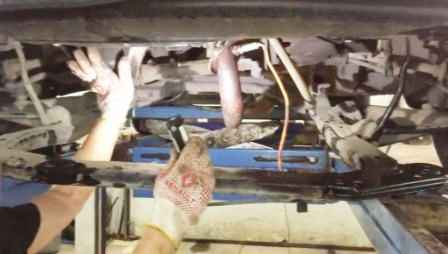
We lower the front of the subframe, thereby providing an approach to removing the engine pan
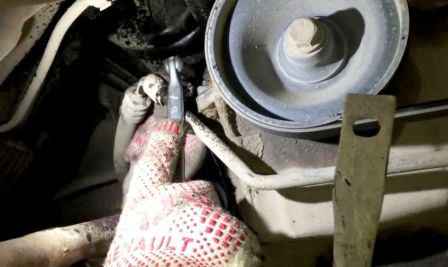
Using a 13 head, unscrew the nut of the bolt securing the power steering tube holder, holding it with a 13 wrench
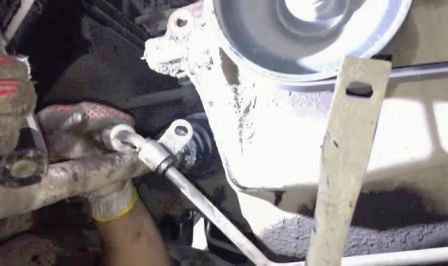
Remove the bolt and move the power steering tube to the side
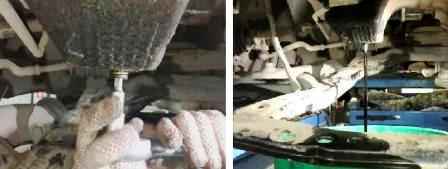
Unscrew the drain plug with an 8-sided square and drain the oil
Removing the engine oil sump
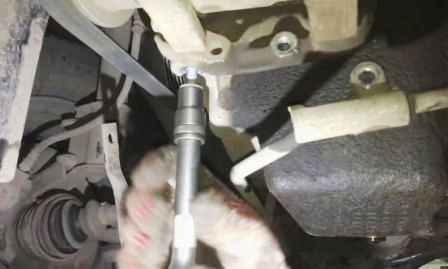
On the right side of the engine, with a head or a 13 wrench, unscrew the bolt securing the additional equipment bracket to the oil sump
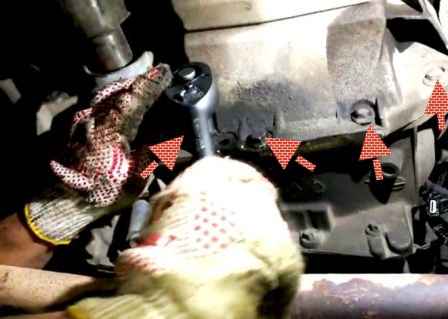
With the same wrench, unscrew the four bolts securing the oil pan to the clutch housing
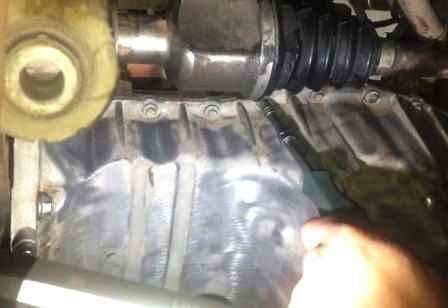
With an 8 or Torx E8 head (depending on the type of bolt heads), we unscrew the seven bolts on the right side of the crankcase
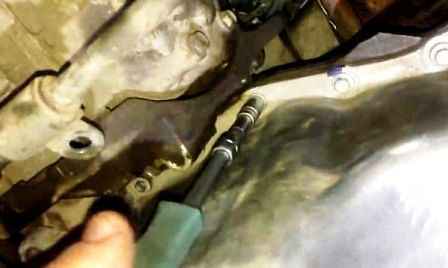
With the same tool, unscrew the seven bolts on the left side of the pallet mount
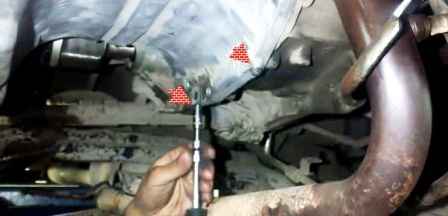
Unscrew the two bolts at the back
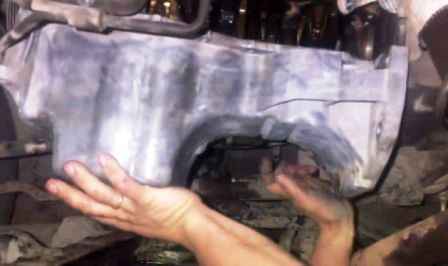
Removing the pallet
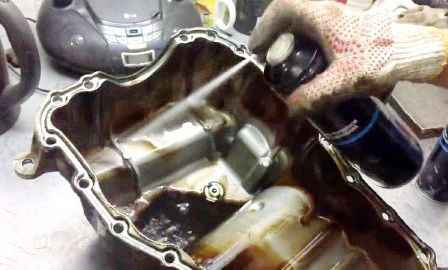
Rinse the pallet and lay a new gasket
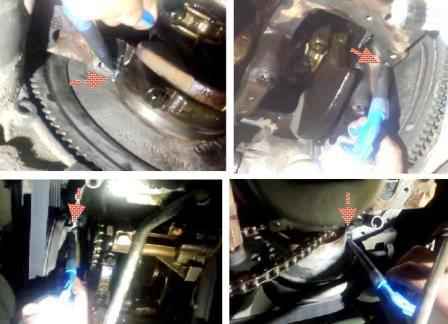
We degrease the junction of the cylinder block with the pallet and apply sealant to the junction corners
We install the oil sump and bait twenty bolts of its fastening.
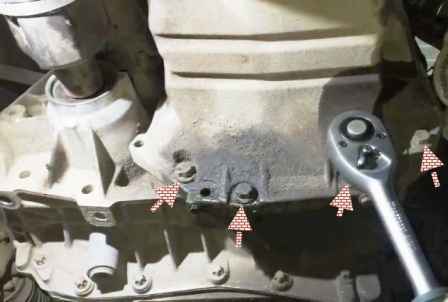
We tighten the four bolts of the oil sump to the clutch housing until it stops, without tightening them completely
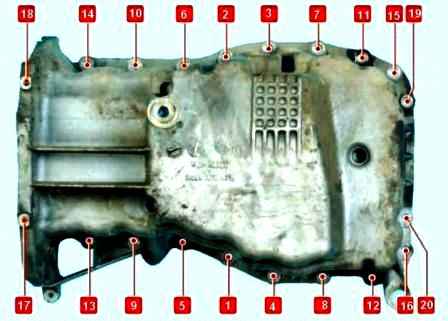
We tighten the bolts of the pallet in the order shown in the photo.
Pre-tightening 8 Nm, then final tightening 14 Nm.
After that, we tighten the four bolts securing the oil pan to the clutch housing with a torque of 27 Nm.
Install all removed parts and assemblies in reverse order.
Install a new oil filter and fill the engine with oil.


