Some vehicle repairs require the instrument panel to be removed. In the article, we will consider how to remove the instrument panel
Some drivers and car mechanics call the instrument panel a "torpedo".
The instrument panel consists of a decorative panel and an instrument panel amplifier
Decoration panel is a molded plastic piece attached to the instrument panel reinforcement.
Control devices, vehicle controls and the heating, air conditioning and ventilation system are attached to the decorative panel;
- overlays covering the nodes located under the instrument panel, or serving to install instruments and controls; heating and air conditioning nozzles, storage box on the front passenger side.
On the reverse side, the air ducts of the heating, air conditioning and ventilation system are attached to the decorative panel.
The instrument panel amplifier, in turn, consists of steel reinforcement, to which the steering column, wiring harnesses and devices of the vehicle's electrical system are attached.
Reinforcement, bolted to the A-pillars, bulkhead shield and body base, is included in the load-bearing structure of the body.
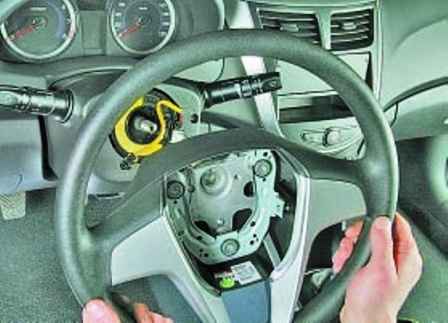
Removing the steering wheel, described in the article - How to replace the steering wheel of a Hyundai Solaris
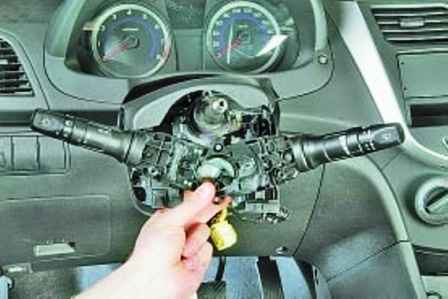
Removing the steering column switches, described in the article - How to replace the sensors and switches for Hyundai Solaris
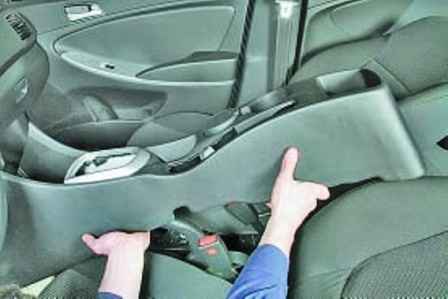
Removing the lining of the floor tunnel, see the article - How to remove the lining Hyundai Solaris floor tunnels
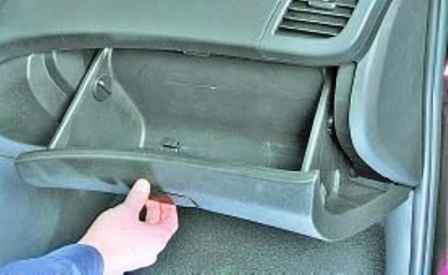
Opening the glove box lid
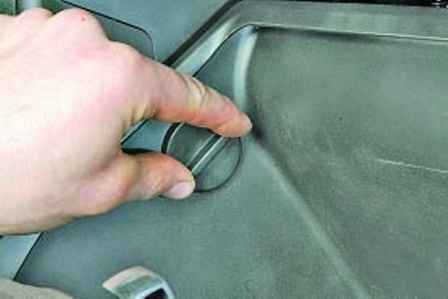
In the glove box cavity, turn the glove box opening stop counterclockwise
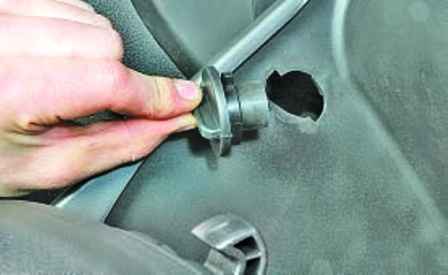
Remove the limiter on the left
We also remove the limiter on the right and lower the glove box down
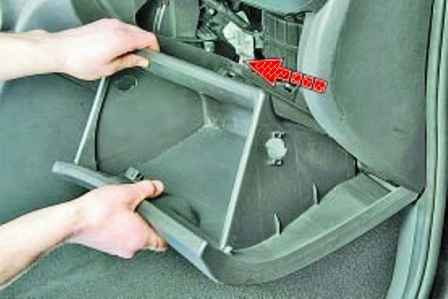
We pull the glove box towards ourselves and disengage it from the hinges
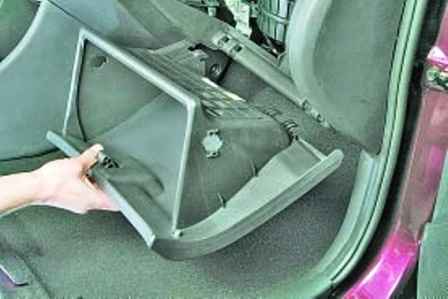
Remove the glove box
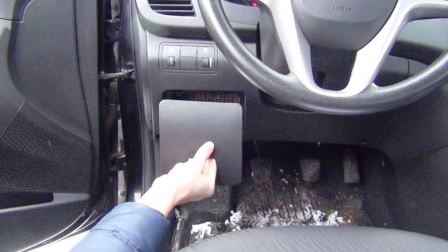
Pull the notch in the decorative cover and remove the decorative cover of the fuse box
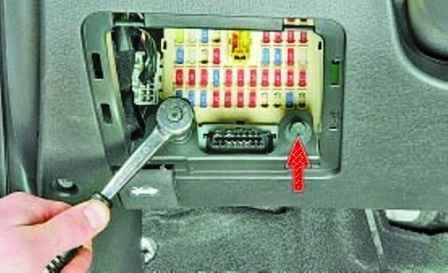
Unscrew the two bolts
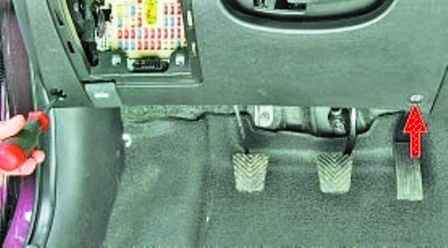
We unscrew the two screws securing the left lower trim of the instrument panel
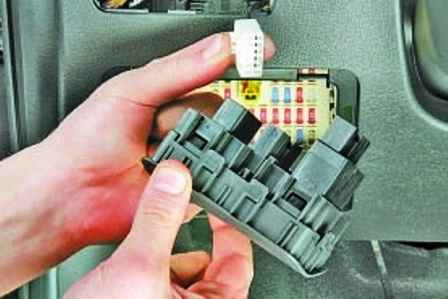
Remove the regulator block
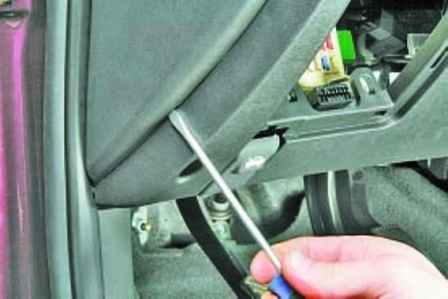
Pry off the left instrument panel trim with a screwdriver
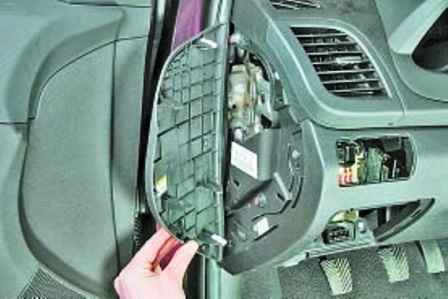
Remove the left trim of the instrument panel. We also remove the right trim of the instrument panel
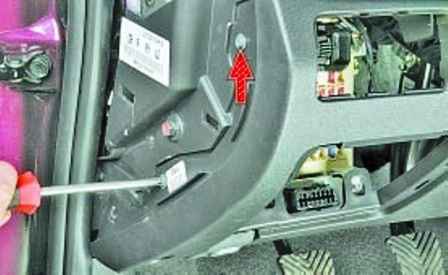
We unscrew the two screws securing the lower part of the instrument panel on the left
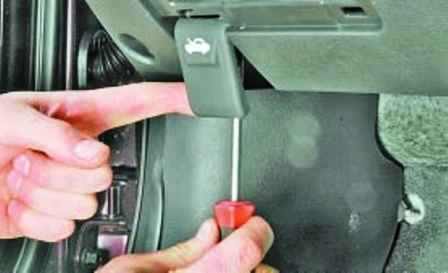
Unscrew the screw securing the hood lock handle
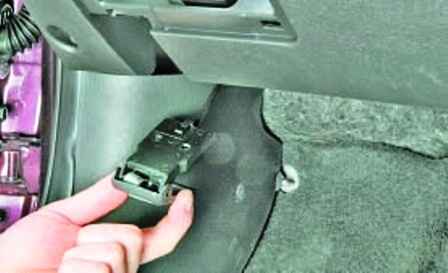
We move the handle to the side without disconnecting the hood lock cable from it
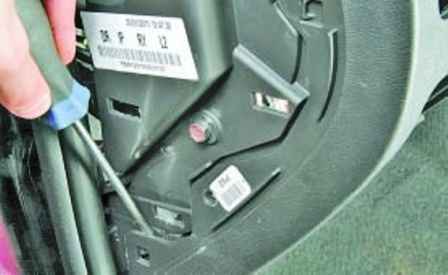
We press the latches of the lower lining
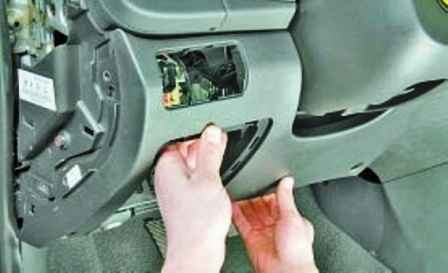
Pull back the bottom trim
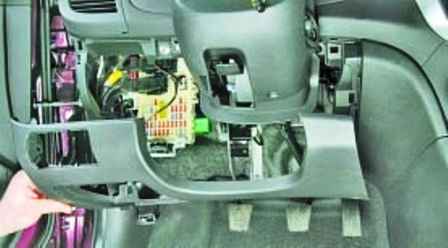
And remove the lower trim from the instrument panel
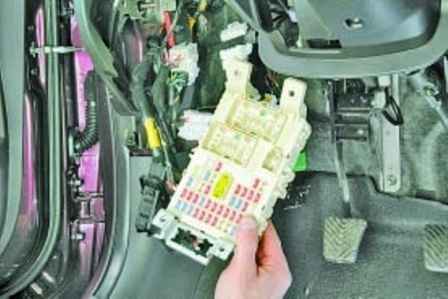
Remove the mounting block in the car
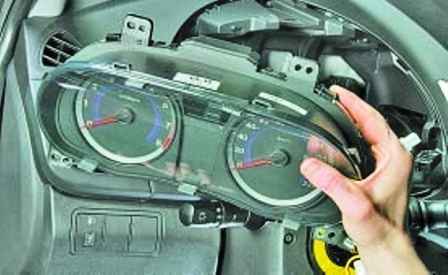
Removing the instrument cluster, described in the article - How to remove the instrument cluster of a Hyundai car Solaris
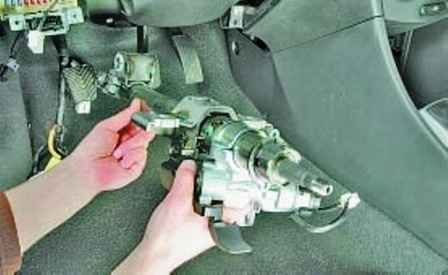
Removing the steering column, described in the article - How to remove the Hyundai Solaris steering column
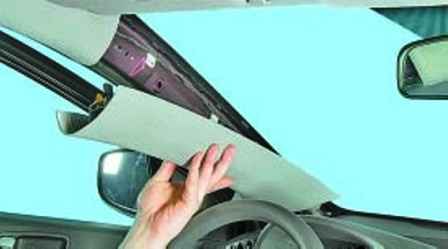
Remove the lining of the front pillars
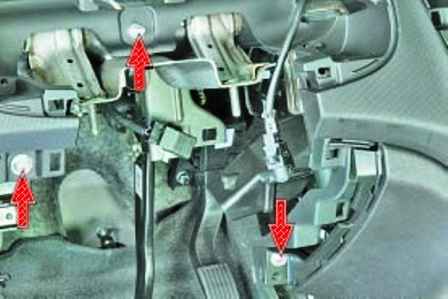
We unscrew the three nuts securing the panel in the cavity of the instrument cluster
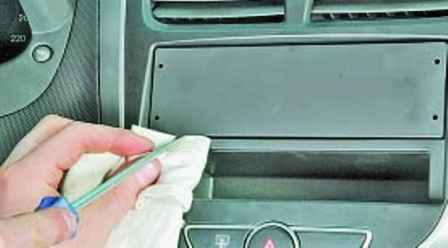
We pry off with a screwdriver, putting a rag, the plug of the head unit of the audio system
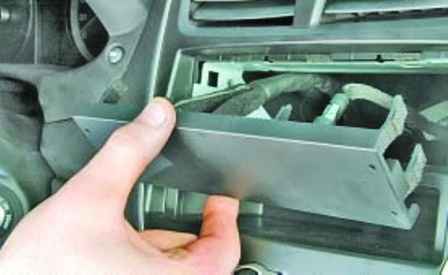
Put aside the plug for the length of the wires
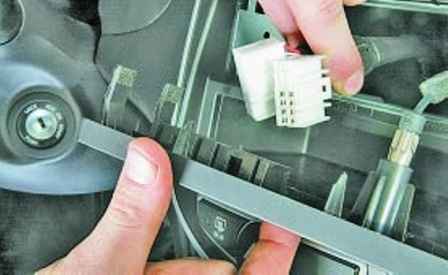
Disconnect the wire blocks from the plug of the head unit of the audio system or from the radio
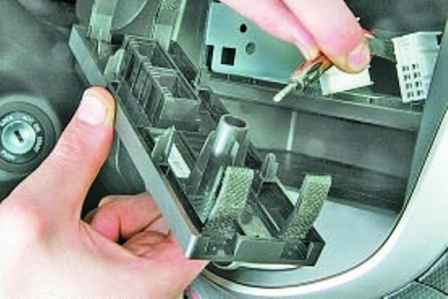
Disconnecting the end of the antenna wire
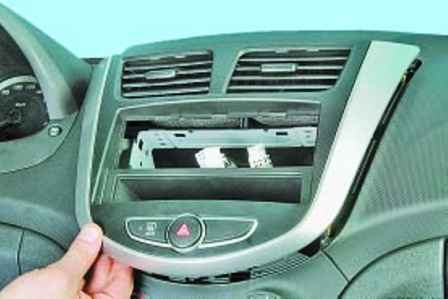
We remove the central trim of the instrument panel and slowly, moving along the perimeter of the central trim, remove the trim from the installation site
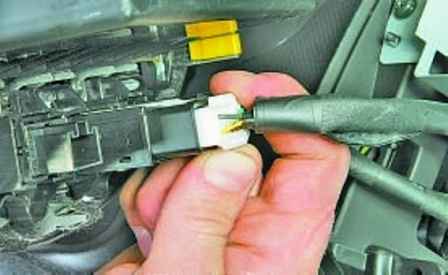
We press the lock of the wire block
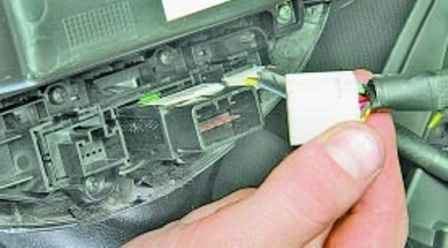
Disconnect the wiring harness from the alarm switch
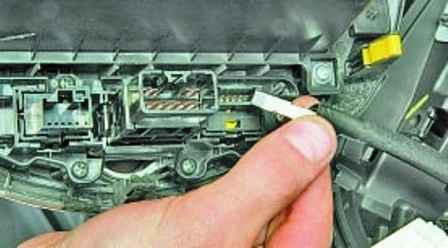
Disconnect the wiring harness from the heated rear window switch
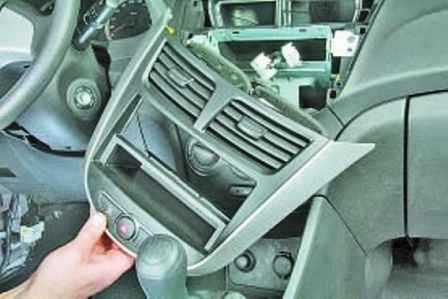
Remove the central trim of the instrument panel
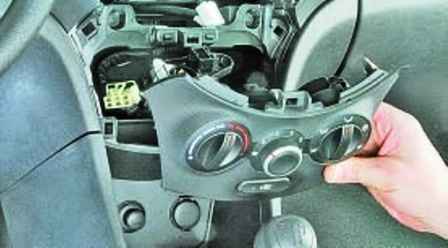
Remove the control unit for the interior heating and ventilation system
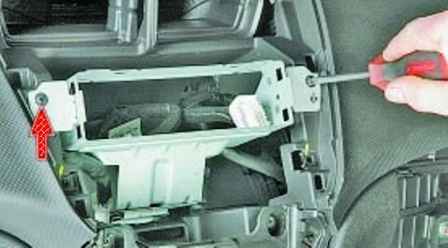
Remove two screws
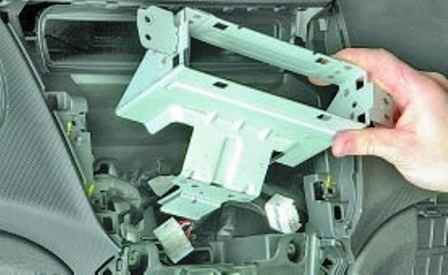
And remove the bracket for mounting the head unit of the audio system
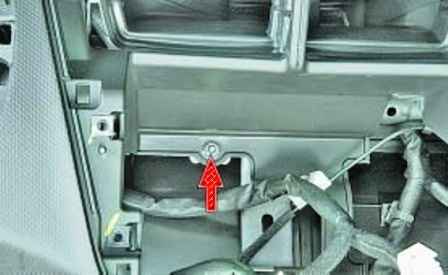
We unscrew the nut securing the instrument panel to the instrument panel amplifier bracket, located in the cavity of the central lining of the panel appliances
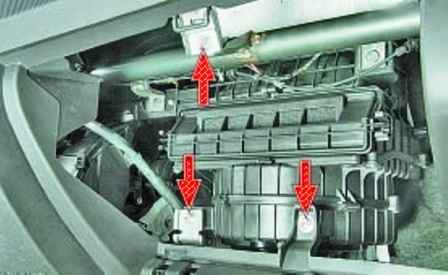
We unscrew the three nuts securing the instrument panel to the bracket of its amplifier, which is located in the cavity of the glovebox
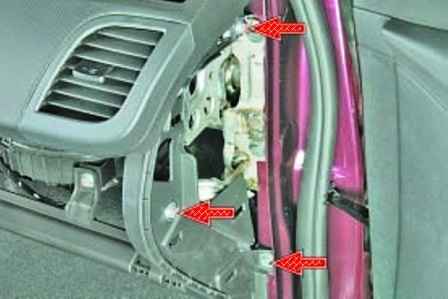
We unscrew the three bolts of the instrument panel on the right
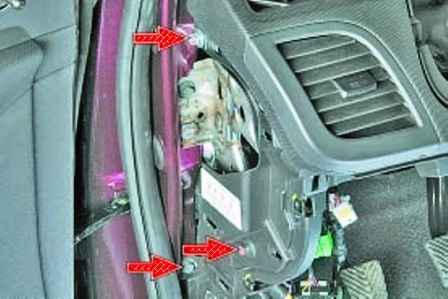
We unscrew the three bolts securing the instrument panel on the left
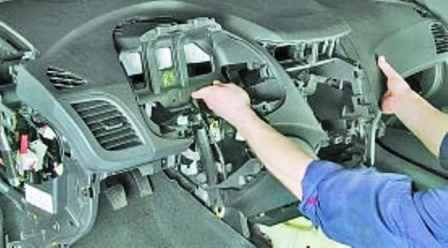
Remove the instrument panel
Install the instrument panel and all removed parts in reverse order
Removing the instrument panel amplifier
Remove the instrument panel as described above
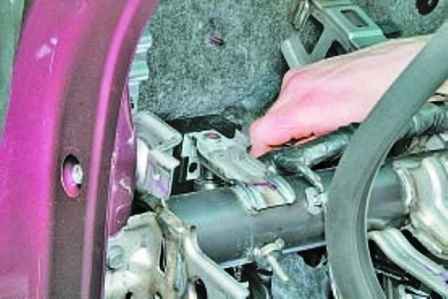
Unscrew the nut that secures the outdoor lighting control unit
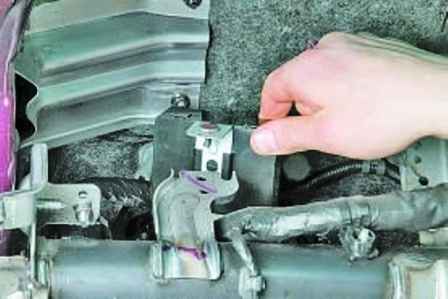
Disconnect the unit from the dashboard amplifier
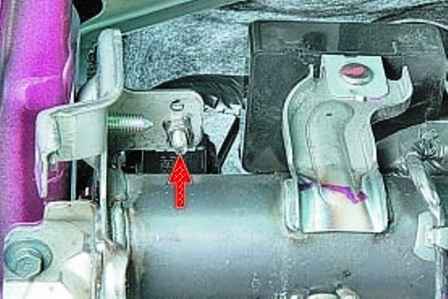
Unscrew the nut securing the relay of the outdoor lighting control unit
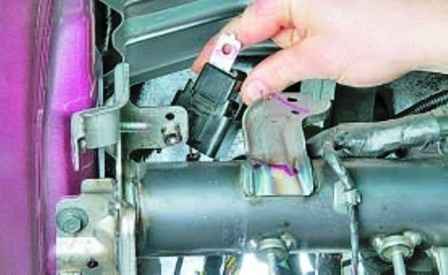
Disconnecting the relay
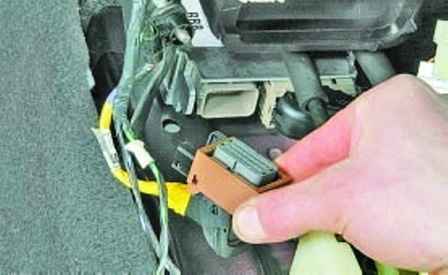
Disconnect the wire blocks from the airbag control unit
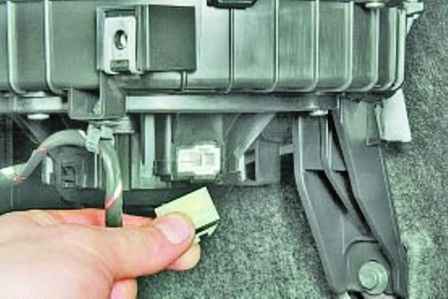
Disconnect the wiring harness from the blower motor
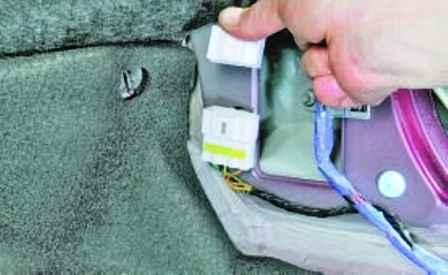
Disconnecting the wire connectors
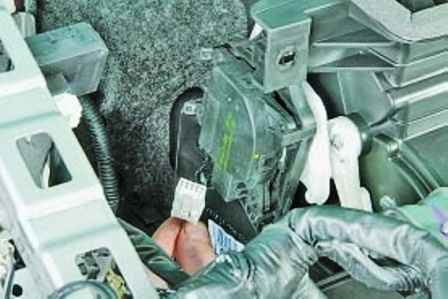
Disconnect the wiring blocks of the air distribution dampers
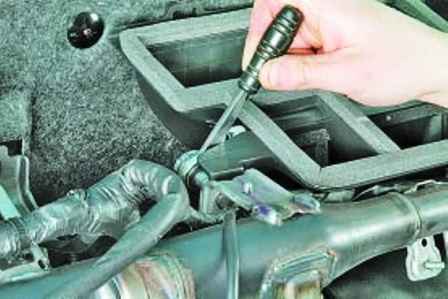
We unscrew the bolt securing the heater to the instrument panel amplifier on the left
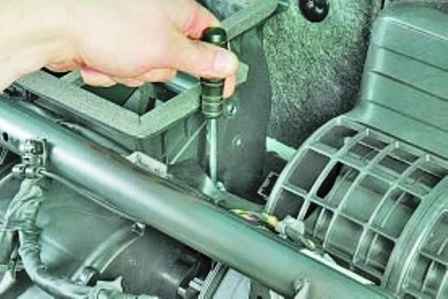
We unscrew the bolt securing the heater to the instrument panel amplifier on the right
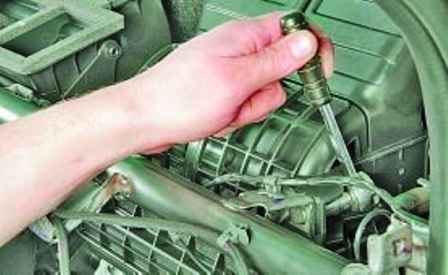
We unscrew the bolt securing the air blower housing to the instrument panel amplifier
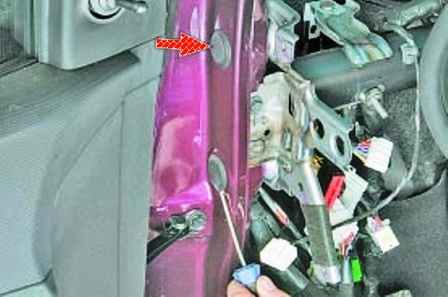
Pry off with a screwdriver
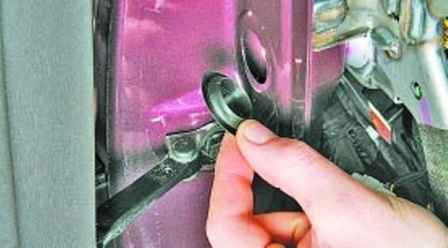
And remove the two rubber plugs of the bolts securing the instrument panel amplifier to the A-pillar on the left side
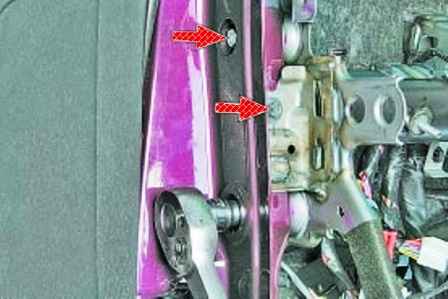
We unscrew the three bolts securing the instrument panel amplifier to the A-pillar on the left side
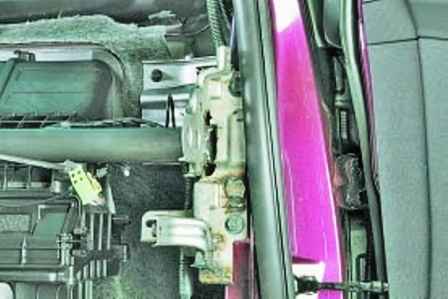
We unscrew the two bolts of the instrument panel amplifier on the right side
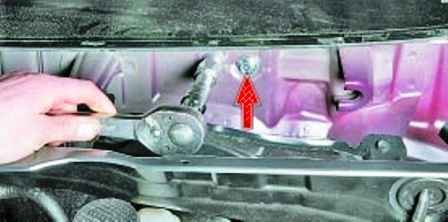
In the engine compartment, unscrew the two bolts securing the instrument panel amplifier bracket to the bulkhead
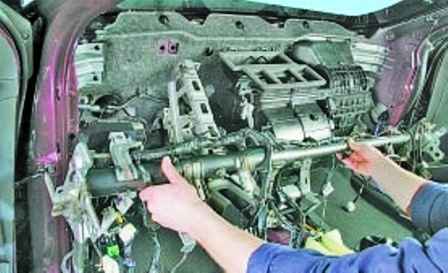
Remove the dashboard amplifier
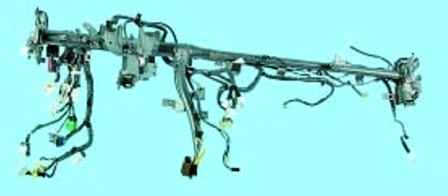
Install the instrument panel amplifier in reverse order.


