Removing trim parts and interior fittings for replacement, as well as for approaching other elements of the car
Removing the interior mirror
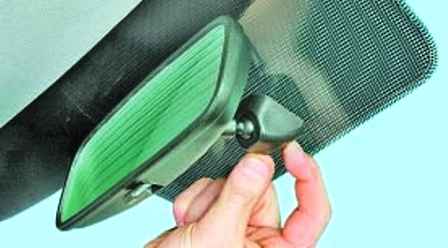
Press out the latch
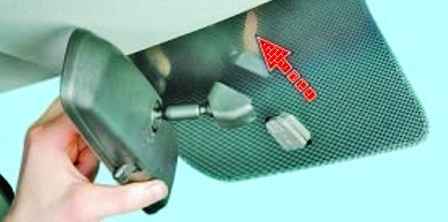
Move the mirror and remove it from the car
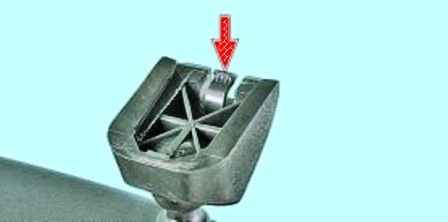
This is what the lock for attaching the mirror to the bracket looks like
Install the mirror in reverse order
Replacing handrails
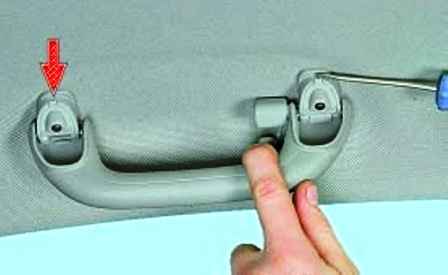
We press the handrail, pry it with a screwdriver and fold back the two decorative caps of the handrail fastening screws
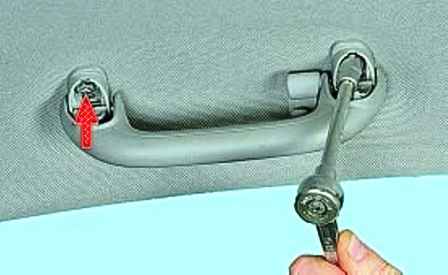
We unscrew the two bolts of the handrail
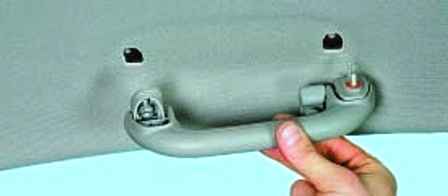
Remove the handrail. In the same way, remove the remaining handrails
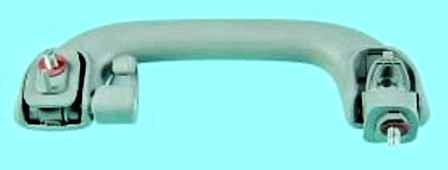
Install the handrails in reverse order
Removing sun visors
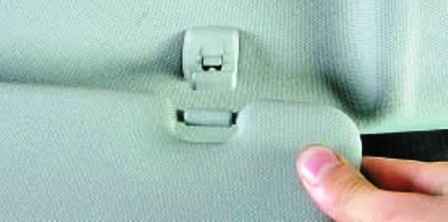
Remove the eye of the visor from engagement with the hook
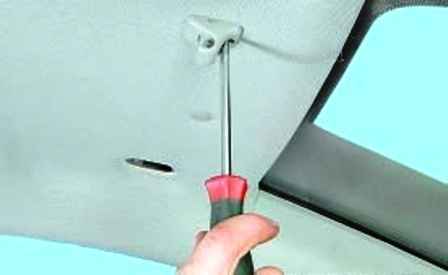
Unscrew the hook fastening screw
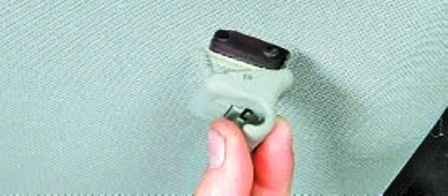
Remove the hook
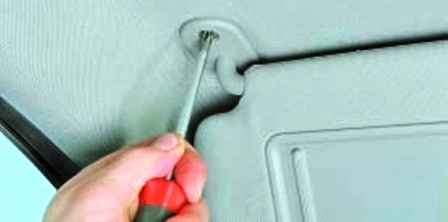
Unscrew the screw securing the visor to the body
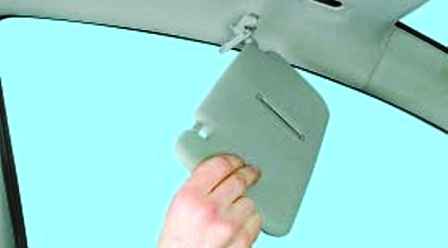
Remove the visor bracket from the hole in the body and remove the visor from the car
The second visor is removed in the same way
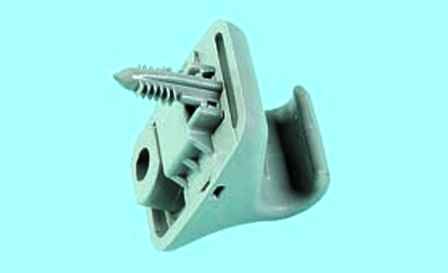
The photo shows the sun visor hook
Install the sun visors in reverse order
Removing the facings
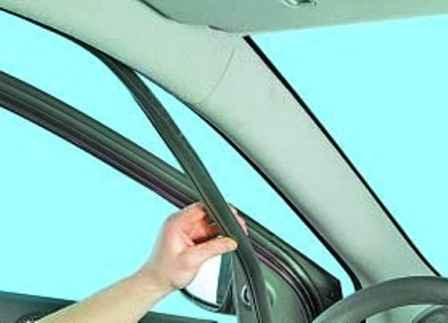
To remove the upper trim of the A-pillar, you need to disconnect the front door seal from the door opening
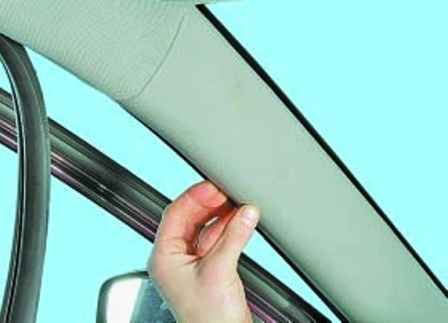
We pry off the lining and, overcoming the resistance of the clamps, remove the upper lining of the A-pillar
Replace damaged latches
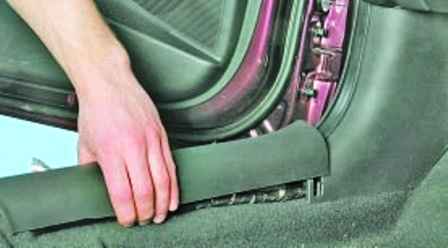
To remove the front sill trim, pull the trim up
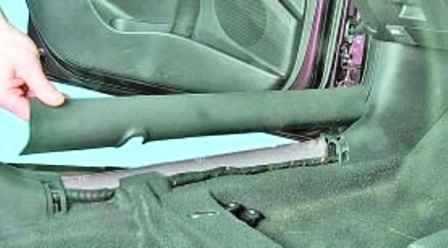
And remove the lining
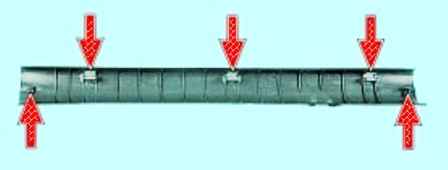
This is how the holders of the front sill trim are located
To remove the lower trim of the A-pillar, remove the front trim of the threshold
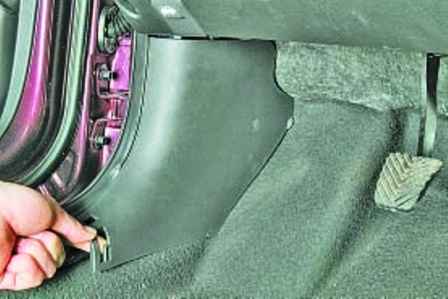
Pry off the cladding
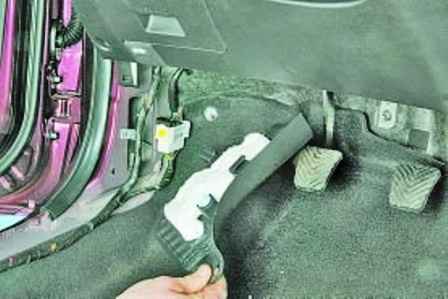
Remove the lower lining, overcoming the resistance of the clamps
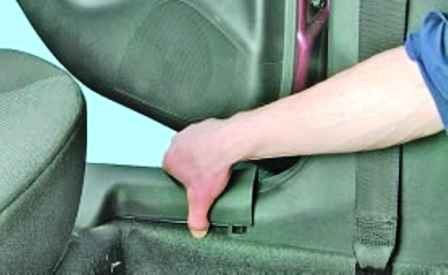
We pry off the trim and remove the rear trim of the threshold
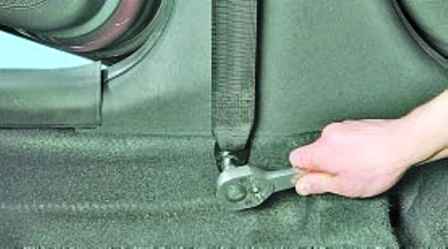
To remove the upper trim of the central pillar of the body, unscrew the bolt of the lower fastening of the front seat belt
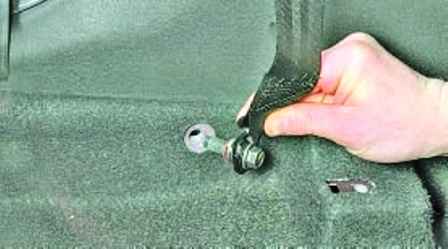
Remove the bolt
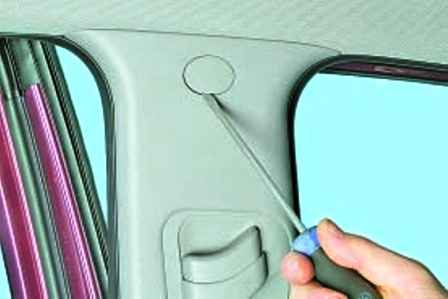
We pry off the decorative plug of the bolt of the upper fastening of the cladding
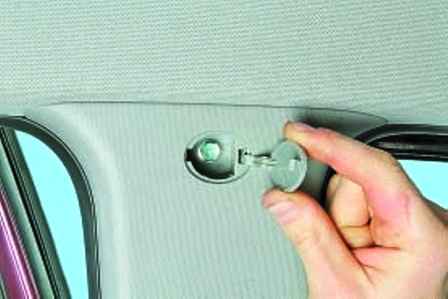
And take out the plug
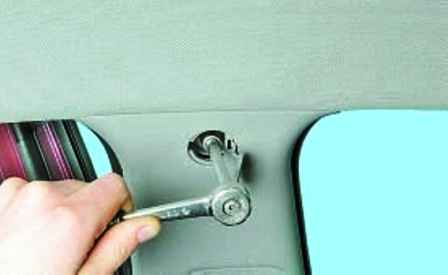
We unscrew the bolt securing the lining of the central pillar
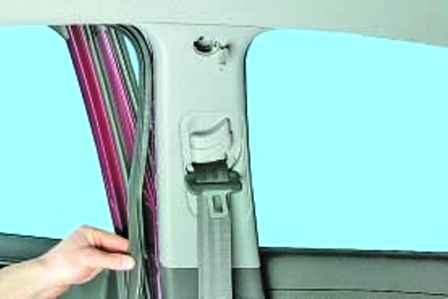
Disconnect the left rear door seal from the door opening
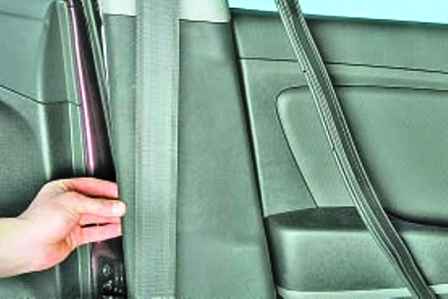
Pry off the cladding and pull back the cladding
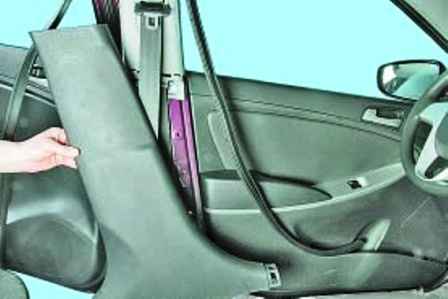
Remove the lower lining of the B-pillar
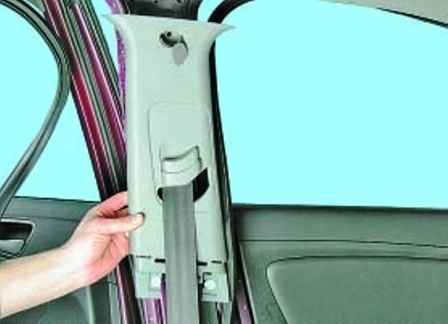
We pry off the lining and take the upper lining of the central pillar to the side
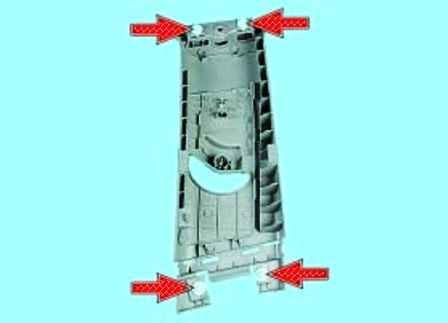
The photo shows the location of the brackets for the B-pillar top trim. We replace damaged holders
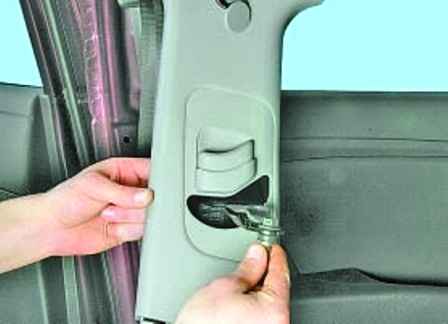
We pass through the hole in the lining the lower fastening of the seat belt
Remove the top trim of the B-pillar
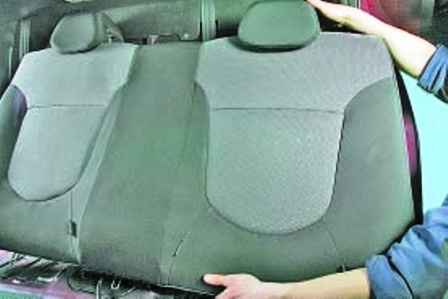
To remove the upper lining of the rear pillars, remove the rear seat, amplifiers and the panel that separates the passenger compartment from the luggage compartment
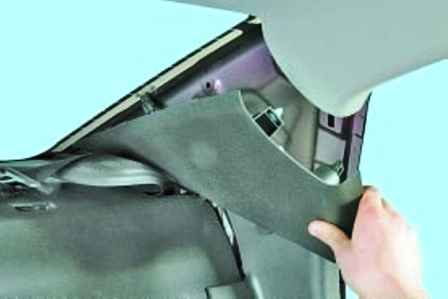
We pry off the lining and remove the upper lining of the rear pillar
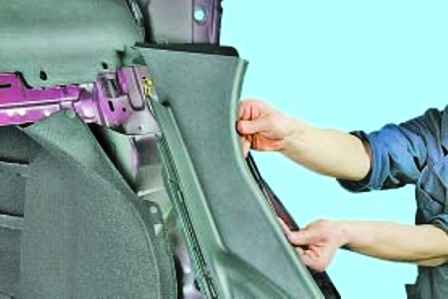
Also remove the lower trim of the rear pillar
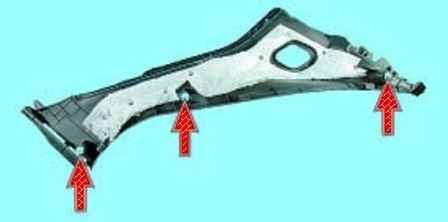
The photo shows the location of the C-pillar trim holders
To remove the rear sill trim, remove the rear seat
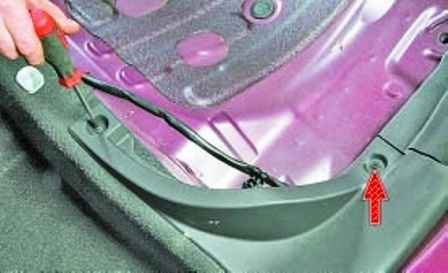
We unscrew the two screws of the upper fastening of the cladding
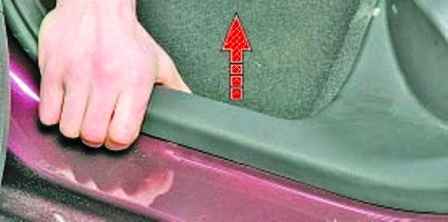
Pull the lining up, overcoming the resistance of the clamps
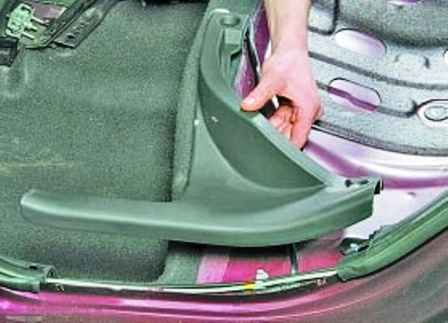
Remove the threshold lining
To remove the lining of the rear shelf, remove the lining of the rear pillars of the body, as described above
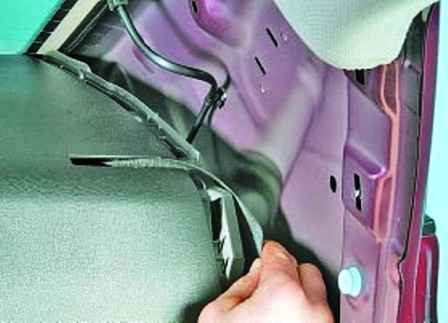
We remove the side belts from the slots in the lining of the rear shelf
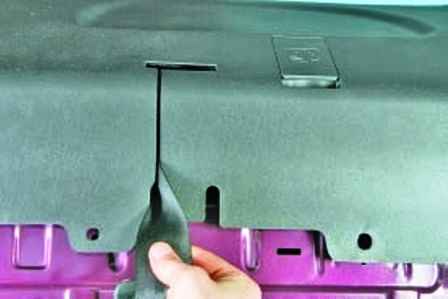
Displaying the rear passenger seat belt
From the inside of the rear shelf, press the latch and disconnect the wire block from the additional brake light connector
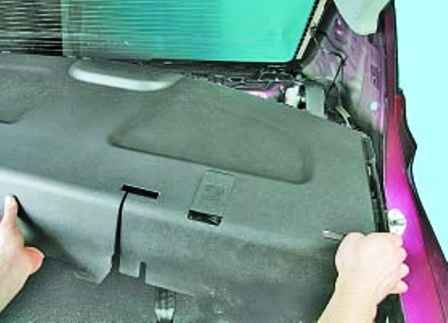
Pull the lining up and remove the lining of the rear shelf
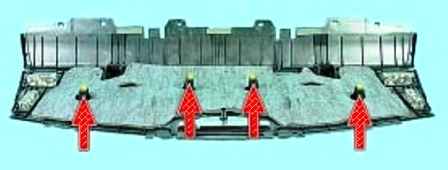
The photo shows the location of the fasteners for fastening the trim of the rear shelf
Install the trim in reverse order.


