We remove the rear suspension beam for repair or replacement
We place wheel chocks under the front wheels of the car and shift the gearshift lever into first gear (on the machine to the “P” position)
Raise the rear of the car and put it on supports
Remove the wheel
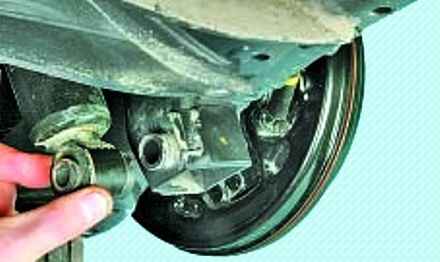
Disconnect the shock absorber from the lower mounting bracket (described in the article - Replacing the shock absorbers and springs of the Hyundai Solaris rear suspension)
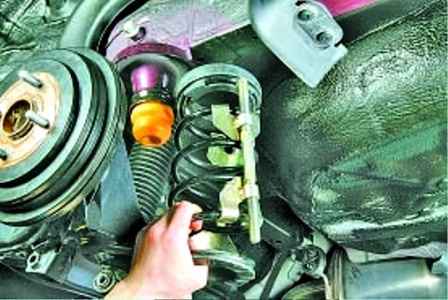
Remove the rear suspension spring
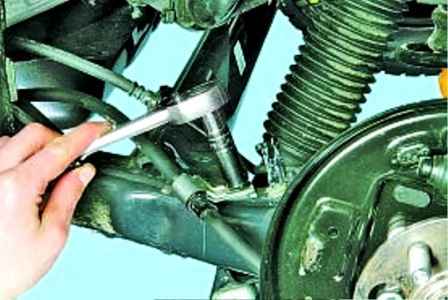
Unscrew the nut and disconnect the parking brake cable mounting bracket from the rear suspension beam
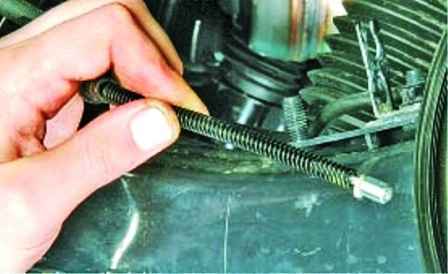
Remove the parking brake cable from the hole in the brake shield
On a car with a rear disc brake, disconnect the brake cable from the lever
On vehicles with ABS, remove the rear wheel speed sensors
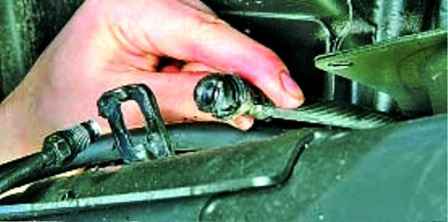
Disconnect the pipes from the ends of the brake hoses
So that the liquid does not leak out, you need to plug the openings of the pipes and hoses
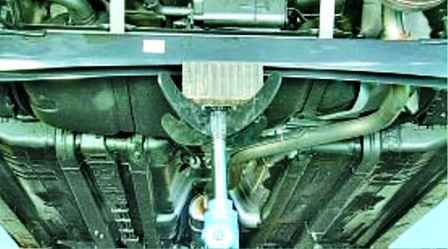
Install the support under the rear suspension beam
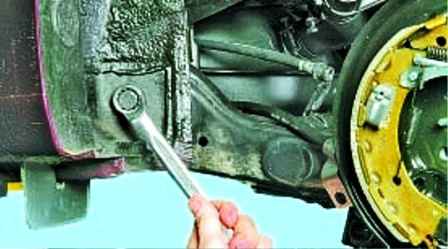
We unscrew the bolt of the rear suspension beam to the body
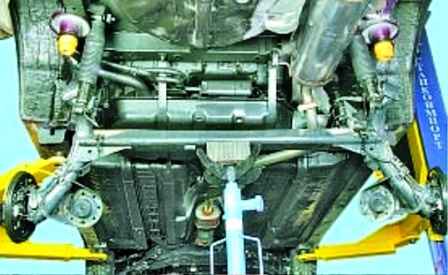
Remove the rear suspension beam from the car
Install the rear suspension beam in reverse order.
The final tightening of the beam mounting bolts must be done with the vehicle on the ground.
Tightening torques:
The bolts of the hub to the flange of the rear suspension beam - 95 Nm;
The bolts for fastening the hinges of the rear suspension beam to the body - 110 Nm;
The bolt of the lower shock absorber mounting to the bracket on the rear suspension beam - 71 Nm;
Wheel nuts - 98±10 Nm.


