The car starter is a four-pole four-brush DC motor with permanent magnet excitation, combined with a freewheel and an electromagnetic two-winding traction relay
The covers, as well as the stator housing, are tightened with two bolts.
Permanent magnets are fixed in the stator housing.
The rotation from the rotor of the electric motor is transmitted to the flywheel of the engine through the freewheel

The rotor shaft rotates in two ceramic-metal bearing bushes pressed into the covers.
A traction relay is fixed on the cover, the armature of which moves the freewheel through the lever.
The traction relay is used to engage the drive gear with the ring gear of the engine crankshaft flywheel and turn on the starter motor.
When the ignition key is turned to the “starter” position, voltage is applied to both windings of the traction relay (retractor and hold).
After closing the contacts of the traction relay, the retractable winding is turned off.
In order to avoid many starter malfunctions, follow a number of simple rules when operating it:
- when starting the engine, turn on the starter for no more than 10-15 seconds and again - after 20-30 seconds.
Continuous operation of the starter for a long time may cause overheating.
If after three attempts the engine does not start, then you should check and eliminate faults in the engine power system or in the ignition system;
- - after starting the engine, immediately turn off the starter, as long-term rotation of the clutch gear flywheel can damage the starter freewheel;
- - do not move the car using the starter, as this causes significant overload and damage to it.
Removing and installing the starter
Disconnect the negative battery terminal without fail!
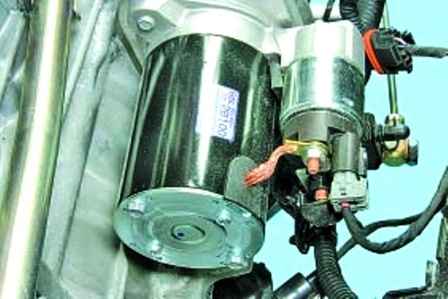
Starter mounted at the front of the engine
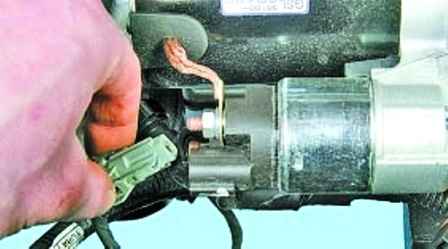
We press the latch and disconnect the control wire block from the traction relay
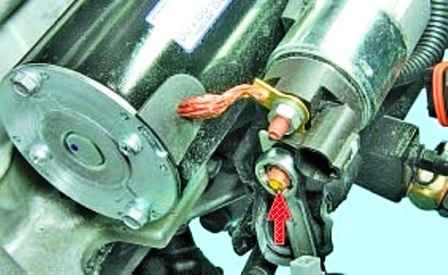
Remove the protective cap and unscrew the nut that secures the tip of the power wire
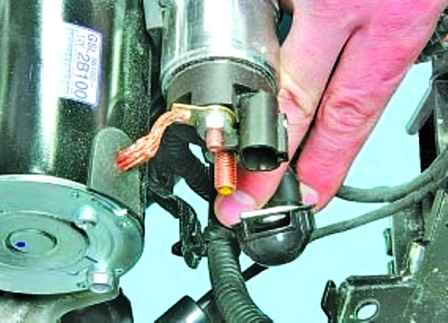
Disconnect the wire end from the contact bolt
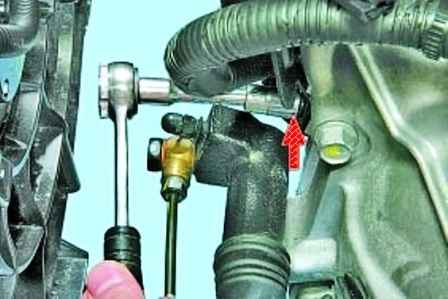
We unscrew the bolt of the wire holder and move the holder to the side
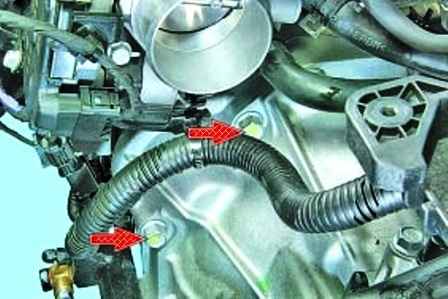
We unscrew the two bolts securing the starter from the side of the clutch housing
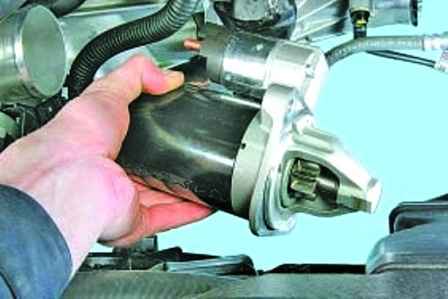
And remove the starter
Simple starter test
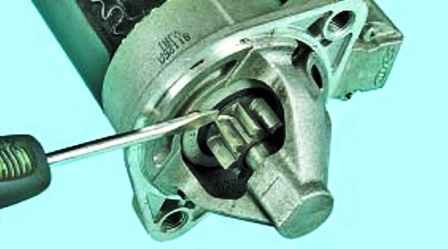
Using a screwdriver, we check the ease of movement of the drive coupling along the shaft
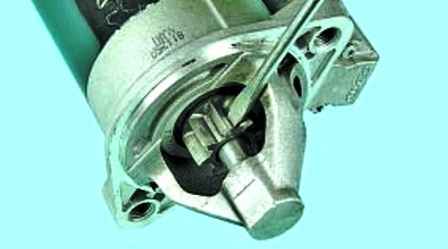
Turn the drive gear with a screwdriver.
It should rotate easily relative to the coupling hub in the direction of rotation of the armature and should not rotate in the opposite direction
We connect the negative terminal of the battery with the starter housing with wires for lighting or powerful wires
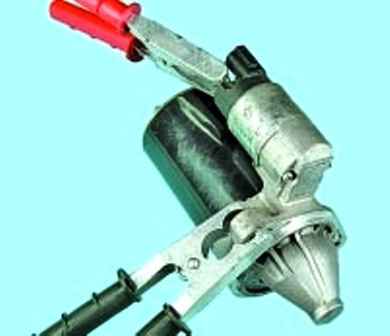
We connect the second wire with one end to the positive terminal of the battery, and with the second wire to the output of the control wire of the traction relay
If the traction relay is working properly, then a click is heard and the drive clutch extends.
Otherwise, the traction relay is faulty and needs to be replaced
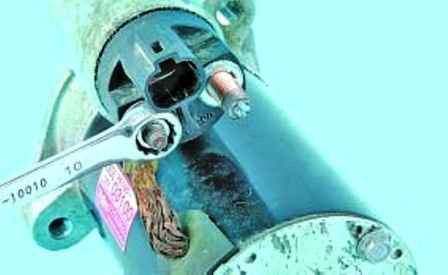
Disconnect the wire from the control output of the traction relay and connect it to the contact bolt of the traction relay.
The starter rotor should turn.
Otherwise, you need to repair the starter
Install the repaired or new starter in reverse order
Possible starter malfunctions, their causes and solutions
Cause of malfunction Remedy
When the starter is turned on, the armature does not rotate, the traction relay does not work:
Interturn short circuit in the retracting winding of the traction relay, shorting it to ground or open circuit - Replace the traction relay
Open circuit in the power circuit of the starter traction relay - Check the wires and their connections in the circuit with the control contact of the starter traction relay and the ignition switch (lock)
The contact part of the ignition switch is faulty - Replace the contact part of the ignition switch
Traction relay armature sticking - Remove relay, check ease of movement
Commutator burning, brushes stuck or worn out - Clean the collector, replace the brushes
When the starter is turned on, the armature does not rotate or rotates too slowly, the traction relay is activated:
The fastening of the wire ends connecting the power unit to the body is loose - Tighten the fastenings of the wire ends
The contact bolts of the traction relay are oxidized or the nuts for fastening the wire lugs on the contact bolts are loosened - Clean the contact bolts, tighten the nuts for fastening the wires
Commutator burning, brushes stuck or worn out - Clean the collector, replace the brushes
Open or short in armature winding - Replace armature
When the starter is turned on, the traction relay is repeatedly activated and turned off:
Battery low - Please charge the battery
Open or short circuit in the holding winding of the traction relay - Replace the traction relay
Significant voltage drop in the traction relay power circuit due to severe oxidation of the wire lugs - Check the wires and their connections in the circuit from the battery to the starter traction relay control contact
When the starter is turned on, the armature rotates, the flywheel does not rotate:
Freewheel slippage - Replace clutch
The drive gear does not engage with the flywheel ring gear (noise is heard, wear of the flywheel teeth of the engagement part has appeared) - Replace the drive or flywheel
Starter noise during armature rotation:
Excessive wear on bearings (armature shaft bushings) - Replace bearings or starter caps
Loose or broken drive side starter cover - Tighten mounting nuts or replace drive side starter cover
Clutch gear teeth or flywheel ring damaged - Replace clutch or flywheel
The gear does not disengage from the flywheel:
Clutch stuck on rotor shaft splines - Clean splines and lubricate them with engine oil
Traction relay armature sticking - Replace the traction relay or fix the jam


