Remove the fuel module for repair or replacement
The fuel module is installed on top of the fuel tank.
The module includes an electric pump, a fuel gauge sensor, a fuel pressure regulator, a coarse fuel filter, a fine fuel filter
If engine power is lost during engine operation, increased pump noise occurs, and also with reduced fuel pressure (less than 3.45 kgf / cm 2), then most likely the malfunction is related to the fuel module.
Removing and installing fuel module
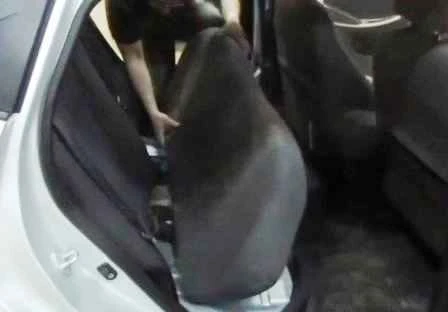
Remove the rear seat cushion
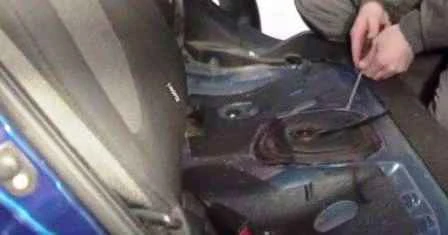
Carefully pry off the fuel tank cap (installed on the sealant)
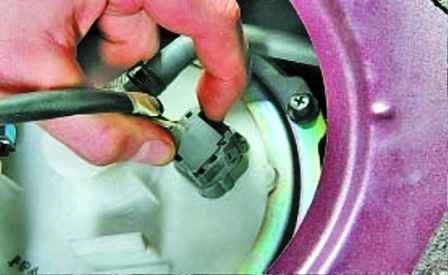
Push on the plastic clips of the wire block
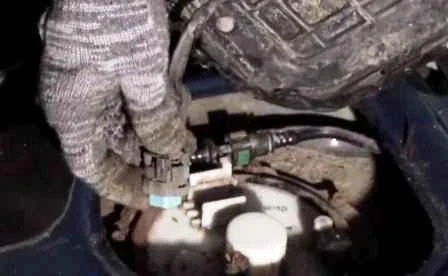
Disconnect the block from the fuel module
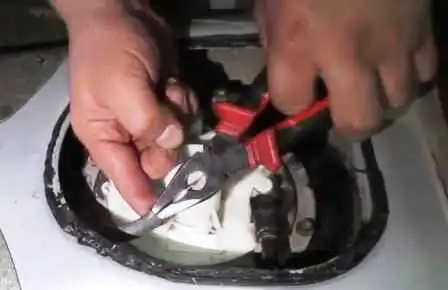
We squeeze with pliers and remove the fastening clamp along the return pipeline hose
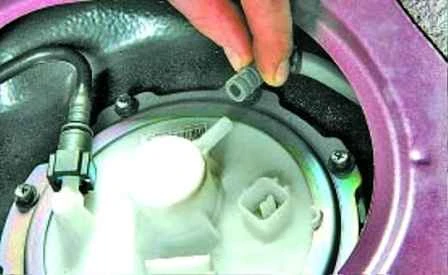
Remove the hose from the fuel module fitting
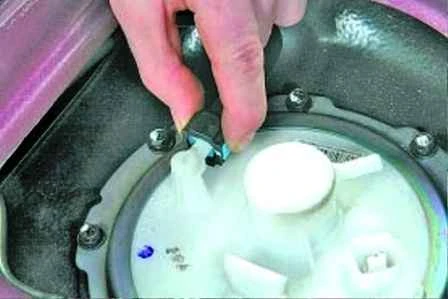
Squeeze the plastic latches of the fuel line latch
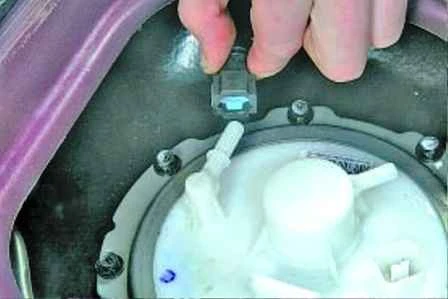
And remove the fuel line from the fuel module fitting
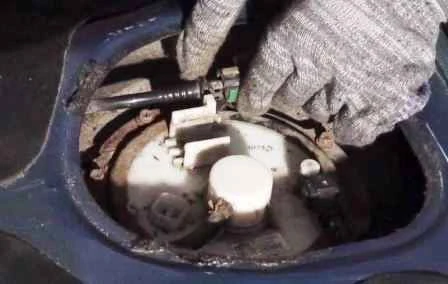
We press the latch and remove the fuel line holder from the hole in the fuel module bracket
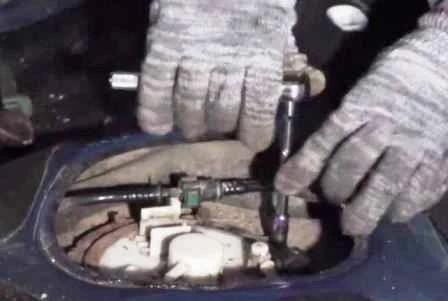
We unscrew the eight bolts of the fuel module clamping ring
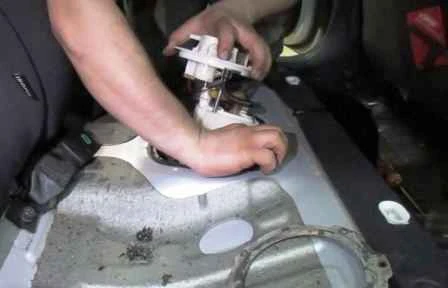
Remove the fuel module from the tank. You need to take it out carefully so as not to bend the float lever of the fuel gauge sensor.
Remove the O-ring of the fuel module
Pour the remaining fuel from the fuel module into a previously prepared container
Install the fuel module in reverse order
Repair of the fuel module
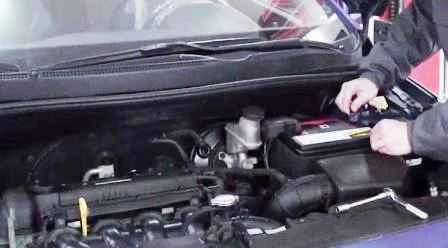
Disconnect the negative battery terminal
Remove the fuel module as described above
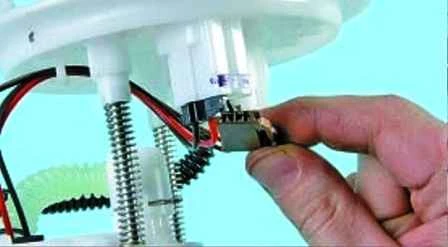
Squeeze the latch and disconnect the fuel gauge sensor wire block from the fuel module cover
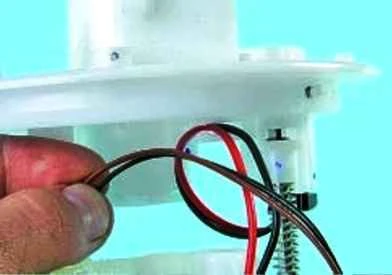
We take the wires out of the holder on the top of the fuel module
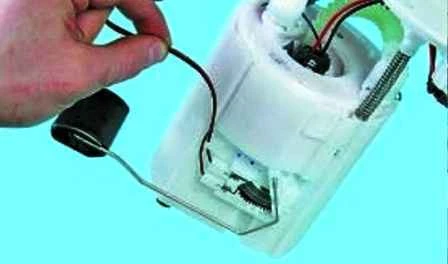
And on the fine filter from below
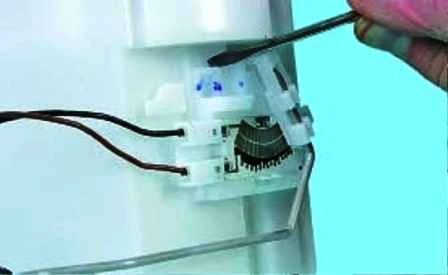
Pry off the retainer of the fuel level sensor with a screwdriver

Remove the sensor
In many cases, the malfunction of the fuel level sensor is associated with the oxidation of the contact group and the plate of its slider.
You need to wipe the contacts of the rheostat with alcohol and check the operation of the sensor.
If it is impossible to remove defects, then the sensor must be replaced.
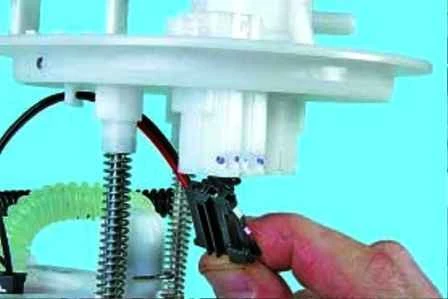
Squeeze the latch and disconnect the electrical fuel pump wiring harness from the fuel module cover
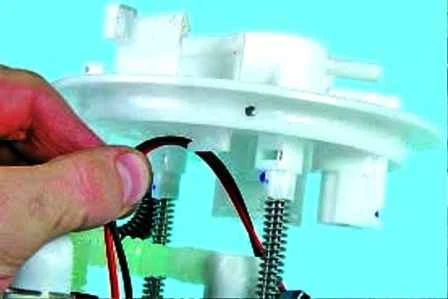
We take the wires out of the holder on the cover of the fuel module
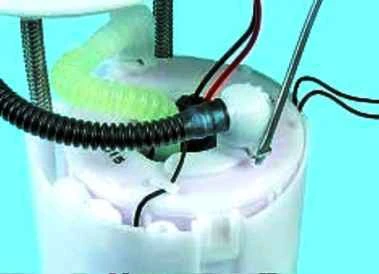
Pry off with a screwdriver and squeeze the spring clip retainer
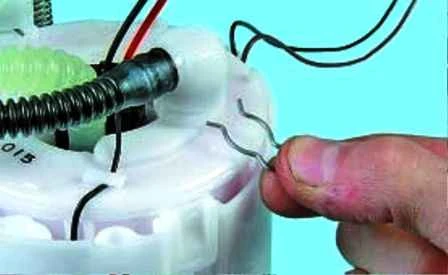
Remove the bracket
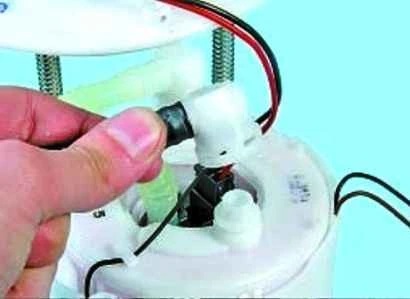
Disconnect the line tip from the fine filter
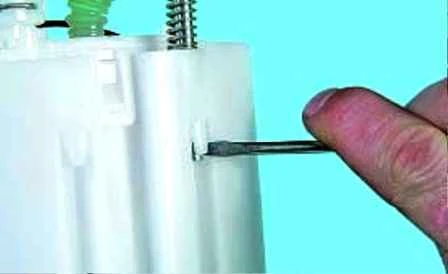
We press the rod clamps with a screwdriver
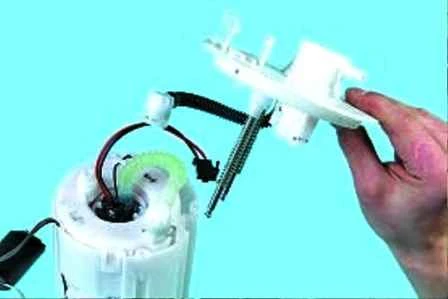
Remove the cover of the fuel module
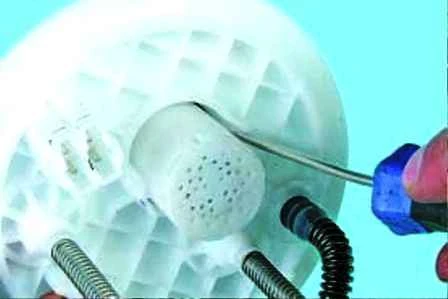
We pry off the valve of the fuel vapor recovery system with a screwdriver
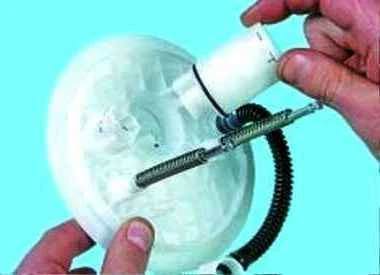
Remove the valve from the fuel module cover
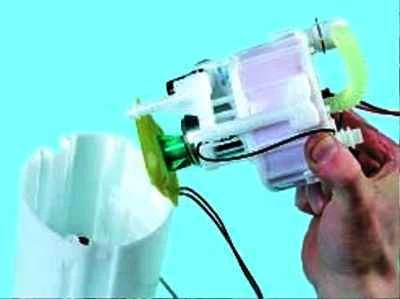
Removing from the filter fine cleaning fuel module housing
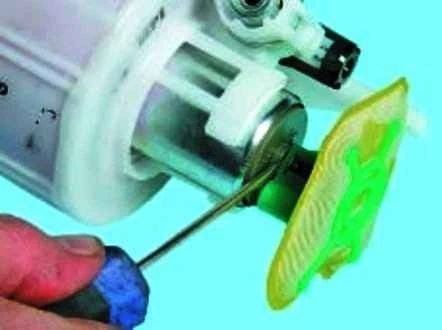
Pry off the coarse fuel filter with a screwdriver
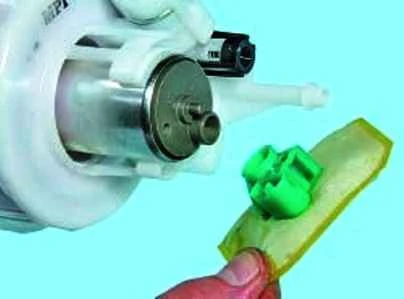
Disconnect the filter from the fitting of the electric fuel pump
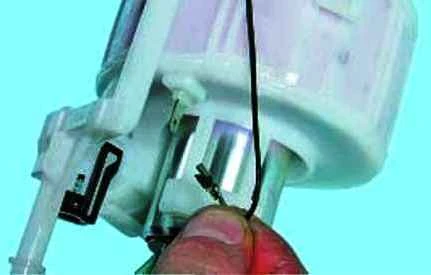
Disconnect the wire tip from the output of the fuel module housing
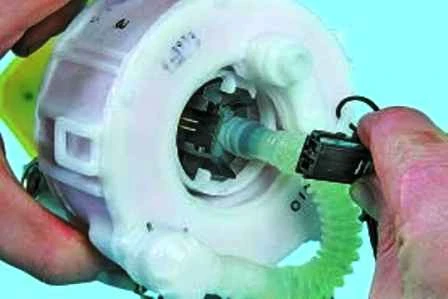
Disconnect the wiring harness from the fuel pump
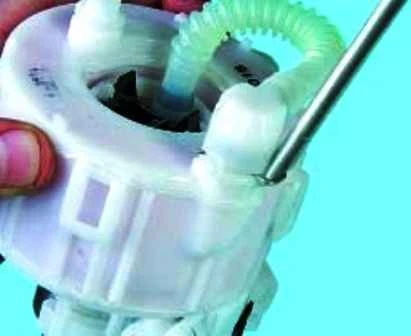
Pry off with a screwdriver and squeeze the spring clip retainer
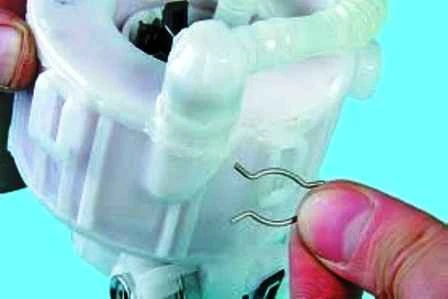
Remove the bracket
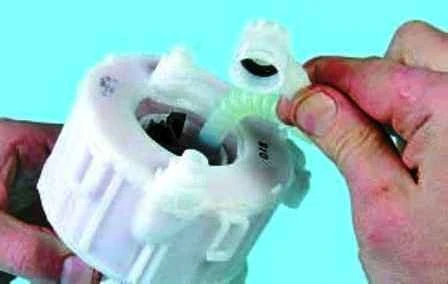
Disconnect the fuel line tip from the fitting of the fuel module housing
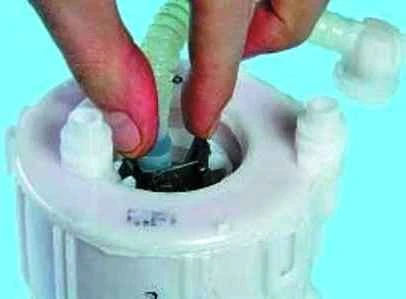
Squeeze the latches with your fingers
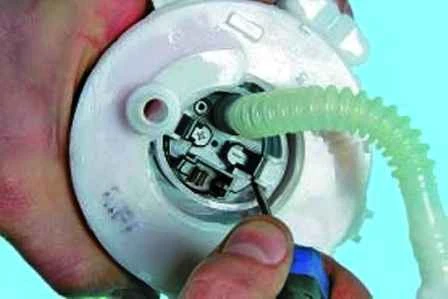
Pry off with a screwdriver
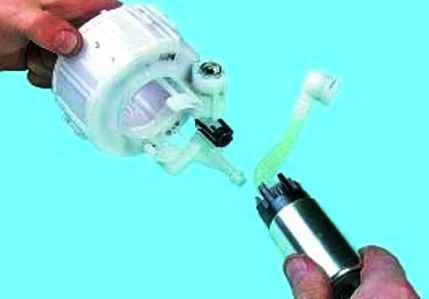
And remove the electric fuel pump from the fuel module body
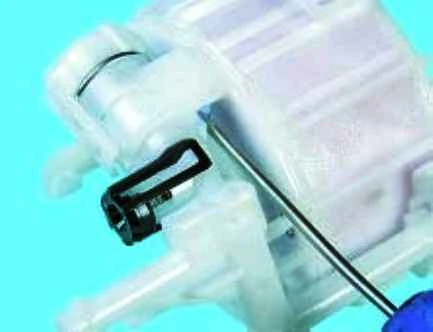
Open the lugs of the fuel pressure regulator lock
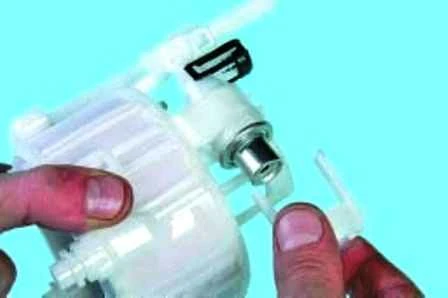
And remove the fuel pressure regulator retainer
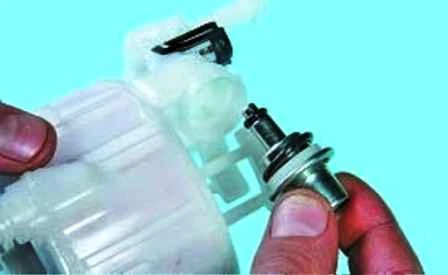
Remove the fuel pressure regulator
We assemble and install the fuel module in reverse order.
Check the tightness of the connections and close the hatch of the fuel module.


