The design of the vehicle exhaust system consists of a catalytic converter, a bellows, a downpipe combined with a catalytic converter and a main muffler
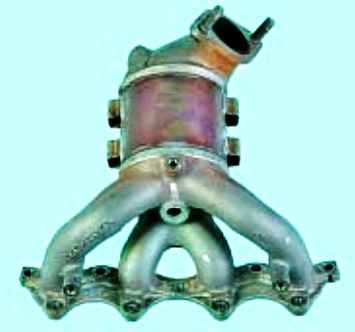
Gases are vented from the engine through a catalytic converter combined with an exhaust gas catalytic converter
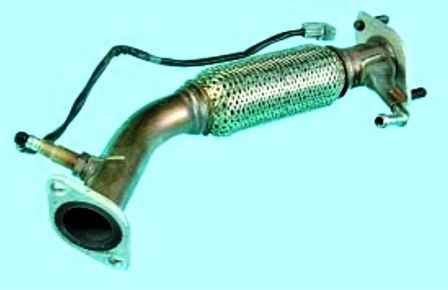
To reduce the transmission of vibrations from the power plant, a bellows is used, into which gases are supplied from the collector

Further, the gases enter the exhaust pipe, combined with an additional catalytic converter and an additional silencer
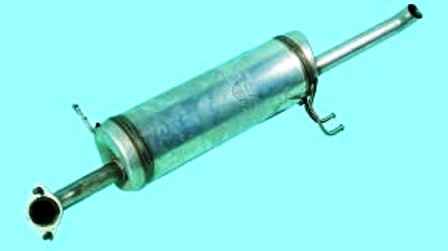
After that, the gases enter the main silencer
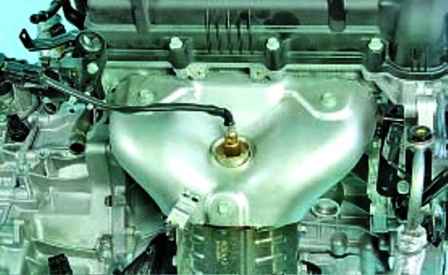
A control oxygen concentration sensor is installed at the inlet of the catalytic converter
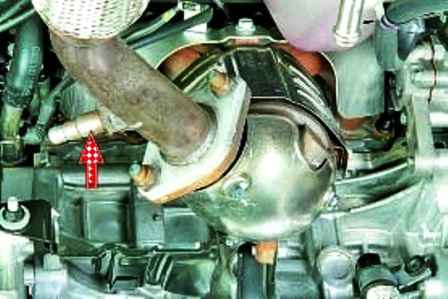
Diagnostic oxygen sensor mounted on bellows
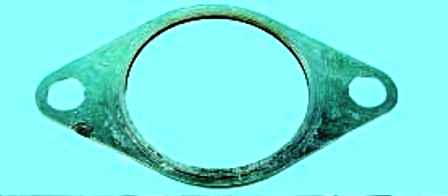
All connections of the gas exhaust system are sealed with metal-reinforced gaskets
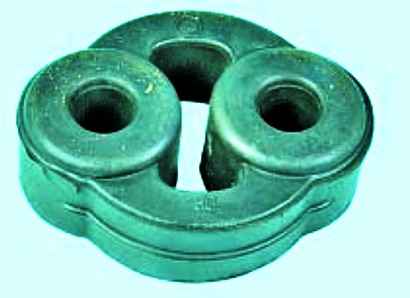
The parts of the system are suspended from the body using rubber cushions
Replacing silencer suspension pads
We install the car on a lift or a viewing ditch
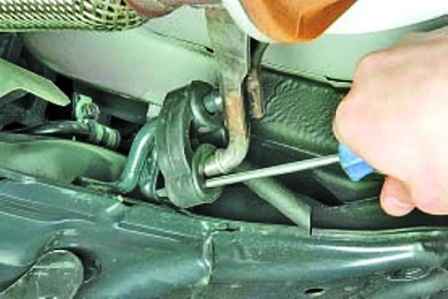
Pry off with a screwdriver and remove the pillow first from the bellows bracket
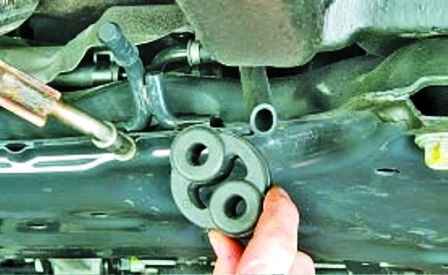
Then we remove the front cross member of the vehicle from the bracket
A damaged pillow can be cut with a knife
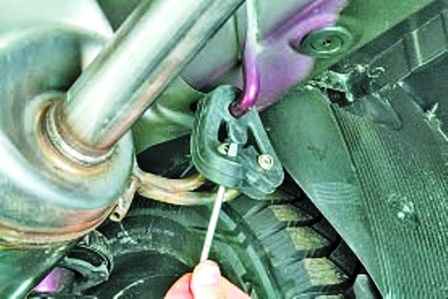
In the same way, we replace the remaining pillows of the exhaust system
Install pillows in reverse order
To facilitate installation, we lubricate the bellows and body brackets with soapy water
Removing and installing the collector
The system has an exhaust gas catalytic converter combined with a catalytic converter.
A possible reason for the failure of the collector may be the use of leaded gasoline and non-recommended types of motor oils with a high content of sulfur and phosphorus.

A metal-reinforced gasket is installed between the cylinder head and the collector
Disconnect the negative battery terminal
We clean the threaded ends of the studs and nuts with a metal brush and treat them with a penetrating lubricant like WD-40
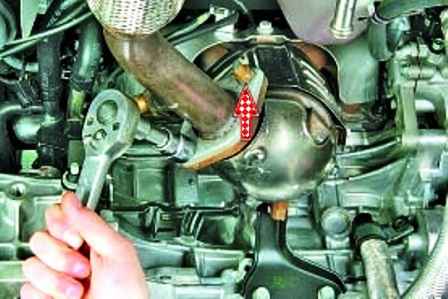
We unscrew the two nuts securing the collector to the bellows
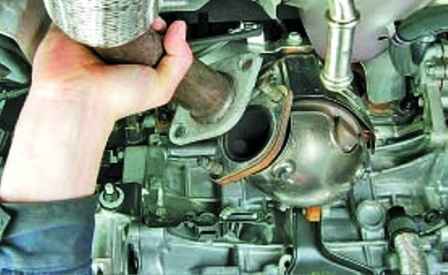
And disconnect the bellows from the collector
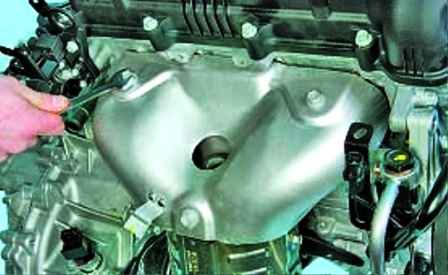
We unscrew the three bolts securing the upper thermal screen of the collector
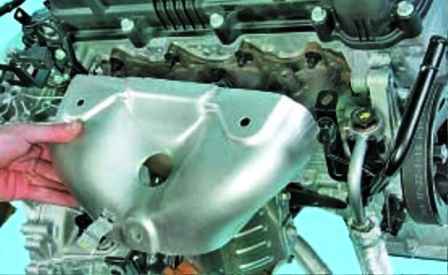
And remove the thermal screen
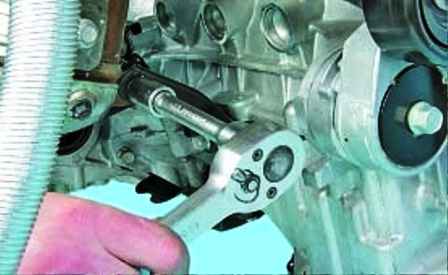
Unscrew the bolt securing the collector to the bracket on the engine
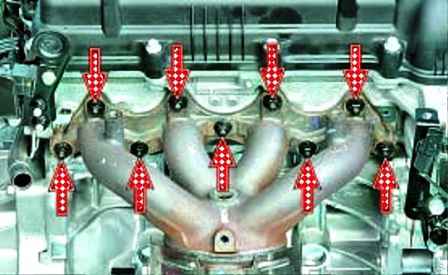
We unscrew the nine nuts securing the collector to the cylinder head
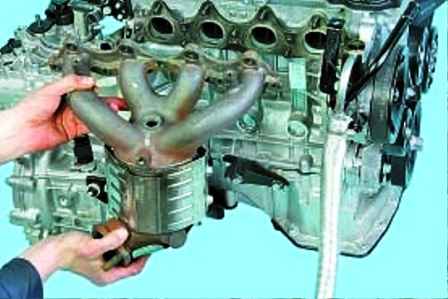
Remove the collector from the studs of the head of the block and take it out of the engine compartment up
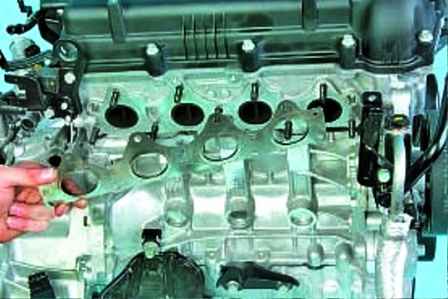
Remove the manifold gasket
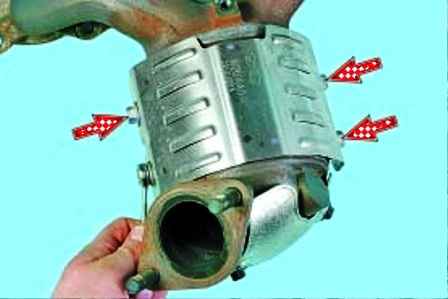
If necessary, unscrew the four bolts securing the middle thermal screen of the collector
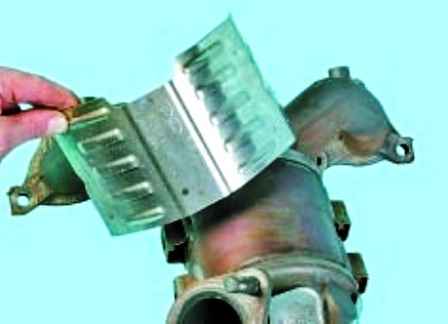
Remove the thermal screen
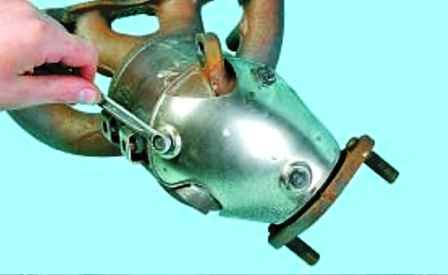
We unscrew the three bolts securing the lower thermal screen of the collector
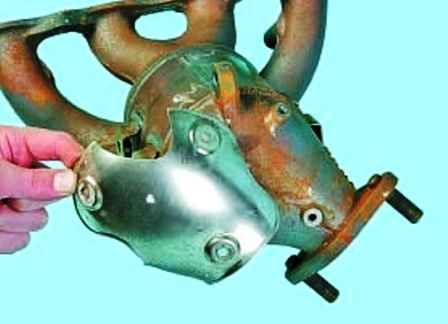
And remove the lower thermal screen
Install the collector in reverse order.
Removing and installing the bellows
Before unscrewing the nuts securing the bellows flange to the collector flange, we clean the nuts and fastening studs with a metal brush and treat them with easily penetrating grease
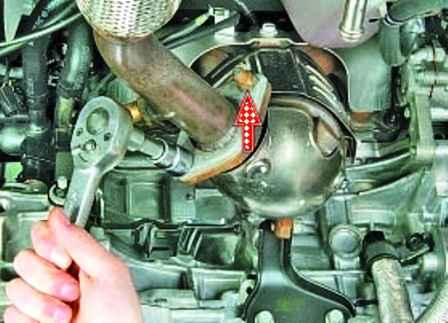
We unscrew the two nuts securing the manifold to the bellows
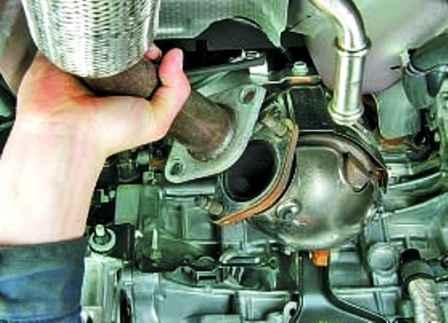
Disconnect the bellows from the collector and remove the gasket
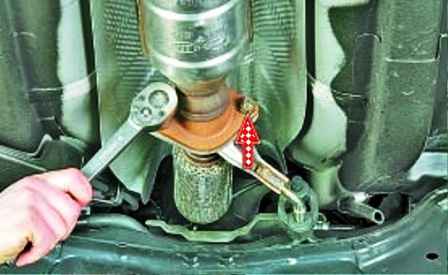
We unscrew the two nuts securing the bellows flange to the exhaust pipe flange
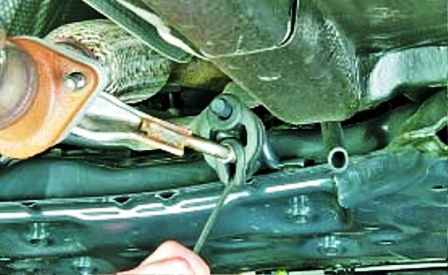
Pry off with a screwdriver and disconnect the pillow from the bellows bracket
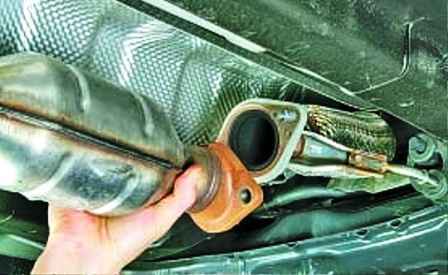
Remove the bellows from the front pipe
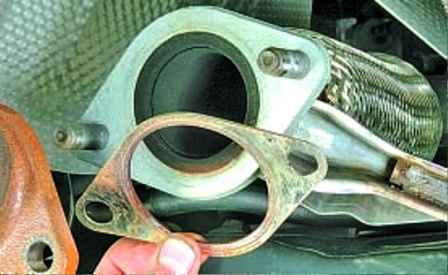
Remove the gasket from the studs
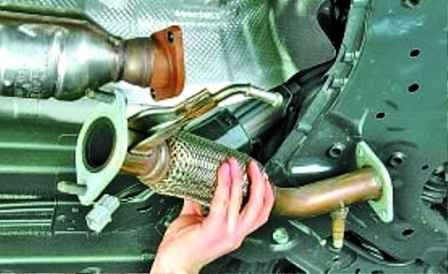
Remove the bellows from the engine compartment
Install the bellows in reverse order and replace the gaskets
Removing and installing additional catalytic converter and additional muffler
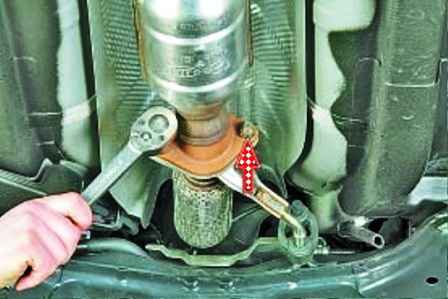
We unscrew the two nuts securing the bellows flange to the exhaust pipe flange
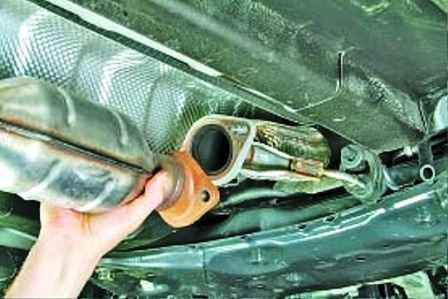
Remove the bellows from the front pipe
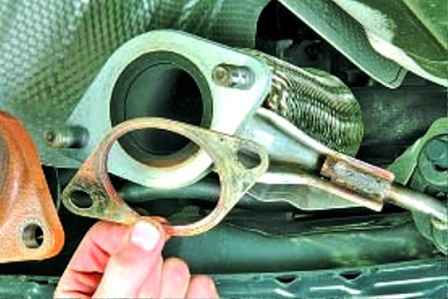
Remove the gasket from the studs
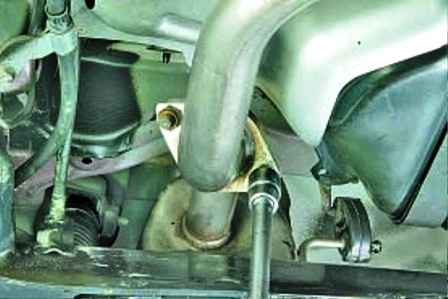
We unscrew the two nuts securing the additional converter and the additional silencer to the main silencer
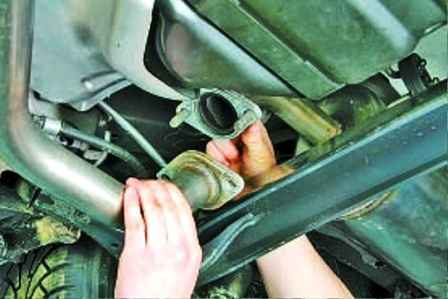
Disconnect the main muffler from the additional converter and additional muffler
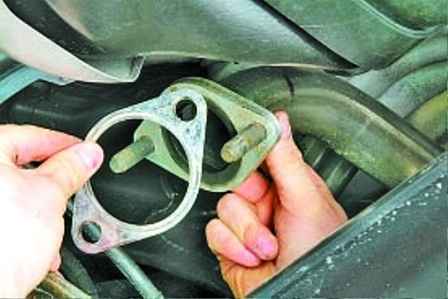
Remove the gasket from the studs
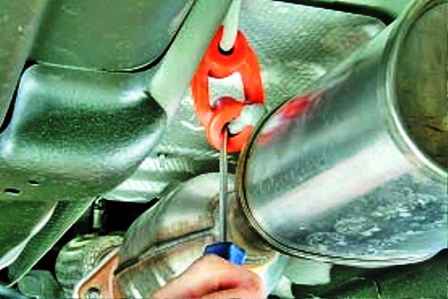
We pry off with a screwdriver and, holding the pipe, disconnect the bracket of the additional muffler from the suspension cushions
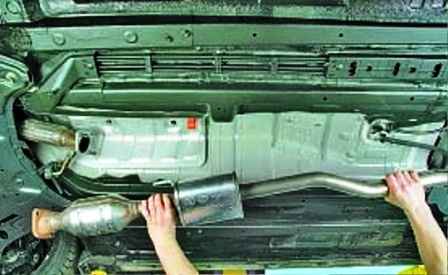
Remove the additional catalytic converter and additional muffler assembly
Setting all the details in arr order
Replacing the main muffler
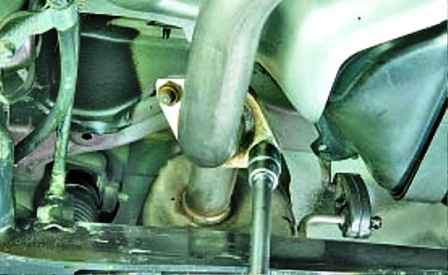
We unscrew the two nuts securing the additional converter and silencer to the main silencer
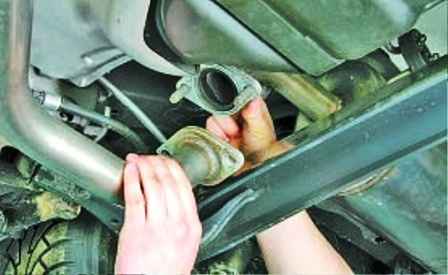
Remove the main muffler
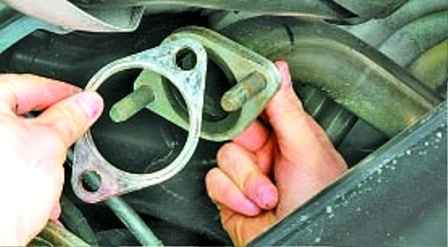
Remove the gasket from the studs
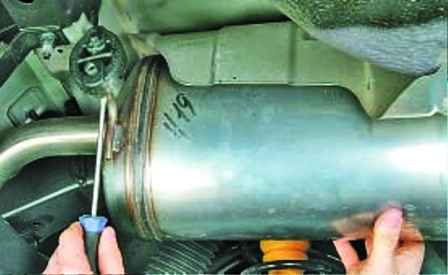
Pry off with a screwdriver
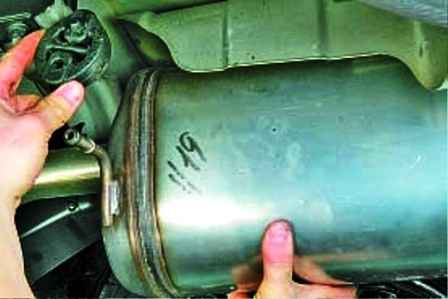
And detach the front cushion from the main muffler bracket
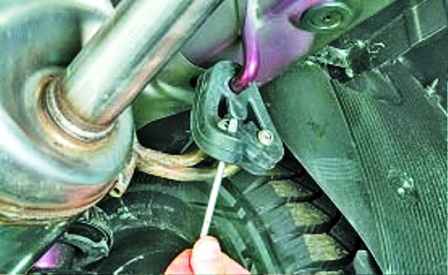
Also detach the rear cushion from the main muffler bracket
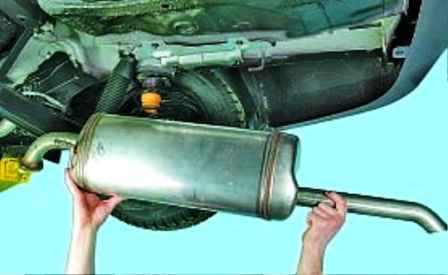
Remove the main muffler from the car
Removing and installing thermal screens
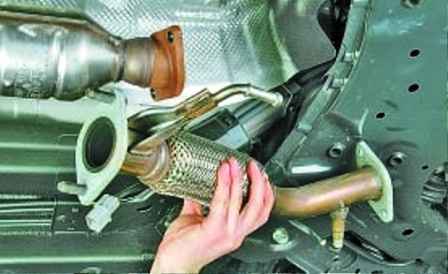
Remove the bellows as described above
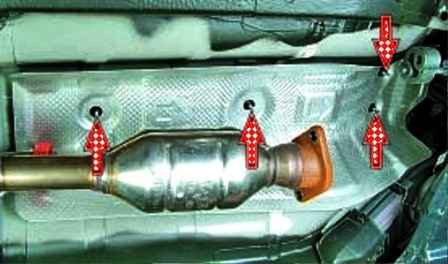
We unscrew the four nuts securing the thermal screen of the additional catalytic converter
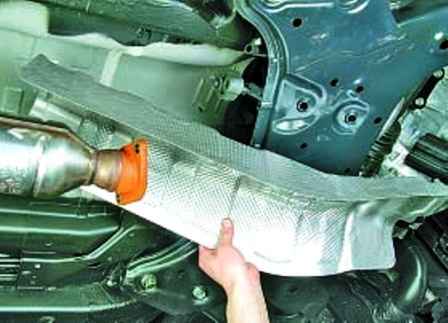
Remove the thermal screen
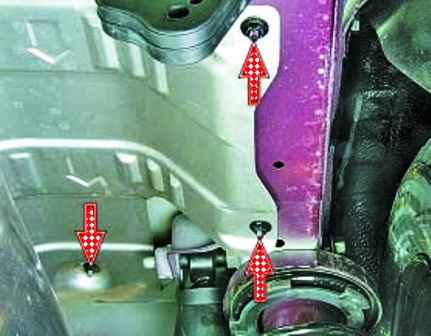
To remove the thermal screen of the main muffler, unscrew the three nuts securing the thermal screen on the right
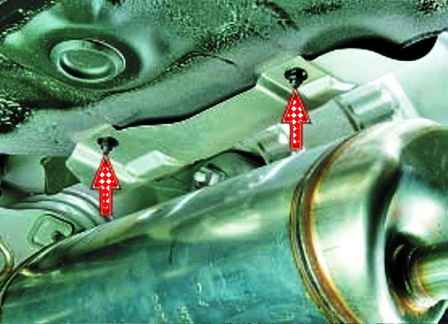
Unscrew the two nuts on the left
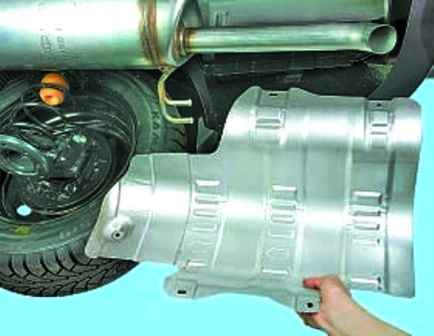
Turn the thermal screen around the muffler and remove it


