


Removing the front door trim for repair and replacement of door components, as well as when repairing the door panels or replacing the door itself.
Tools required: Torx T20, T30 keys, flat-blade screwdriver, knife.
Disconnect the battery negative terminal.
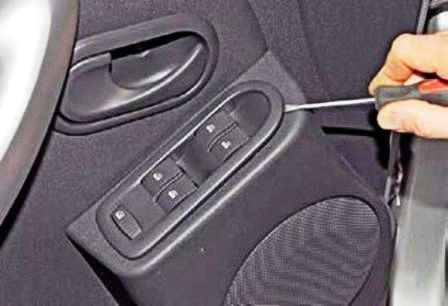
Prise up the window regulator control unit with a thin-bladed flat screwdriver.
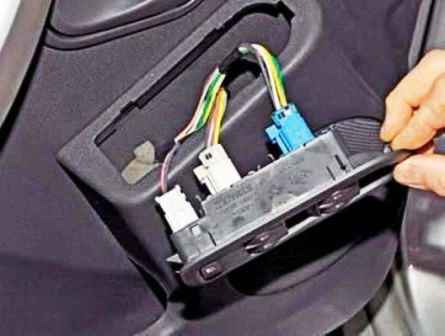
Withdraw the unit from the hole in the door trim.
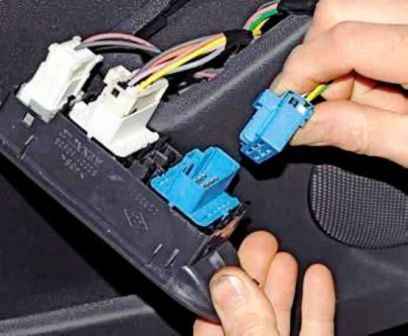
Press the clip on the wiring harness connector and disconnect it from the front door window control switch.
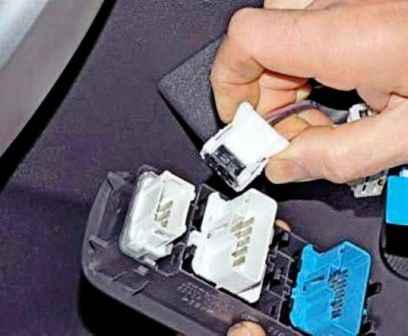
In the same way, disconnect the wiring connector from the rear door window control switch.
Compress the two clips on the wiring connector and disconnect it from the rear door window lockout switch.
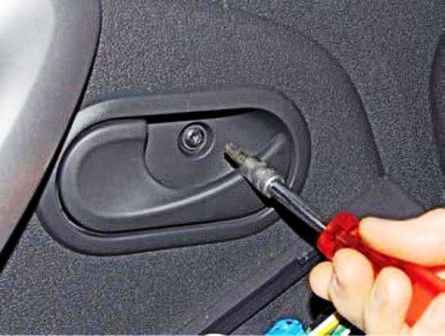
Using a Torx T30 key, undo the screw securing the door interior handle.
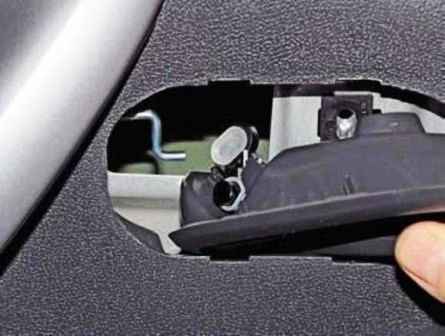
Withdraw the handle from the door trim, guiding the rod out of the hole in the handle lever.
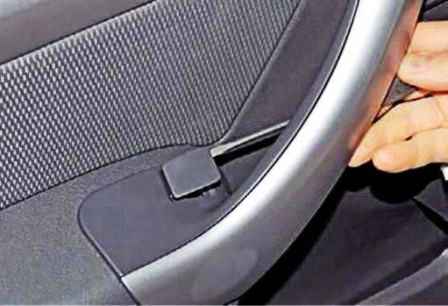
Prise up the blanking plug in the door armrest with a thin-bladed flat screwdriver.
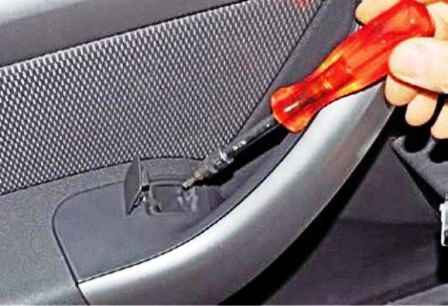
Using a Torx T20 key, undo the screw securing the armrest to the door inner panel bracket.
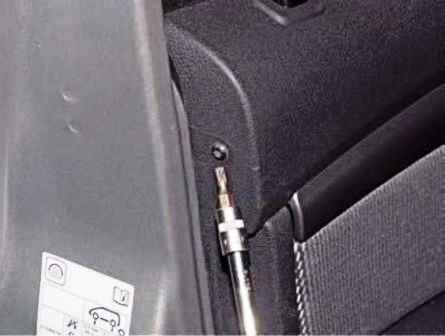
Using a Torx T20 key, undo the screw securing the trim to the door edge.
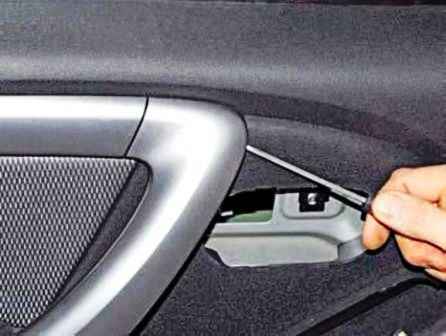
Prise up the door handle decorative trim with a thin-bladed flat screwdriver.
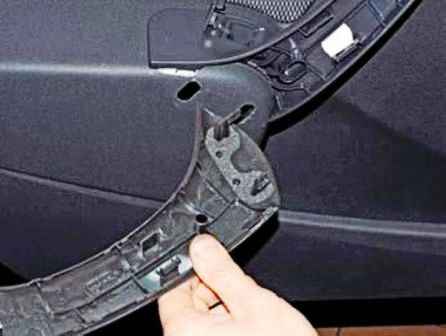
Remove the decorative trim.
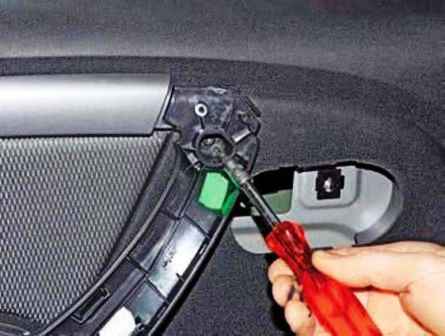
Using a Torx T30 key, undo the screw securing the door handle.
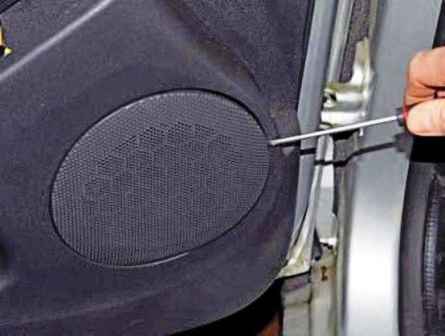
Prise up the speaker cover with a flat screwdriver.
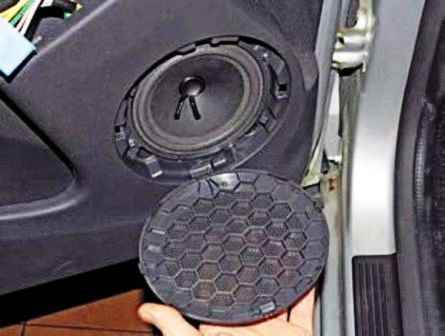
Fold the cover down.
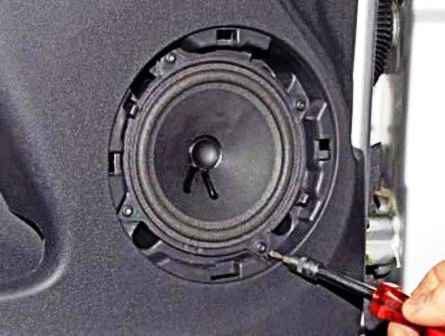
Using a Torx T20 key, undo the four screws securing the speaker to the door trim.
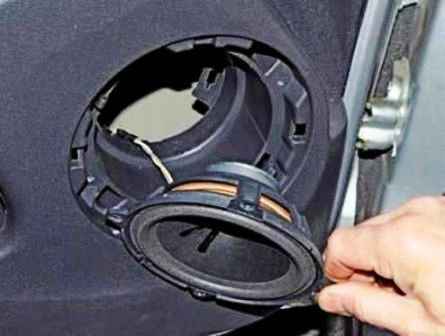
Withdraw the speaker from the recess in the door trim.
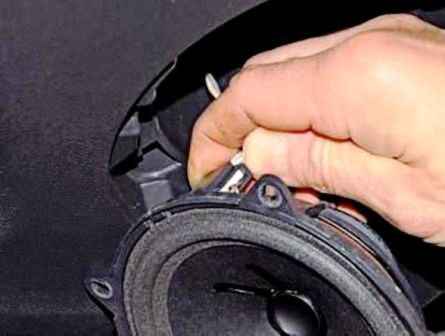
Press the wiring connector clip.
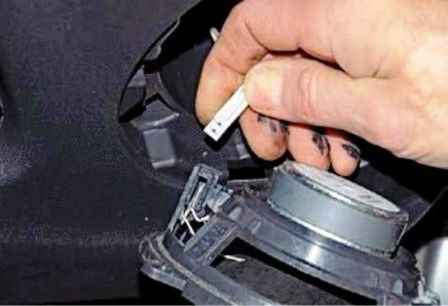
Disconnect the wiring connector from the speaker.
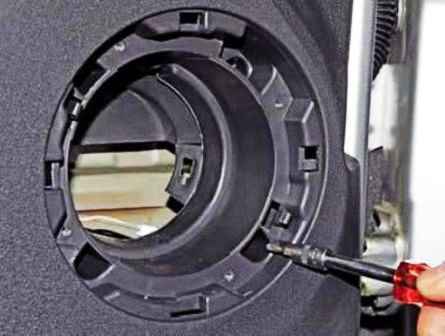
Using a Torx T20 key, undo the three screws securing the door trim.
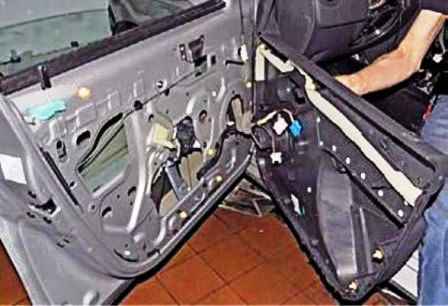
Pulling on the edge of the trim, separate it from the door inner panel, overcoming the resistance of the eleven clips and the adhesive mastic applied at the bottom and sides.
Having lifted the trim, guide the lock locking button out of the hole in the trim.
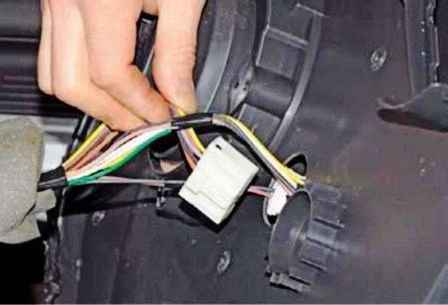
Guide the wiring connectors through the hole in the door trim and remove the trim.
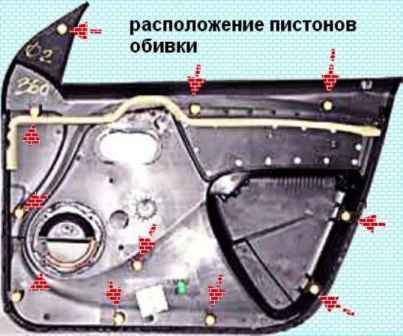
Location of the clips on the inside of the door trim.
Replace damaged clips. Refit the trim in reverse order.


