


In accordance with the maintenance schedule, the auxiliary drive belt on a vehicle equipped only with power steering is replaced every 60,000 km or every 4 years (whichever comes first), regardless of its condition; on other vehicles — every 120,000 km or every 6 years.
We carry out the work in an inspection pit or on a ramp.
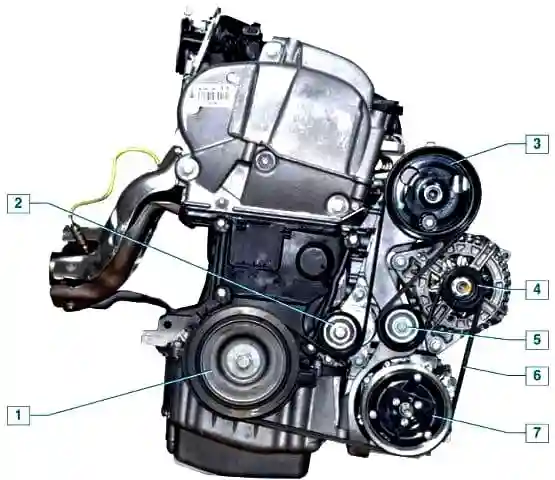
Depending on the vehicle specification, there are two variants of auxiliary drive layouts (with and without air conditioning).
Let us consider the layout with air conditioning
The belt tension is regulated by an automatic tensioner.
- We remove the right-hand mudguard of the engine compartment.
- To slacken the belt tension, from underneath the vehicle we fit a ring spanner or a 15 mm socket onto the tensioner roller retaining bolt.
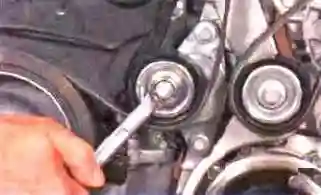
- We turn the roller bracket clockwise, overcoming the resistance of the tensioner spring.
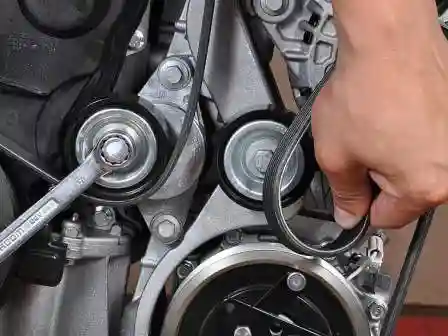
- We remove the belt from the support roller.
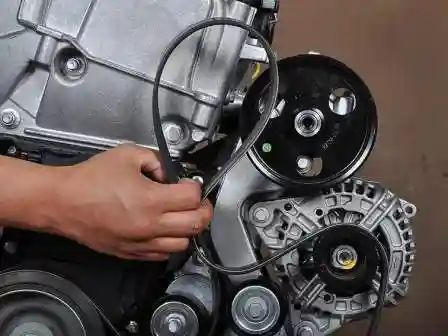
- We remove the auxiliary drive belt from the pulleys. The marking of the auxiliary drive belt with air conditioning is 6PK1822 (six-rib, 1822 mm long).
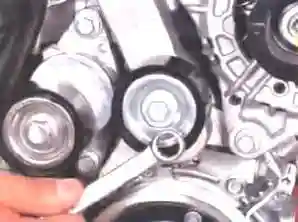
When replacing the belt, the support and tensioner rollers must also be replaced.
Replacing the support roller
- Using a 13 mm ring spanner, we unscrew the support roller retaining bolt.
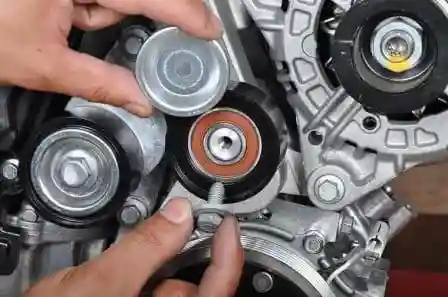
- We remove the roller cap.
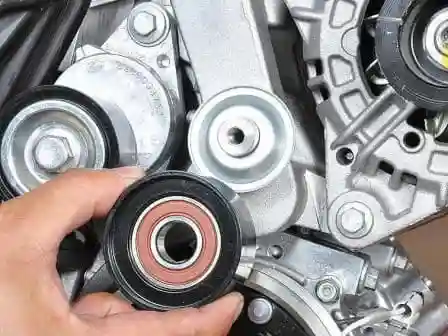
- We remove the support roller.
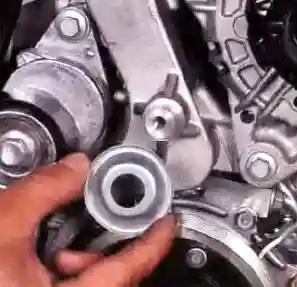
- We remove the inner cover of the roller.
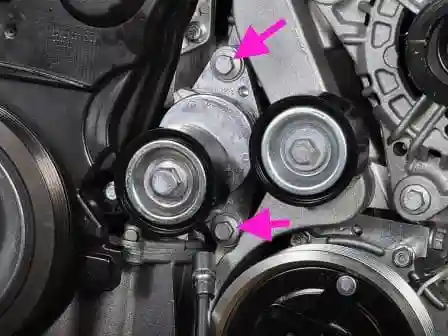
Replacing the tensioner roller and tensioner
- We remove the tensioner roller.
- If the tensioner needs to be replaced, using a 10 mm socket we unscrew its two retaining bolts.
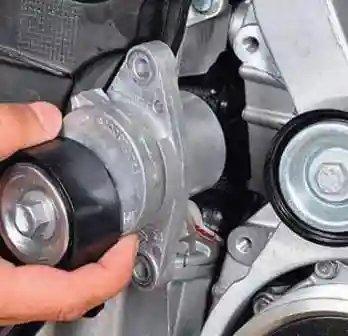
- We remove the tensioner together with the roller.
Fitting
- We fit the parts in the reverse order.
- When fitting the belt, we lay it on the pulleys and route it under the tensioner and support rollers in accordance with the layout (Fig. 10).


