The fuel intake module is installed in the vehicle's fuel tank and is secured with a clamping ring through a rubber ring
The module contains a fuel level sensor and a mesh filter.
On the module cover, there are two nipples for connecting the fuel supply and drain and a nipple for connecting the pre-heater (if installed on the vehicle).
There is also a connector for connecting the fuel level indicator sensor.
Removing the fuel intake module
You will need a T20 Torx key, a screwdriver, and pliers for this job.
Disconnect the negative battery terminal.
Clean the fuel intake cover and pipe tips.
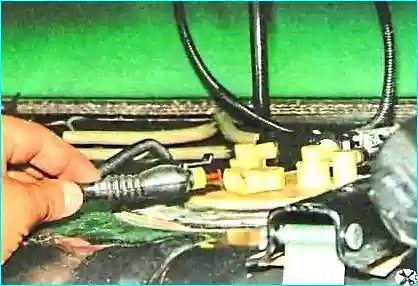
Disconnect the wiring block from the fuel level sensor connector
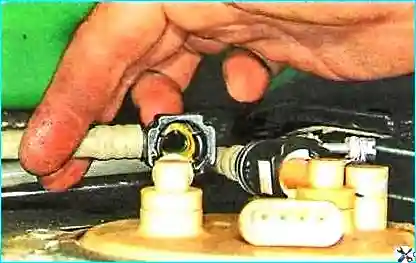
Press the retainer of the drain nipple tip and disconnect it
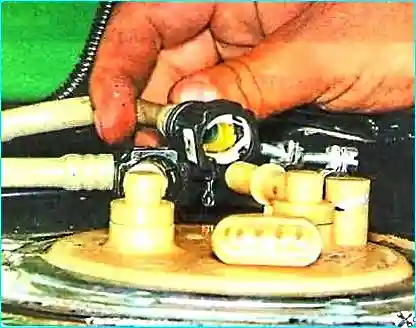
Also disconnect the fuel supply tip to the engine
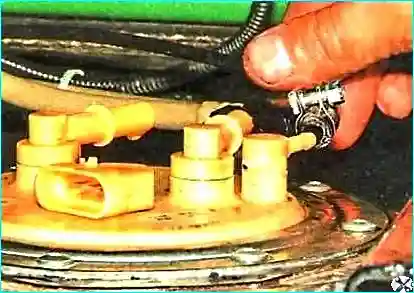
Loosen the clamp securing the fuel supply hose to the starting heater and disconnect the hose
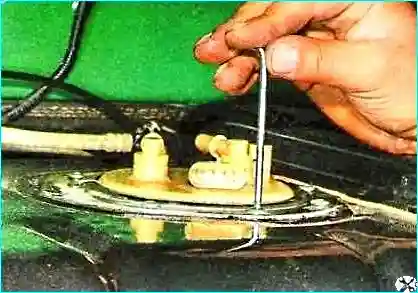
Unscrew the eight screws securing the pressure ring (to make unscrewing easier, you need to tap the screws)
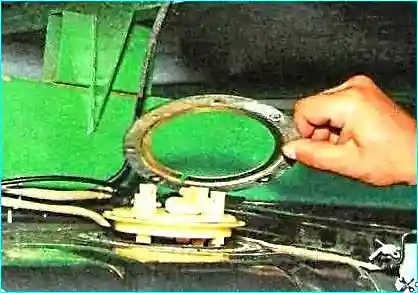
Remove the pressure ring
Take out the fuel intake carefully so as not to bend the float lever of the fuel level sensor
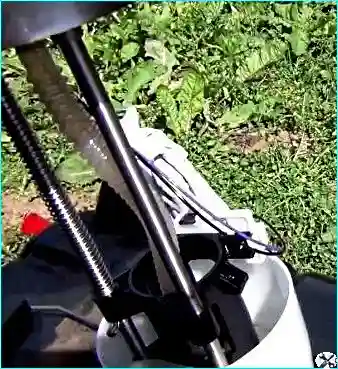
Removing the fuel intake
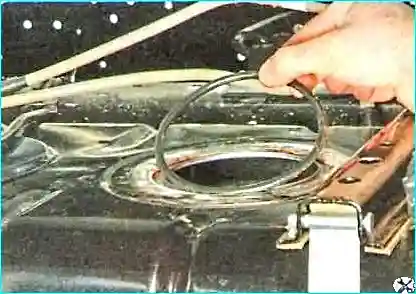
Removing the rubber gasket of the fuel intake (checking the condition of the gasket)
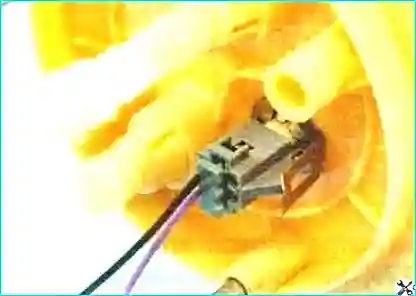
Squeezing out the spring fuel level sensor wiring block retainer
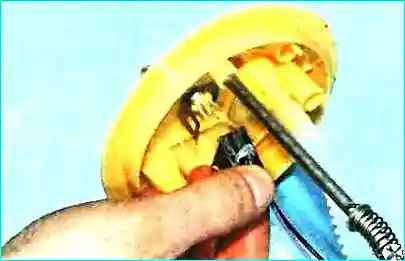
Disconnect the block from the connector
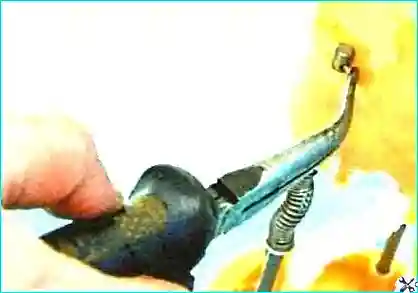
Remove the retaining cotter pin
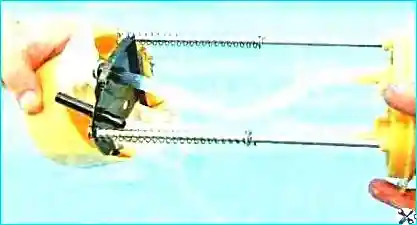
We take out the fuel receiver from the anti-drain cup of the fuel intake
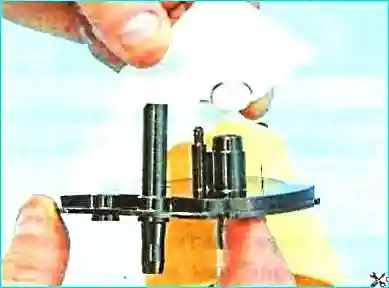
We pry the spring ring with a screwdriver and remove the coarse fuel filter
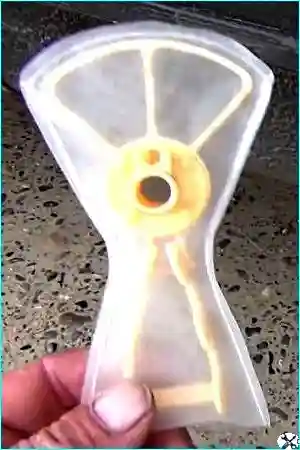
Flush or replace the filter
Assemble everything in reverse order.
When installing the fuel intake in the tank, the mounting protrusion "B" on the flange must be aligned with the slot on the clamping ring, and the clamping ring - with the previously applied mark.
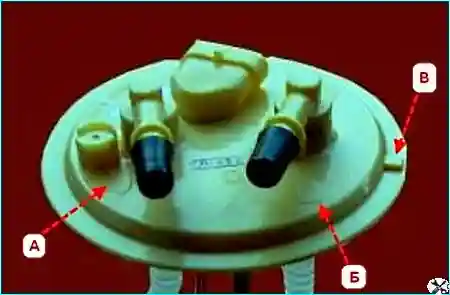
When connecting the fuel fittings, you need to be guided by the arrows "A" and "B" indicating the direction of movement fuel.
Pumping the fuel system (article – Maintenance of the fuel system)
Start the engine and check the tightness of the connections.


