To perform some work and to replace the cooling system units, it is required to dismantle the units and units of the cooling system.
Removal and installation of a radiator
We prepare the car for the job.
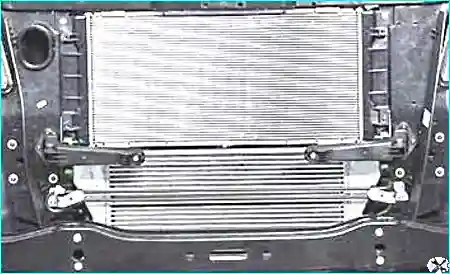
Remove the bumper
Remove the air filter housing
We drain the liquid from the cooling system (article - Replacing the coolant)
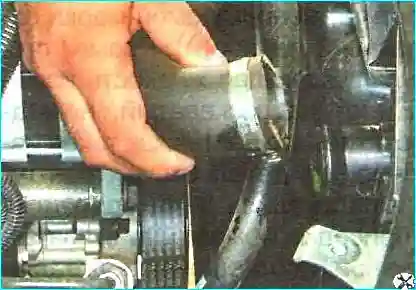
We loosen the tightening of the clamp of the radiator inlet hose and disconnect the hose from the upper radiator pipe
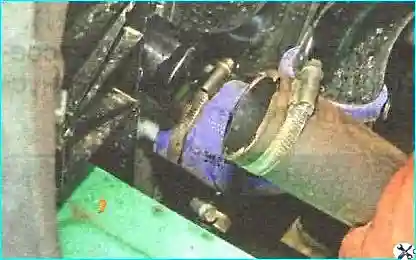
We loosen the tightening of the clamp and disconnect the hose from the lower radiator pipe
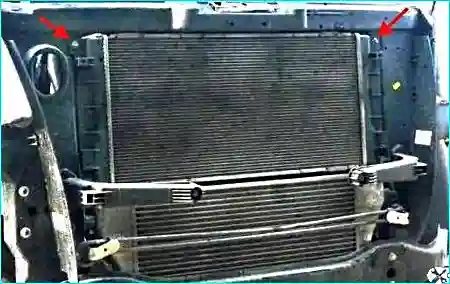
Holding the radiator, unscrew the two bolts securing the radiator to the base of the radiator frame
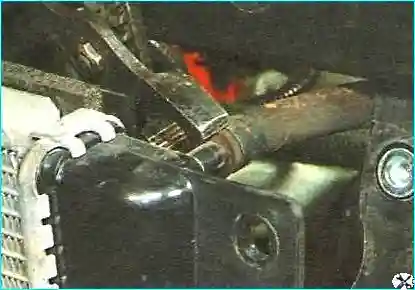
Tilt the radiator forward a little. Squeeze the ears of the steam hose clamp and slide the clamp along the hose
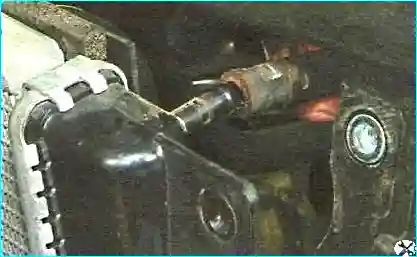
Disconnect the hose from the radiator fitting
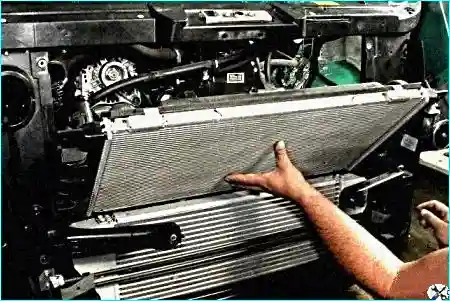
Raise the radiator up
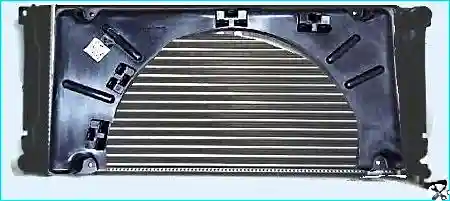
Remove the radiator assembly with the fan diffuser
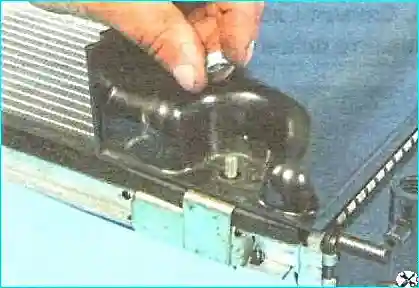
If necessary, unscrew the four fastening nuts and remove the upper part of the diffuser
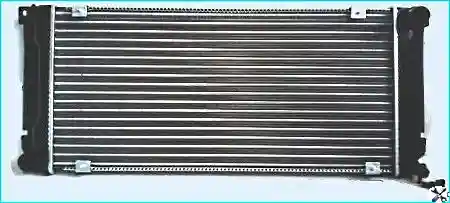
Installing the radiator in reverse order
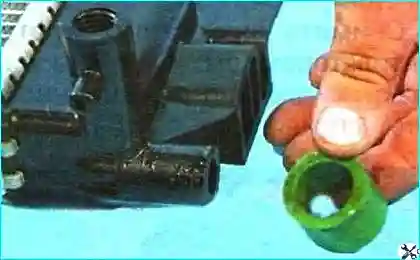
The lower radiator mounts are installed through rubber grommets.
If the bushings are severely hardened, then replace them.
Replacing the thermostat
The thermostat is installed in a housing fixed to the cylinder block. Closed at 82˚, opened at 95˚.
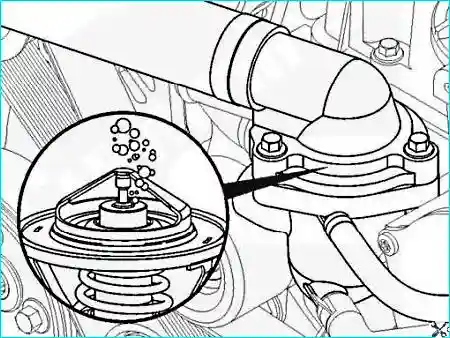
For venting air during filling of the system, the thermostat is equipped with a device that allows air to be vented through the thermostat when it is closed.
The air outlet is connected to the coolant expansion tank.
To complete the task, you will need a 12 key and a screwdriver.
We drain the coolant (article - Replacing the coolant GAZelle Next )
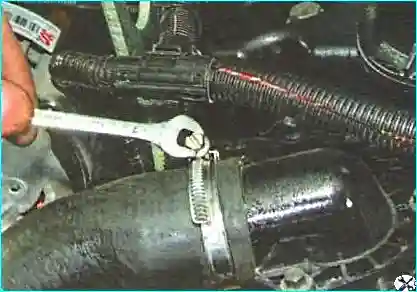
We loosen the tightening of the clamp of the radiator inlet hose and disconnect it from the thermostat cover
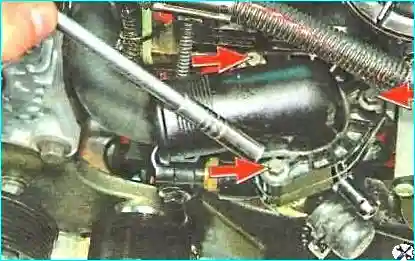
Unscrew the three bolts securing the thermostat cover to the body
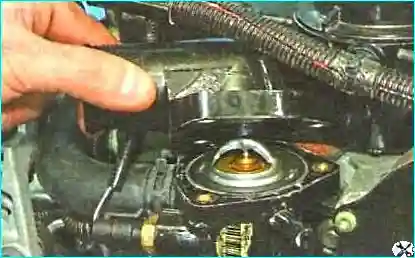
Remove the cover
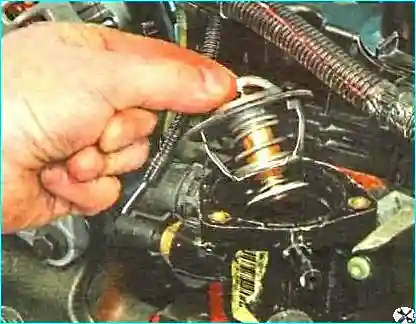
Removing the thermostat from the case
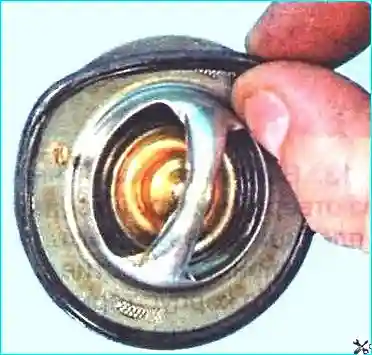
If necessary, remove the O-ring.
Install the thermostat in reverse order
Removal and installation of the thermostat housing
The thermostat housing is attached to the front of the cylinder head.
It provides means for connecting a thermostat bypass, a cab heater, a coolant supply line to an EGR cooler, and a coolant temperature sensor.
The water outlet is attached to the top of the thermostat housing, securing the thermostat in place.
Disconnect the negative terminal from the battery.
We drain the coolant from the cooling system (article - Replacing the coolant GAZelle Next )
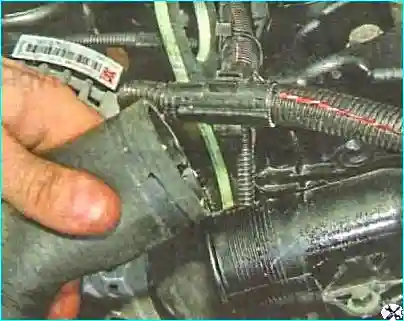
We loosen the tightening of the clamp of the radiator inlet hose and disconnect it from the thermostat cover
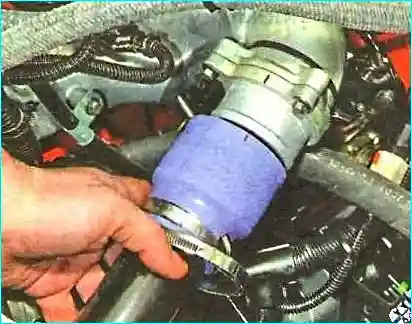
We loosen the tightening of the pipe clamp from the cooler to the inlet pipe, disconnect the pipeline and take it to the side
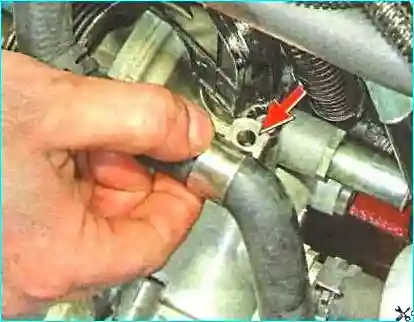
We unscrew the bolt securing the pipe of the small circle of coolant circulation to the front cover of the cylinder block.
Remove the accessory drive belt (article - Replacing the accessory drive belt Cummins ISF2.8)
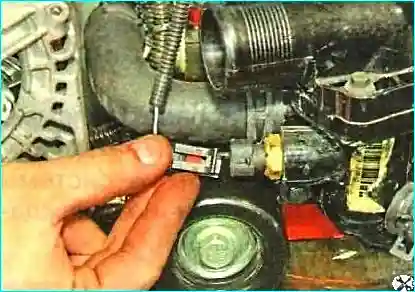
Disconnect the block of wires from the coolant temperature sensor
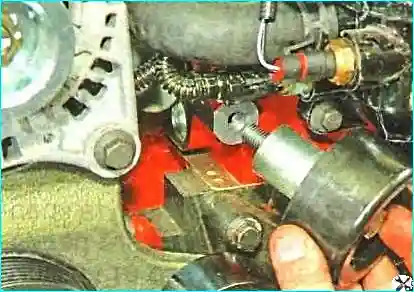
Unscrew the mounting bolt and remove the intermediate belt roller
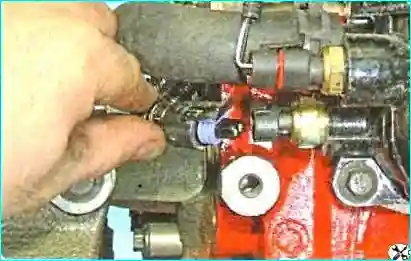
Disconnect the block of wires from the second coolant temperature sensor
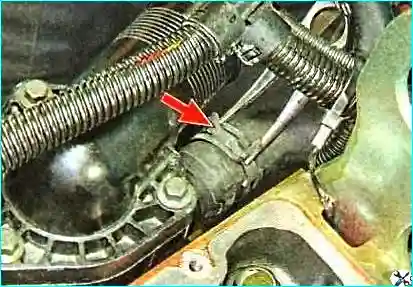
Squeeze the ears of the heater hose clamp, move the clamp along the hose
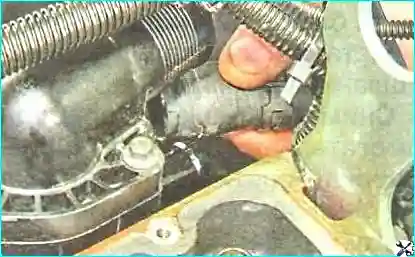
Disconnect the hose
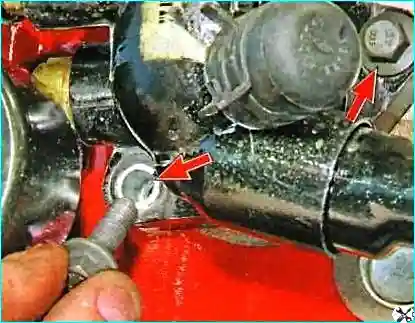
Unscrew the two bolts securing the thermostat housing to the block head
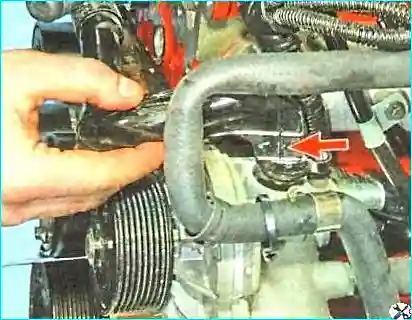
We remove the tip of the pipe from the hole in the lid
The tip is sealed with a rubber ring and inserted into the hole with an interference fit. Remove the thermostat housing.
We install a new rubber ring on the tip of the small circulation pipe and clean the walls of the hole in the lid.
We clean the mating surface of the block and the groove for the gasket on the thermostat housing.
We clean the parts with soapy water.
We check assemblies and parts for cracks or other damage.
Install the thermostat housing in reverse order.
The o-ring must be lubricated with a water-based silicone grease to avoid damage during assembly. Tightening torque for bolts 23 Nm
Removal and installation of the water pump
The engine is equipped with a belt-driven centrifugal pump, its inlet and bypass pipes are an integral part of the front camshaft gear cover.
The presence of traces or deposits of chemicals in the area of the drain hole is not a reason to replace the water pump.
If there is a constant leakage of coolant through the drain hole, we install a new or repaired pump.
We drain the coolant
We remove the radiator of the cooling system
Remove the accessory drive belt
Remove the viscous fan clutch.
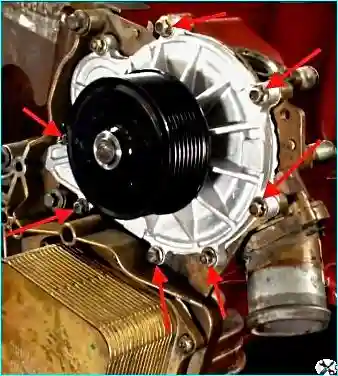
Unscrew the eight bolts securing the water pump to the front cover of the cylinder block. We remove the water pump.
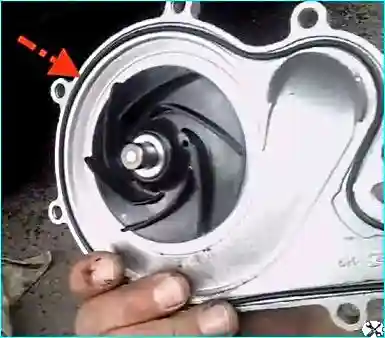
Remove the rubber gasket.
If we replace the pump, then the kit should include a gasket.
We check the impeller of the water pump for the absence of nicks and damaged plates, for the absence of backlash.
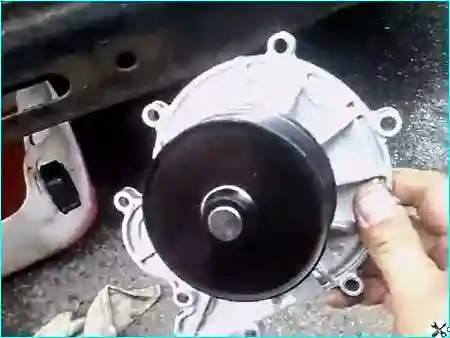
Install the water pump in reverse order. Tighten the bolts evenly to a torque of 8 Nm.
Fill in coolant.
Replacing the expansion tank
To do the job, you need pliers and a wrench for 8.
The cooling system of a Cummins engine operates under higher pressure than other engine models. Therefore, a valve with a modified characteristic is installed in the plug of the expansion tank.
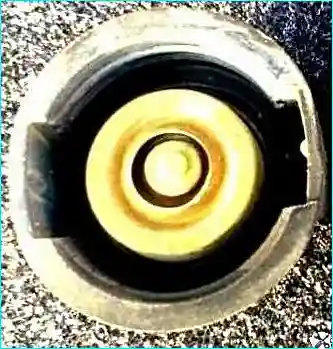
White Cummins engine reservoir cap.
We unscrew the cap of the expansion tank. We pump out the coolant from the tank.
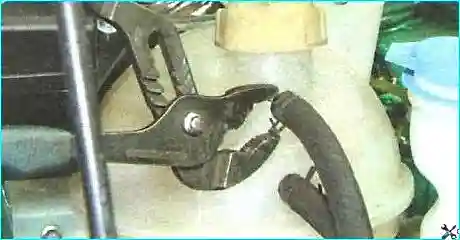
Squeeze the ears of the return hose clamp and slide the clamp along the hose
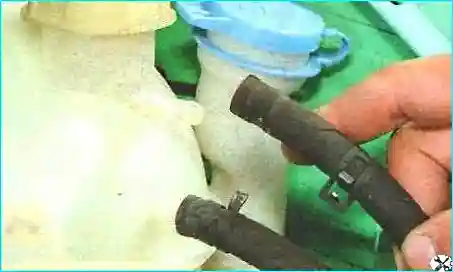
Disconnect the hose from the tank nozzle. We also disconnect the second hose.
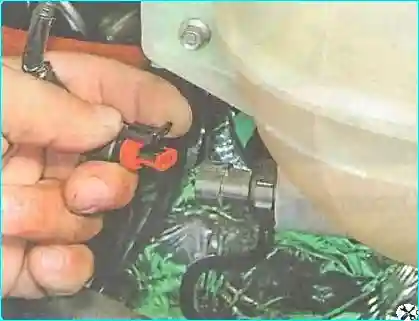
We squeeze the latch and disconnect the wiring block from the coolant level sensor
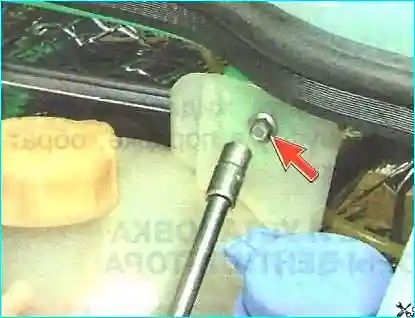
We unscrew the upper bolt of the tank fastening
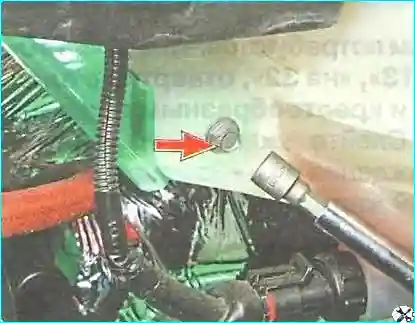
We unscrew the lower bolt of the tank fastening
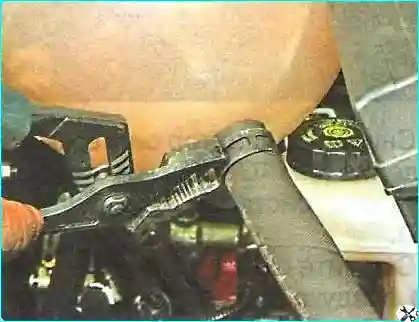
Raise the tank, squeeze the ears of the lower hose clamp and slide the clamp along the hose.
Disconnect the hose from the pipe
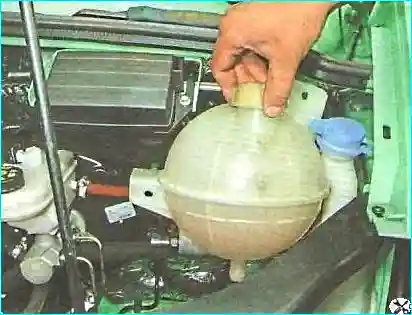
Removing the tank
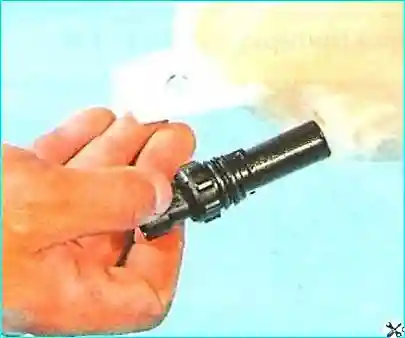
Turn counterclockwise and take out the liquid level sensor
Install the expansion tank in the reverse order.
Fill with coolant up to the upper mark on the tank.


