The viscous coupling is mounted on a support and attached to it with a threaded sleeve.
To complete the task, you will need keys for 9, 13, 32, and a screwdriver.
Drain the coolant from the cooling system (article - Replacing the coolant).
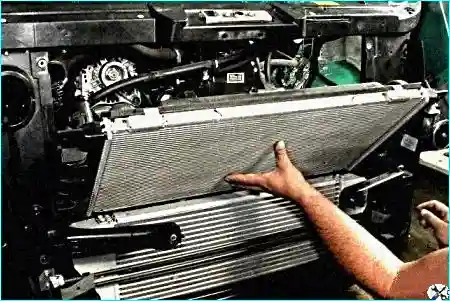
Removing the radiator of the cooling system (article – Removing and installing units of the cooling system).
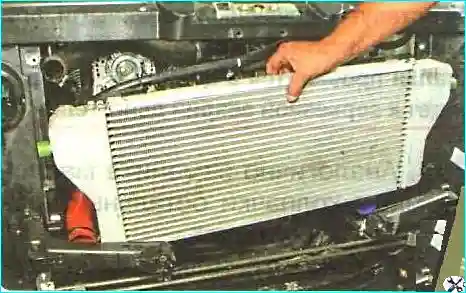
Removing the intercooler.
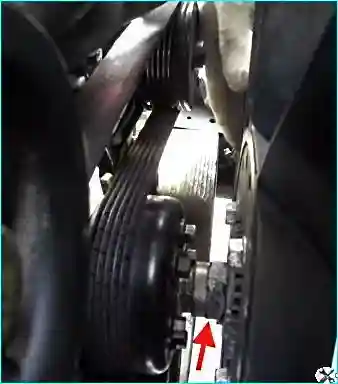
Using a 32 mm wrench, unscrew the threaded sleeve of the clutch counterclockwise and remove it together with the fan.
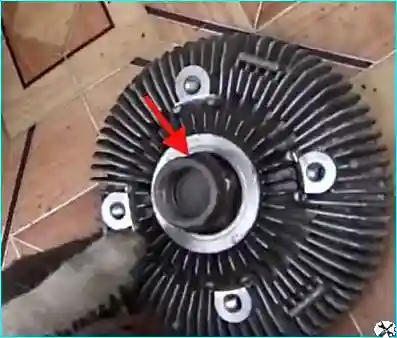
To unscrew the threaded sleeve, a hexagon for a key on its outer surface is made 32.
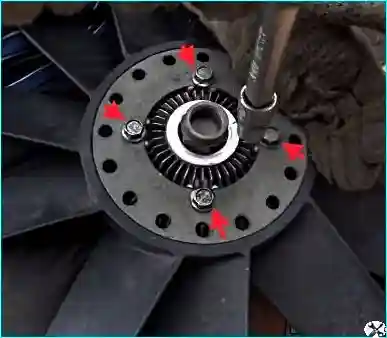
Unscrew the four screws securing the fan impeller to the clutch
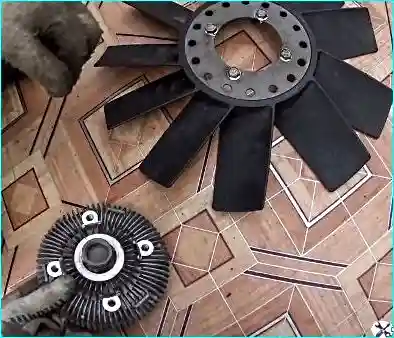
Disconnect the impeller from couplings
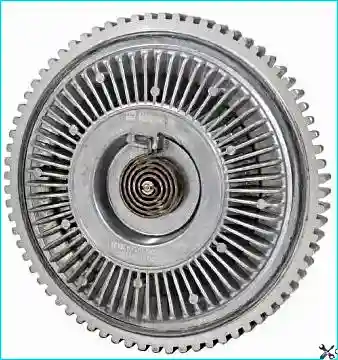
We install the viscous coupling in the reverse order.
To remove the fan support, we remove the fluid-friction clutch, the auxiliary drive belt (article - Replacing the auxiliary drive belt Cummins ISF2.8).
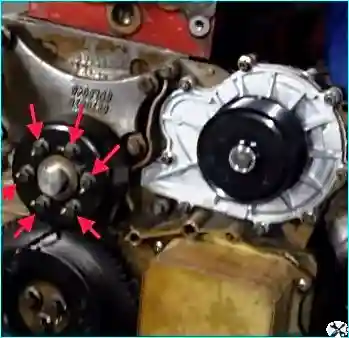
Unscrew the six bolts securing the drive pulley to the support axle hub
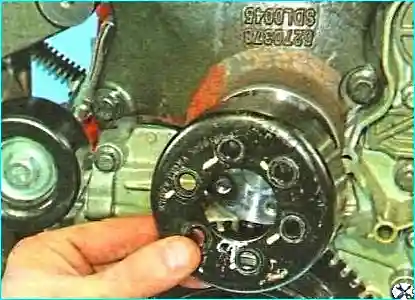
Remove the pulley from axles
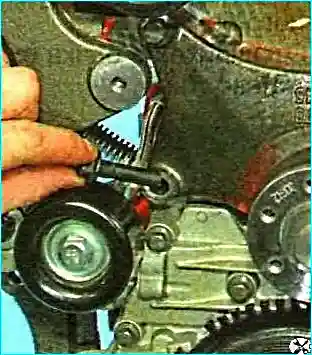
Unscrew the four bolts securing the support to the cylinder block
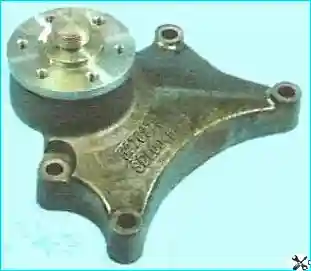
Remove the support
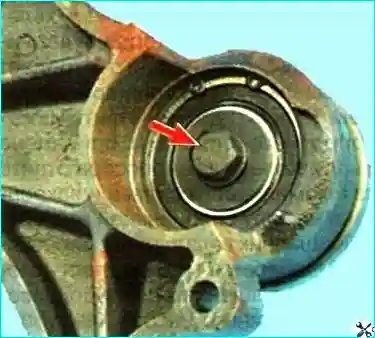
To replace the support bearing, unscrew the bolt securing the fan axis.
Press out the axis 5 of the drive from the bearing 4. Remove the retaining ring 1.
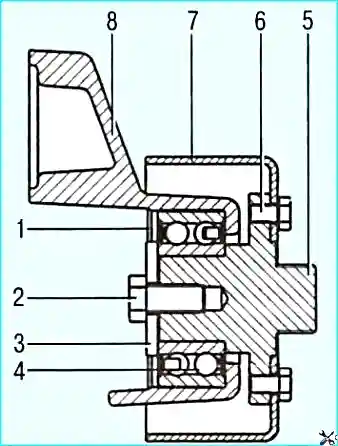
Press out the bearing from the housing 8 support.
Press the new bearing into the housing.
Install the retaining ring.
Press the drive axle into the bearing.
When pressing, install a stop under the inner ring of the bearing, otherwise you can damage the bearing.
Install all the parts in the reverse order.
Ps. Of course, you can remove the coupling without removing the bumper, radiator and everything else, but in this case there is a possibility of damaging the radiator and other parts, and of course there will be difficulties with the approaches when dismantling and installing the coupling.


