


We remove the gearbox when replacing the clutch plates, when dismantling the engine, and when repairing the gearbox itself.
We prepare the vehicle for the work.
We place the vehicle on an inspection pit or a lift.
We disconnect the negative battery terminal.
We drain the oil from the gearbox.
We set the gear lever to the neutral position.
We remove the gear lever boot from the hatch cover and lift the boot up along the lever.
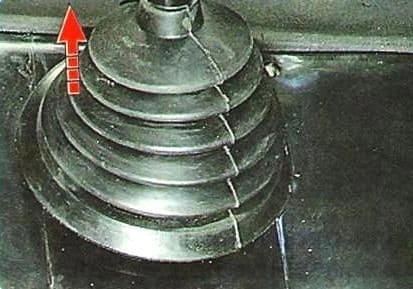
We unscrew the lever cap.
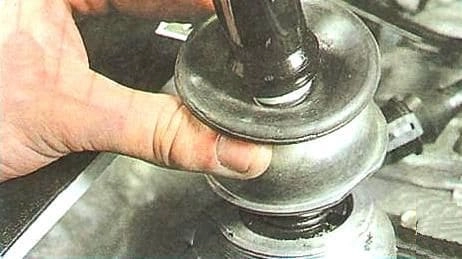
If the cap cannot be unscrewed by hand, we unscrew it with adjustable pliers.
We extract the gear lever upwards from the gearbox.
We remove the propeller shaft.
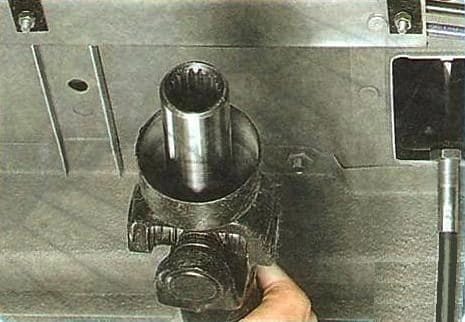
We squeeze the clip of the reverse light switch connector.
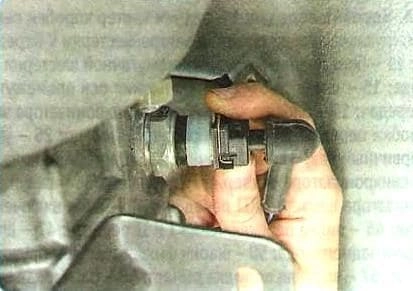
We disconnect the connector from the reverse light switch.
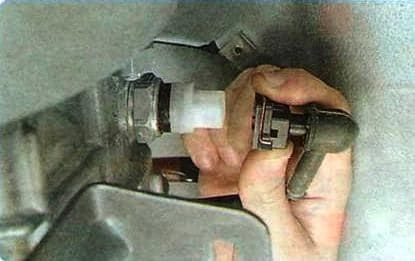
We release the clip of the speed sensor connector.
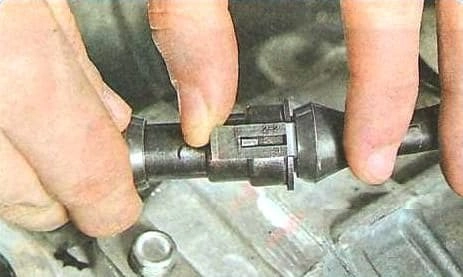
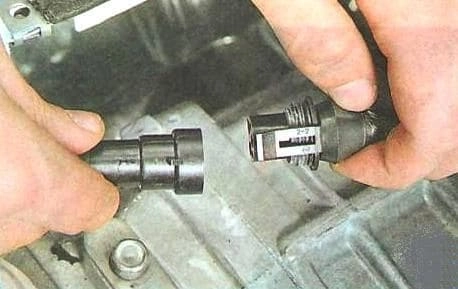
We separate the speed sensor connector.
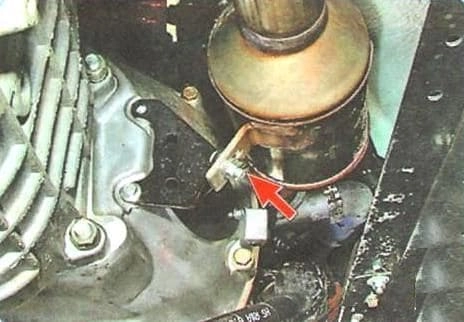
We unscrew the nut of the bolt, extract the bolt and detach the downpipe from the bracket.
We unscrew the two nuts securing the rear powertrain mount to the crossmember.
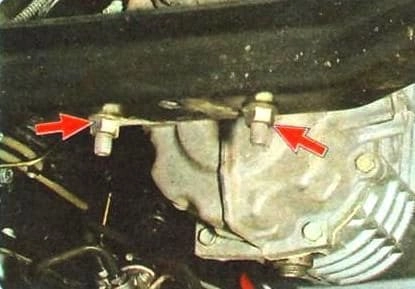
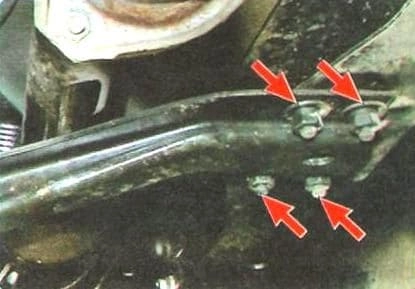
We unscrew eight nuts and remove the rear powertrain mount crossmember.
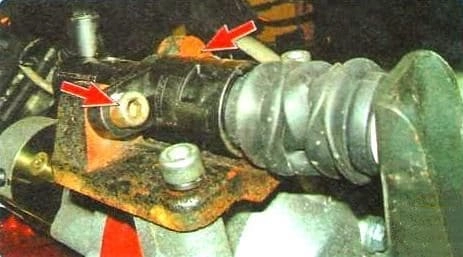
We unscrew the two bolts securing the clutch slave cylinder to the clutch housing and move the cylinder aside.
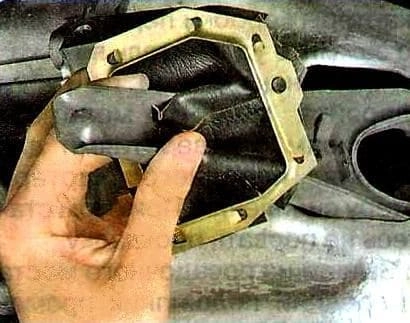
We unscrew the bolt securing the frame of the release fork boot.
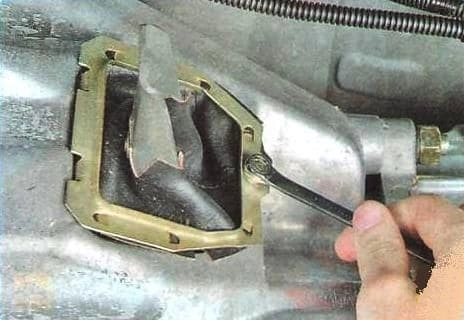
We remove the release fork together with the boot and frame.
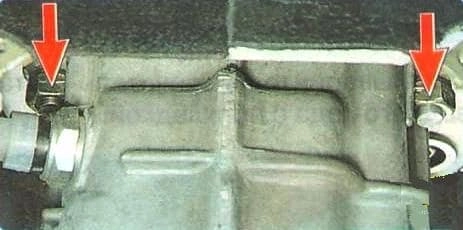
We unscrew the two lower nuts securing the gearbox to the clutch housing.
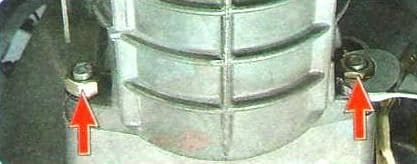
We unscrew the two upper nuts securing the gearbox.
We remove the gearbox, carefully withdrawing the input shaft so as not to damage the clutch basket fingers.
We install the gearbox in the reverse sequence.
Tightening torques:
- nuts securing the gearbox to the clutch housing — 50–62 N·m;
- bolts securing the clutch slave cylinder to the clutch housing — 14–20 N·m;
- nuts of the bolts securing the propeller shaft intermediate bearing to the frame crossmember — 12–18 N·m.