The pressure regulator is attached to the frame.
It adjusts the brake fluid pressure in the rear brake circuit, depending on the vehicle load, which increases directional stability during braking.
By monitoring the rear axle load through the load spring, it limits the fluid pressure in the rear brake circuit.
If the regulator fails, it is replaced.
After replacing the regulator or rear suspension components, it is necessary to readjust the position of the load spring relative to the rear axle.
Drain the brake fluid from the rear circuit.
Disconnect the load spring from the rear axle.
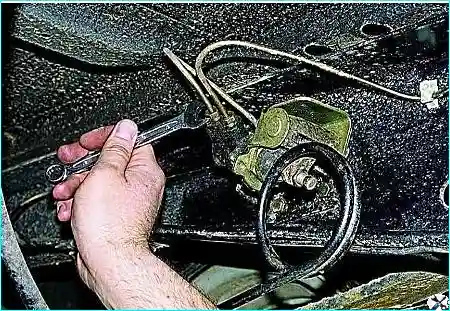
Using a 12 mm wrench, unscrew the two brake pipe fittings.
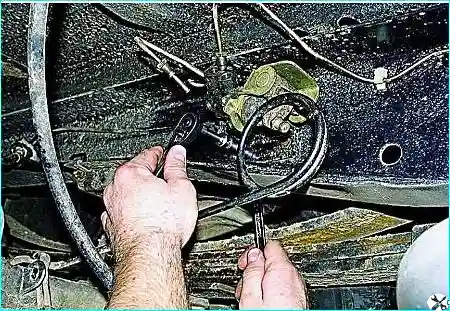
Holding the bolts from turning with a 12 mm head, use a 13 mm wrench to unscrew the two nuts on the regulator mounting bolts.
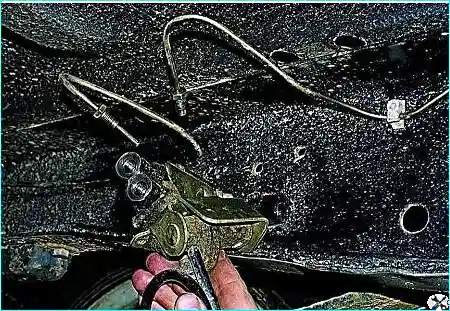
We take out the bolts and remove the regulator from the car together with the bracket
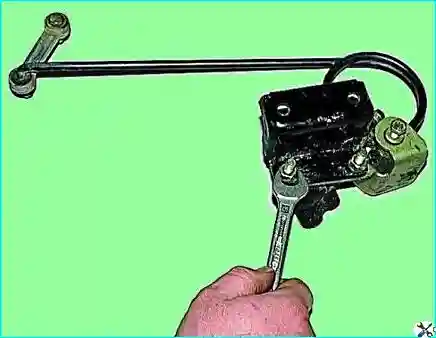
With a 13 key, unscrew the two nuts
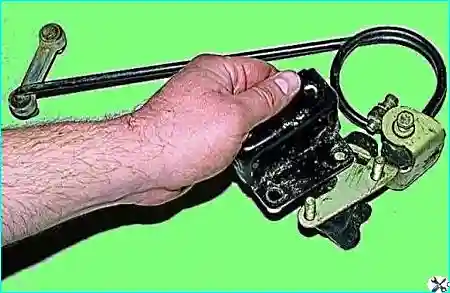
Removing the bracket from the regulator
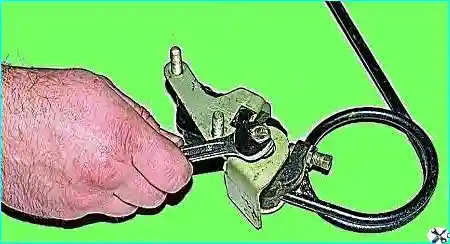
Using a 12 mm wrench, unscrew the retaining bolt
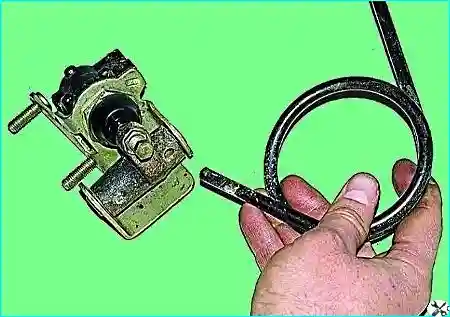
Removing the load spring
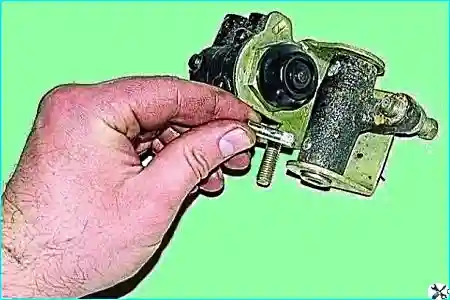
Removing the pin
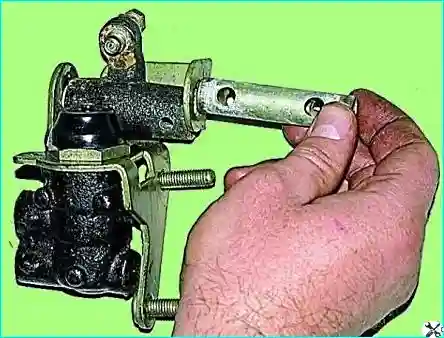
Remove the lever axis.
Remove the lever
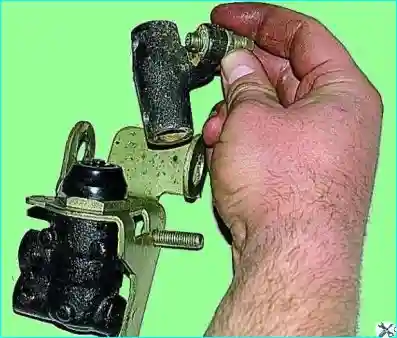
After moving the parts to the new regulator, install it in the reverse order.
Bleed the brake system and adjust the regulator.
Adjusting the brake pressure regulator
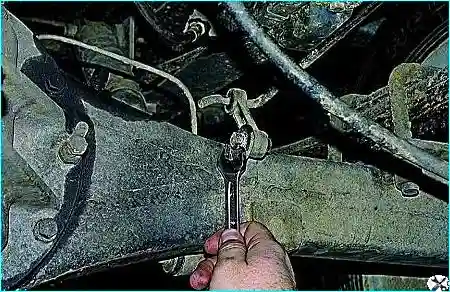
Using a 13 mm wrench, unscrew the strut nut and disconnect the load spring from the rear axle.
Lower the load spring down.
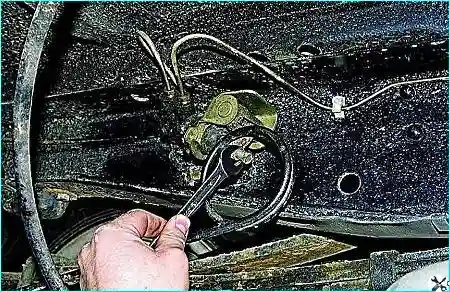
Using a 14 mm wrench, unscrew the adjusting lock nut bolt
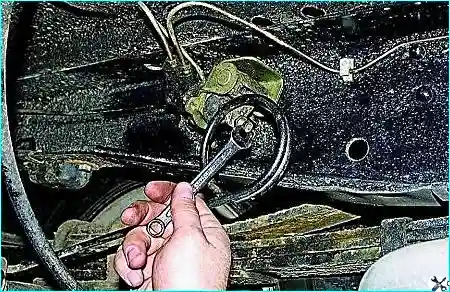
with a "10" key, turn the adjusting bolt
Set the distance between the center of the bracket hole and the regulator axis
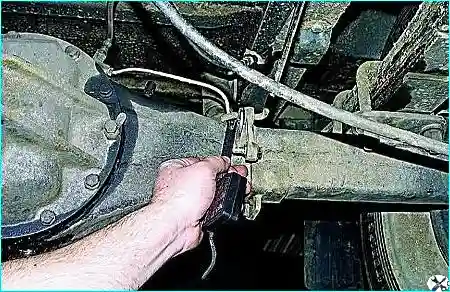
The distance should be within 28–32 mm (for 4x2 buses); 36–40 mm (for 4x4 buses); 13–17 mm (for other types of vehicles).
Holding the adjusting bolt, tighten the lock nut.
Secure the lower end of the strut to the rear axle bracket.
After adjustment, check the operation of the regulator, for which at a speed of 50–60 km/h on a hard dry road surface, vigorously press the brake pedal, while an assistant should stand to the side and watch the wheels.
If the regulator is in good working order and correctly adjusted, there should be a slight advance of the front wheels relative to the rear ones.
If the opposite happens, then you should unscrew the lock nut of the adjusting bolt and unscrew the bolt by half a turn.
If the front wheels lock much earlier than the rear ones, you should turn the adjusting bolt by half a turn and tighten the lock nut.


