In this article, we will consider replacing the oil pressure warning light sensor, replacing the parking brake warning light switch, replacing the brake light switch, replacing the reverse switch, and replacing the fuel gauge sensor
In previous articles, we considered how to replace the instrument panel switches (article - Replacing the instrument panel and horn switches) and the article - replacing the engine management system sensors (article - Replacing the Cummins ISF2.8 ECU sensors).
Replacing the emergency pressure drop sensor
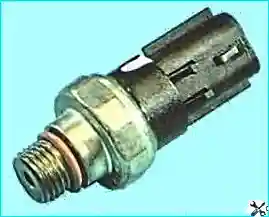
The sensor is screwed into the oil channel of the front cover of the cylinder block above the oil filter
Disconnect the negative terminal of the battery
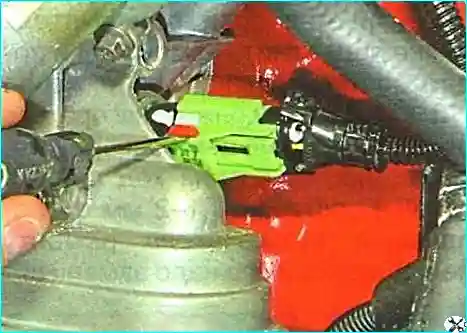
Pry up the wire block with a screwdriver and move it
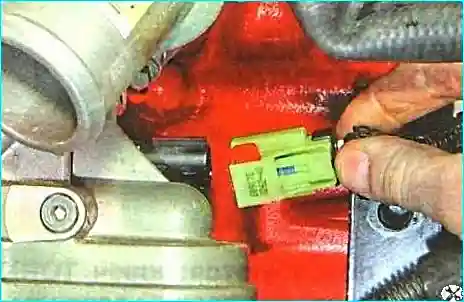
Disconnect the wire block from the sensor by pressing the lock
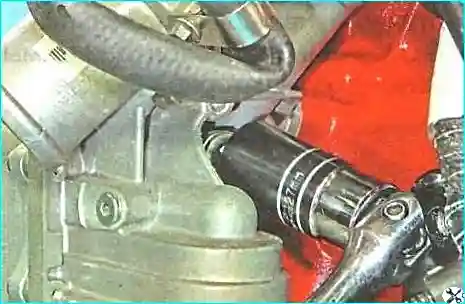
Loosen the sensor tightening
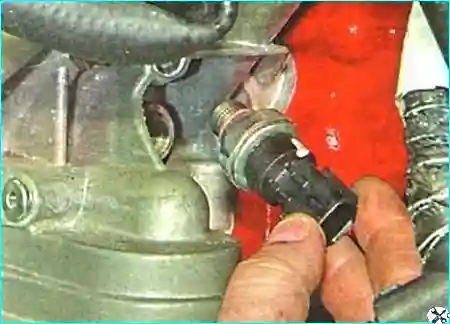
Unscrew it from the oil channel
Install the new sensor in the reverse order.
Replacing the parking brake switch
You will need the following tools: 11 mm wrench, Phillips screwdriver.
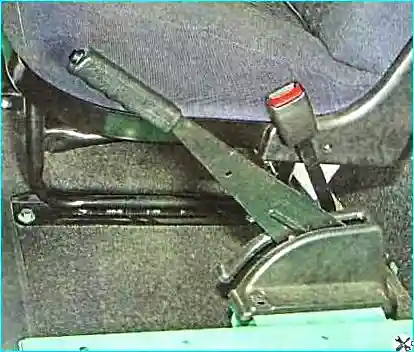
Lift the parking brake lever so that the stop moves away from the switch
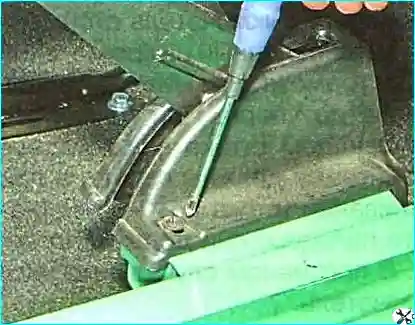
Unscrew the screw securing the lever mechanism casing
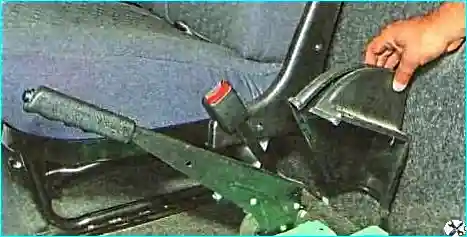
Remove the casing
Disconnect the wiring block from the terminal
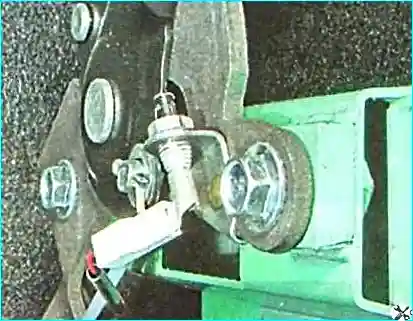
Unscrew the switch from the bracket on the parking brake drive lever
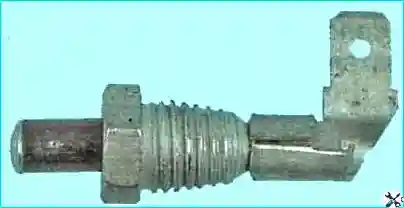
We install the switch in the reverse order.
Replacing the brake light switch
We check the brake light switch installed on the brake pedal bracket. Press the brake pedal all the way down.
When the switch rod is fully extended, the brake lights should light up, and when the rod is pressed in by 4-5 mm (press with your finger), they should go out.
Otherwise, replace the switch.
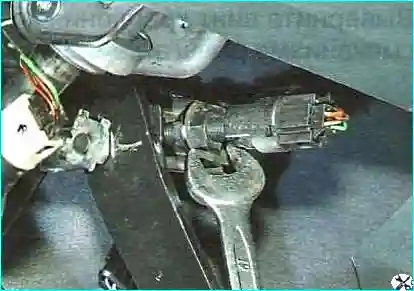
Unscrew the lower nut securing the switch
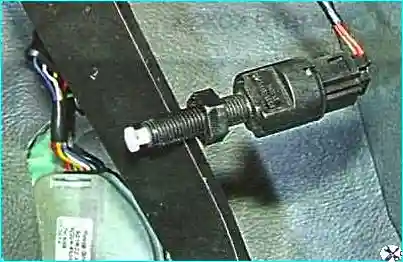
Removing the switch
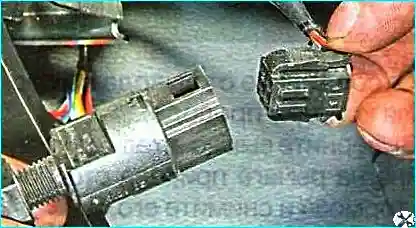
Press the lock and disconnect the wiring block from the switch
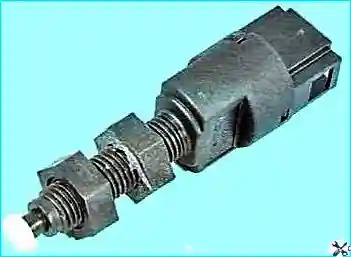
Install the switch in reverse order
Adjust the position of the switch using two nuts so that when the brake pedal is pressed, the brake lights come on, and when the pedal is released, they go out.
Replacing the reverse light switch
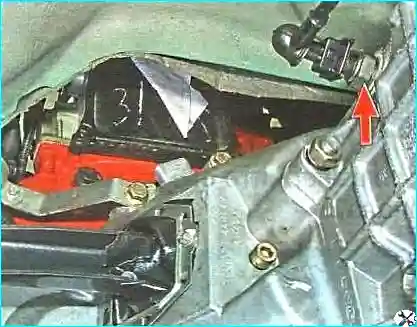
Reverse light switch screwed into the gearbox housing on the left side
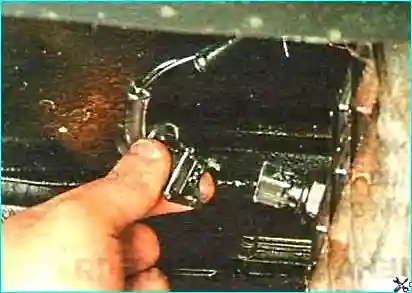
Press the lock and disconnect the wiring block from the switch
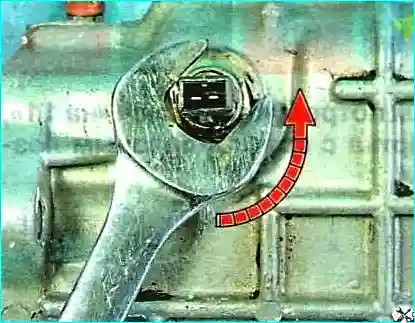
Loosen the tightening of the switch with a key on 22
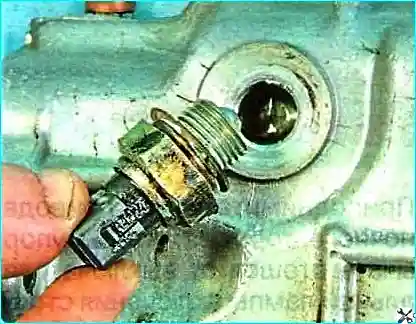
Unscrew the switch from the gearbox housing
To check the sensor, connect a 12 V lamp and apply 12 volts.
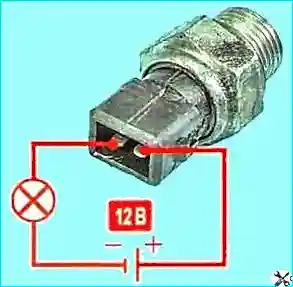
The lamp should light when you press your finger on switch ball, while the ball stroke should be 1-2 mm.
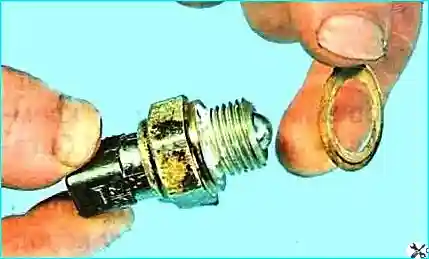
We install the switch in the reverse order, moving the sealing ring.
Replacing the fuel level sensor
The fuel level indicator sensor is part of the fuel intake located in the fuel tank.
The sensor must be replaced if the fuel level indicator in the instrument cluster changes its readings chaotically for no apparent reason.
Disconnect the negative terminal from the battery
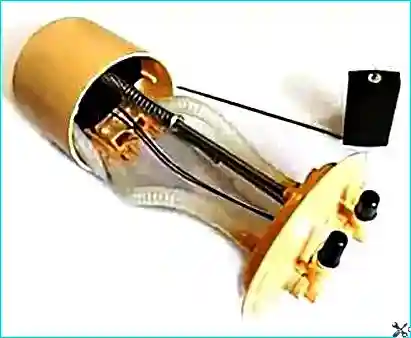
Removing the fuel intake (article – Repair of the fuel intake)
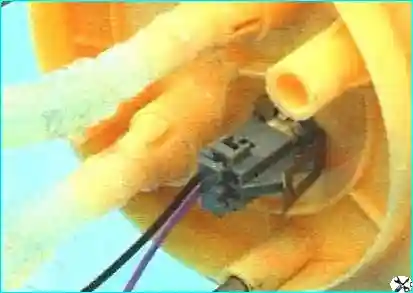
Squeezing level sensor wire block retainer

Disconnect the block from the connector
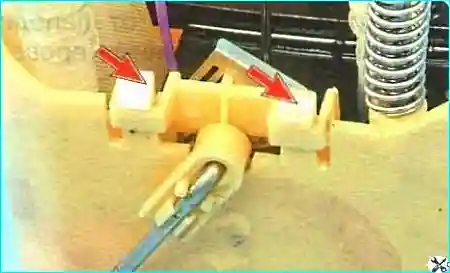
Press the two retainers
Move along the guide and remove sensor
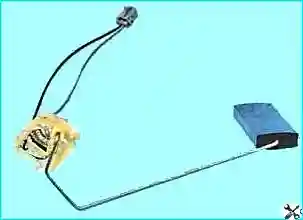
We install the fuel level sensor in the reverse order.


