Remove the switches and horn if they are faulty
Replacing the headlight control unit
Disconnect the negative battery terminal.
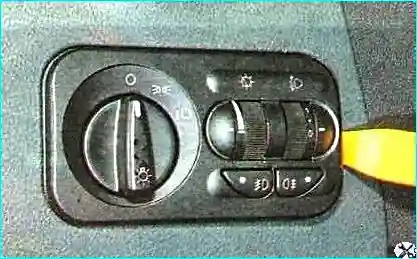
Pry off the unit with a special plastic mounting blade
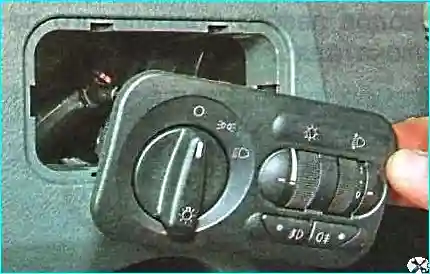
We take away from the panel the length of the connected wires
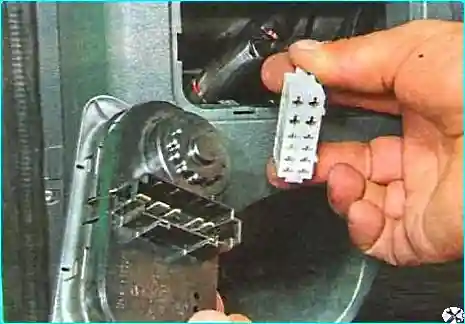
We disconnect the block of wires from the connector
We remove the control unit of external lighting, headlight corrector
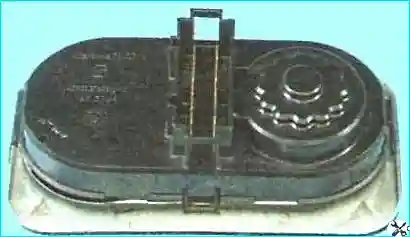
We install the unit in the reverse order.
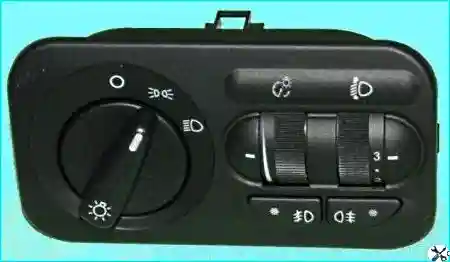
We check the correct adjustment of the headlights.
Replacing the switches of the instrument panel
We disconnect the negative terminal of the battery.
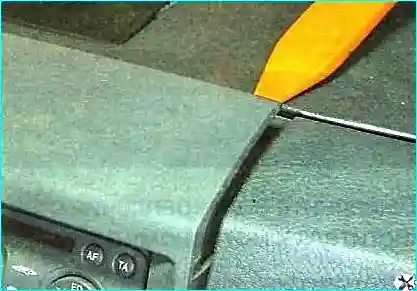
We use a plastic pry bar to pry the lower edge of the instrument panel trim and disconnect it from the instrument panel
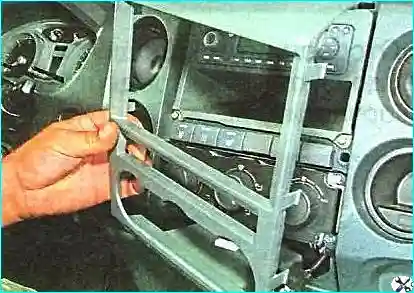
We remove the upper edge of the trim from engagement with the instrument panel and move it away from the panel by the length of the wires
In order not to scratch the front side of the trim, we disconnect the block from the socket and remove trim
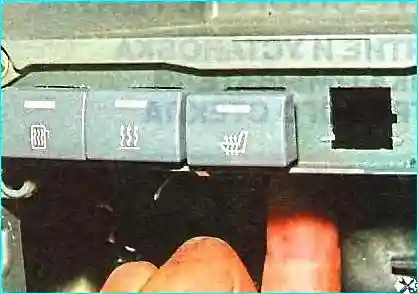
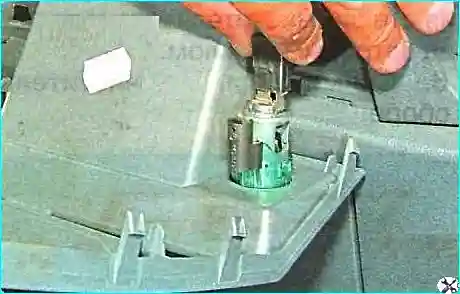
Push the corresponding switch out of the socket in the panel
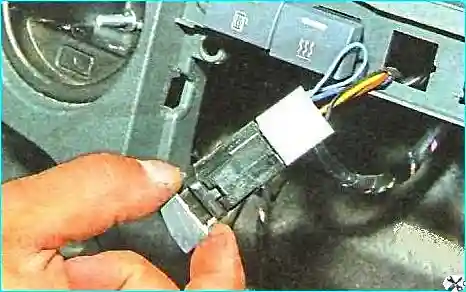
We move it away from the panel by the length of the connected wires
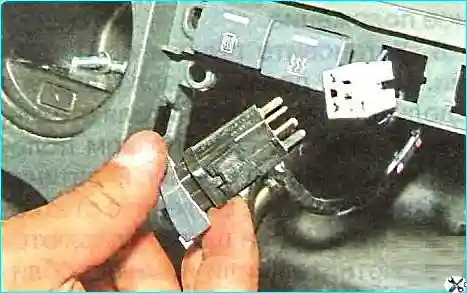
We disconnect the wiring block from the switch and remove the switch
If necessary, we also remove other switches.
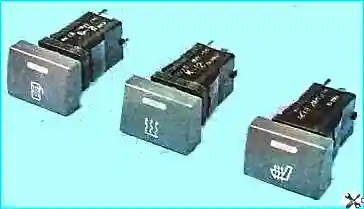
We install the switches in the reverse order.
Replacing the horn
To complete the task, you will need keys for 8, 12, a screwdriver.
We disconnect the negative terminal of the battery.
We remove the bumper (article - Removing and installing mudguards and bumper)
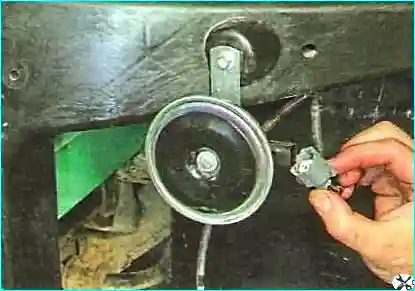
Disconnect the wiring block from the signal
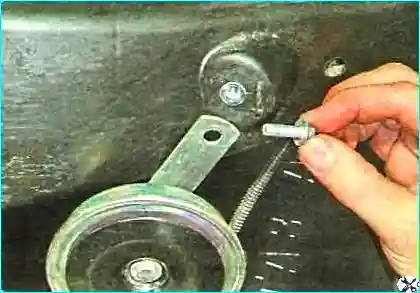
Unscrew the bolt securing the radiator frame to the frame
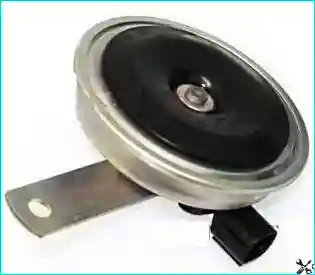
Removing the horn
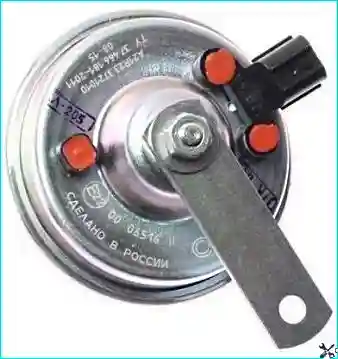
Also remove the second horn
Install the horns and all parts in reverse order.


